The Best Tool for Slide Decks in Education: The Deep Dive

Sunday 13th September 2026

Cover Image for previous Slide Decks post

↪ Replying to: “Why Canva is the best tool for Teacher Slide Decks”

Friday 14th August 2026

Ever since I began crafting lessons for secondary pupils, I have been searching for the perfect presentation tool. In a computing, mathematics or any classroom, a slide deck is far more than just a sequence of bullet points. It functions as the visual backbone of the lesson. It guides explanations, models concepts, and keeps pupils engaged.

I conducted an extensive experiment to evaluate presentation tools specifically tailored for teaching. The goal was simple: to assess which of these solutions would be most genuinely useful for creating my lesson slides. This evaluation was driven by practical, everyday utility and essential features, rather than mere aesthetic appeal.

A quick note on the elephant in the room: this experiment was conducted in January and February 2025, prior to my role as a Canva for Education Ambassador in August 2025.

Methodology

The first step was to determine which software platforms to explore. I made the decision early on to exclusively test web-based cloud software, eliminating any hardware limitations or installation hurdles. Relying on web-based platforms afforded several non-negotiable features for a busy teacher:

  • Automatic backups on the platform
  • Frictionless sharing
  • Seamless editing across multiple devices
  • No hardware limitations

My school operated within the Google ecosystem. This meant my baseline at the start of the year was Google Slides, which I had been using prior to this experiment. Many teaching resources circulate as PowerPoint files, but I found it incredibly easy to import and adapt them into Google Workspace. Google Slides inherently provided all the cloud benefits I required, and as such, it served as the perfect control variable for this experiment.

A Year-Group Breakdown

To thoroughly road-test each platform, I assigned a different presentation software to each year group, allowing me to explore their capabilities simultaneously across varied topics:

Year Group Topic / Unit Software
Year 7SpreadsheetsCanva
Year 8Python TurtlePitch
Year 9IllustratorVisme
Year 11GCSE Computer ScienceGoogle Slides
Year 11iMediaPrezi
Year 11Faculty InterventionsAdobe Express

This allowed me to effectively test each presentation platform, without remaking the same slide deck in each tool every for every lesson, which would be a significantly different undertaking and workload.

There were a handful of platforms I intentionally excluded from this experiment, including Mentimeter, Genially, Piktochart, Figma, and Powtoon. This exclusion largely resulted from limited feature sets, overly niche use cases, or restrictive paid tiers. I also excluded online whiteboarding tools, despite many of them having built in presentation features, as those serve an entirely different pedagogical purpose, but I will be discussing those tools another time.

The Evaluation Criteria

Using my extensive experience in resource creation, I developed a strict set of requirements to score each piece of software. I divided these into two distinct categories to capture the full lifecycle of a lesson. Here is why each metric is critical in a classroom environment:

Making Presentations

  • The Design Tools: Teachers need to build complex diagrams, align text, and construct equations quickly. Robust design tools save hours of preparation time.
  • Animations: In an educational setting, animations are not about flashy effects. They are essential for cognitive load management. Being able to reveal answers step-by-step keeps pupils focused on the current instruction.
  • Morph (or similar): Smooth transitions that map objects from one slide to the next are phenomenal for modelling processes, such as mathematical transformations or the flow of data in computing algorithms.
  • Ease of Use: Teachers are notoriously time-poor. The software must be intuitive enough to allow rapid creation without wrestling with complex menus.
  • Library of Assets: Having high-quality icons, shapes, and stock images built directly into the platform prevents the constant need to search the web for external visual aids.
  • Importing PPTX Resources: Teachers rarely start from scratch. The ability to seamlessly import and adapt existing PowerPoint (.pptx) files without completely destroying the original formatting is a massive time-saver.
  • Sharing Resources: Teachers rarely work in isolation. The ability to seamlessly generate collaborative editing links for departmental colleagues, or easily distribute slide decks, view-only links and LMS-integrated assignments, is essential for a frictionless workflow.

Presenting Presentations

  • Speaker View: A dedicated dashboard for the teacher on their monitor is vital for keeping track of time and pacing the lesson effectively.
  • Speaker Notes: These act as essential scaffolding. They allow teachers to script out key questioning prompts or differentiation strategies that remain hidden from the pupils on the main board.
  • Live Updates from Drawing: This is arguably the most crucial feature for STEM subjects. The ability to annotate live over a slide from a tablet, whilst roaming the classroom, transforms a static presentation into an interactive modelling tool.
  • A Next Slide Preview: Knowing exactly what is coming next allows for seamless verbal transitions between concepts.
  • Built-in Timer: Time management is vital for classroom pacing. A native, on-screen timer keeps pupils on task during independent work without requiring the teacher to open separate browser tabs.
  • Additional Presenting Features: Built-in tools like random name pickers, live pupil polling, or analytics elevate standard presentations into highly interactive classroom experiences.

What do others say about these tools?

Before drawing my own conclusions, I reviewed how the wider community evaluates presentation softwares. The general consensus across technology and education platforms highlights that no single tool is perfect for every scenario, but distinct leaders emerge based on their specialities.

Reviewers frequently note that standard tools like Google Slides and PowerPoint remain dominant for straightforward team collaboration and widespread familiarity. However, platforms like Canva are praised for having one of the broadest template and visual-asset ecosystems available, making them incredibly beginner-friendly for non-designers.

Prezi is consistently recognised for its non-linear, zooming canvas, which is highly effective for storytelling and showing the relationship between broad concepts. Meanwhile, tools like Visme are celebrated for their data visualisation capabilities and interactive charts, and Adobe Express is highlighted for combining presentation design with strong multimedia and branding templates.

Ultimately, the best presentation apps share common traits. They offer professional pre-built templates, seamless sharing options, deep customisation flexibility, and affordability. For educators, the choice often hinges on balancing rich visual capabilities with the practicalities of live classroom delivery.

Insights

I maintained a week-by-week journal to record my immediate thoughts as I deployed these tools live in the classroom. This experiment truly became a journey of discovery.

Week 1: The Initial Impressions

What an interesting week! Designing slides in different web apps makes a sometimes quite long task a lot more exciting. The standouts are Visme and Canva, proving to have intuitive interfaces, lovely animations, and plenty of opportunities for creativity. I found Google Slides quite lacklustre in comparison, although the animation sequencing is undeniably a lot easier to manage. Pitch proved the least exciting in my opinion. Although the slides looked nice, tidy, and pleasant, they lacked that creative flair that I discovered with Visme and Canva.

Prezi proved the most challenging to get started with. It is distinctly different from the other platforms I am testing, and different to any other presentation software I have used. It is based on a large canvas, using frames and moving around those frames instead of typical slide animations. Although challenging, I eventually got my slides created, but the result was lacking a lot of the stylistic polish I was able to achieve with other applications.

Week 2: Pupil Reception and Engagement

By the second week, the impact on learning became evident. A pupil specifically praised the clarity and animations on the Visme presentation, noting that they made the delivery much more exciting without becoming a distraction. This feedback validated my belief that visual design impacts pupil engagement. Canva also received positive reactions from Year 7, particularly due to the vibrant graphics and integrated icons that helped clarify the spreadsheet concepts. Conversely, my Year 8s found the Pitch presentations slightly corporate and dry. It became clear that while clean design is helpful, younger pupils benefit from more visually stimulating educational assets.

Week 3: Navigating Structure and Flow

This week tested my patience with structural layouts. While Adobe Express offered brilliant multimedia integration, manipulating text and content heavy slides felt slightly clunky compared to a dedicated presentation builder. Meanwhile, I found myself wrestling with Prezi’s spatial canvas during my iMedia lessons. Trying to map out a clear, linear sequence for exam preparation on an infinite canvas was frustrating. It is a fantastic tool for big picture concepts, but for step-by-step procedural teaching, it was challenging at times. Google Slides, for all its visual simplicity, remained the most reliable for quickly structuring a traditional, logical lesson flow.

Week 4: The Presentation Experience

Week 4 was entirely focused on the actual experience of presenting at the front of the room. I spent time digging into the presenter views of each platform. Prezi and Pitch offer solid presenter displays, showing my speaker notes and a clear preview of the upcoming slide. Adobe Express also surprised me with a very clean presentation mode. Canva’s presentation mode was fantastic as well, but went beyond expectations with the integrated timer feature inside the presenter, which made controlling lesson activities a breeze.

Week 5: Live Delivery and Annotation

This week highlighted the most significant gap between standard presentation software and true educational tools. Teaching often requires live, on the fly modelling. With Google Slides, Visme, and Pitch, my ability to draw over the slides in real time was severely limited or non existent. I found myself having to annotate seperately (on a different whiteboard) to the slides which muddled the flow of the lesson. Canva, however, allowed me to annotate directly onto the slides from my tablet, with those annotations updating instantly on the projector. This single feature completely transformed my live delivery, allowing me to highlight and annotate content without breaking the flow of the lesson.

Week 6: The Final Verdict

As the experiment concluded, I spent the week reflecting on the overall workflows. Pitch and Visme produced beautiful results but felt better suited to business boardrooms or marketing departments. Adobe Express is a creative powerhouse, but perhaps better suited to pupil projects than daily teacher slide generation. Prezi is visually unique but demands too much cognitive effort to structure a daily lesson. Ultimately, it came down to a battle between the reliable simplicity of Google Slides and the expansive ecosystem of Canva.

Example Presentations

Below is a detailed look at the resources generated during this six week experiment, evaluating how each platform held up to the standards of my daily teaching schedule.

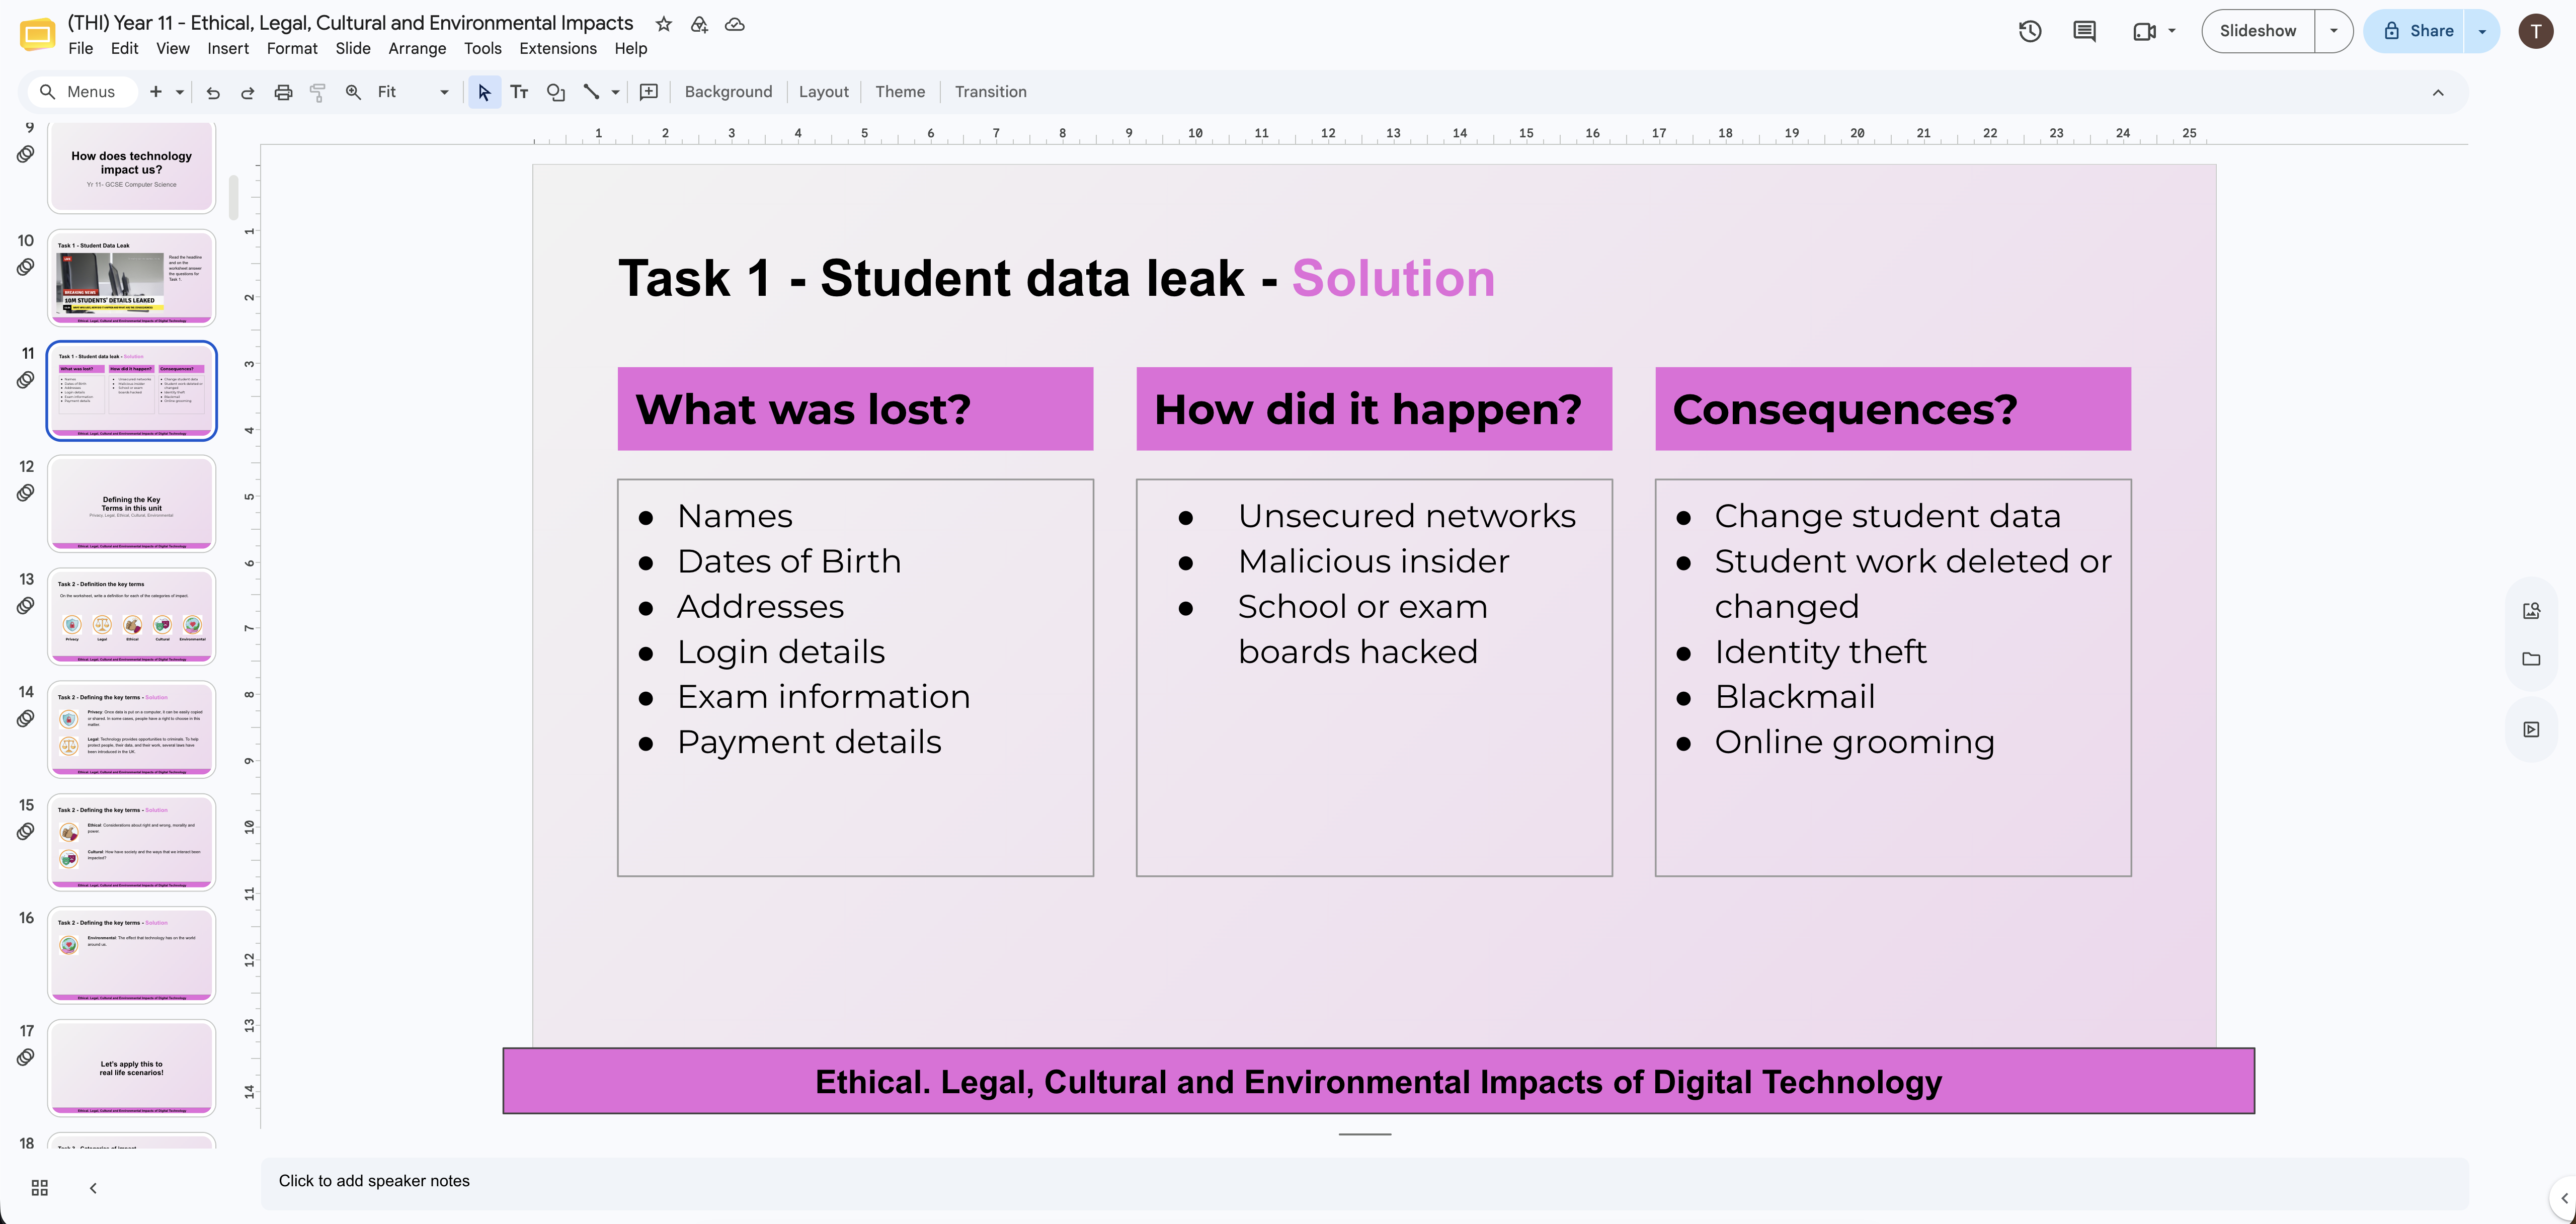
An example slide design in Google Slides using simple shapes, colours and text.
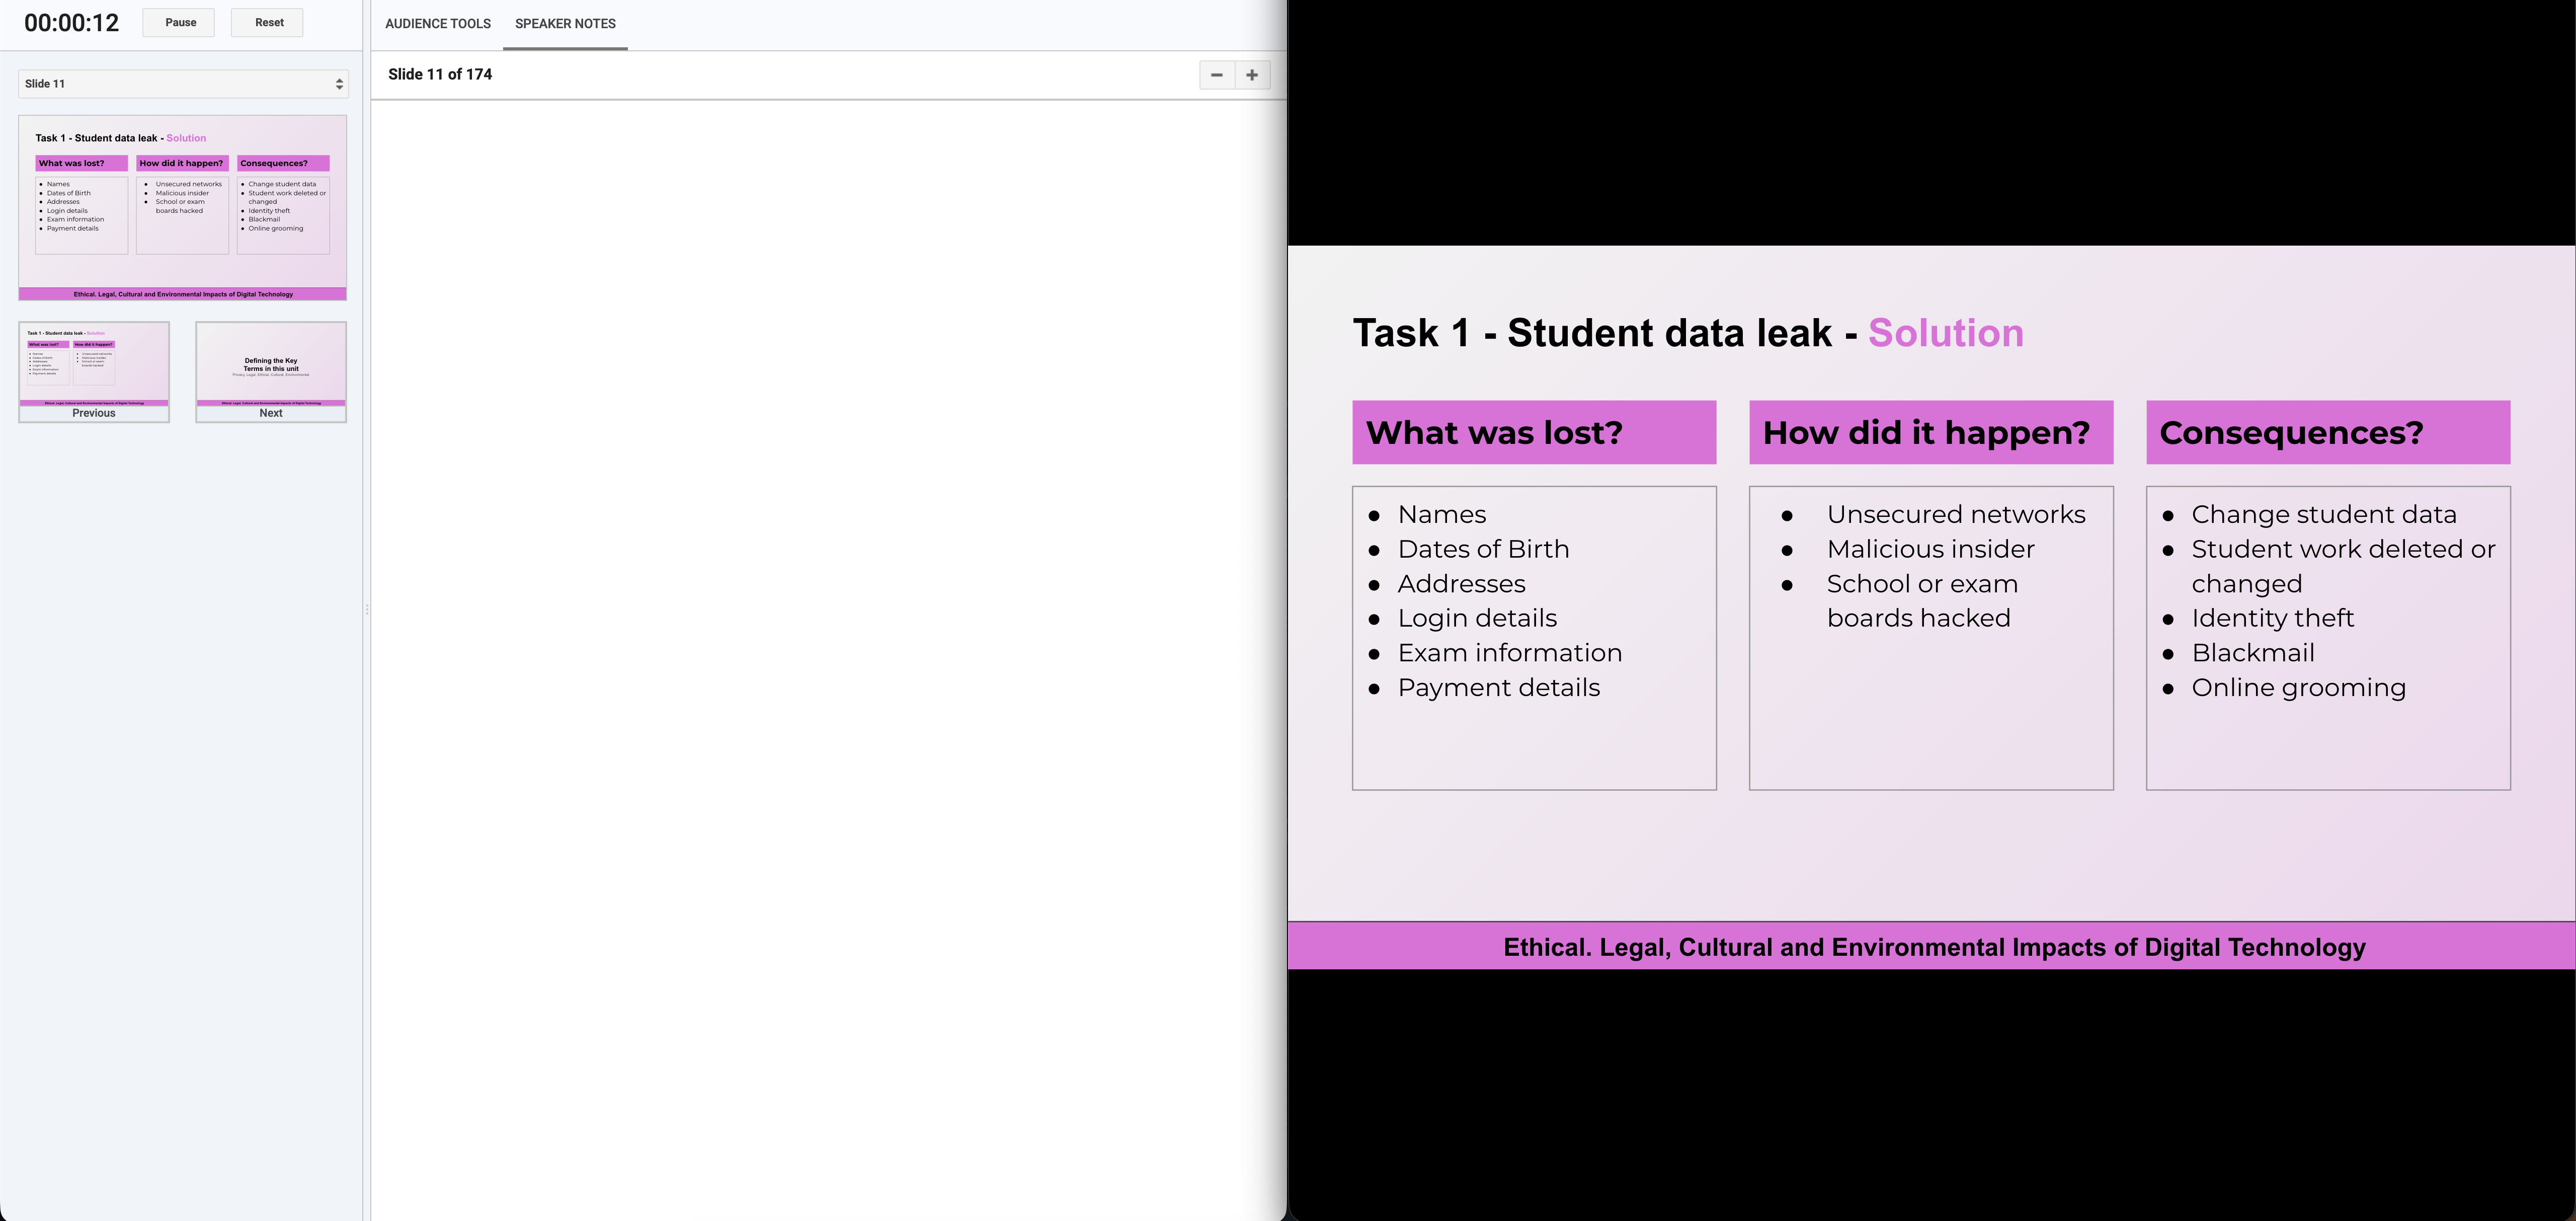
A screenshot of the Google Slides presenter view.

Google Slides

As the control for my experiment, Google Slides was deployed for my Year 11 GCSE Computer Science lessons. Its primary advantage is absolute reliability and seamless integration with the Google Workspace we already use at school. Structuring the logical, linear flow needed for exam theory was incredibly straightforward. However, the major disadvantage quickly became apparent during live delivery. The platform lacks the modern graphic assets and animation capabilities to truly capture attention. Furthermore, when trying to model examples, the inability to easily live draw over slides forced me out of my presentation flow. It is functional, but creatively lacklustre.

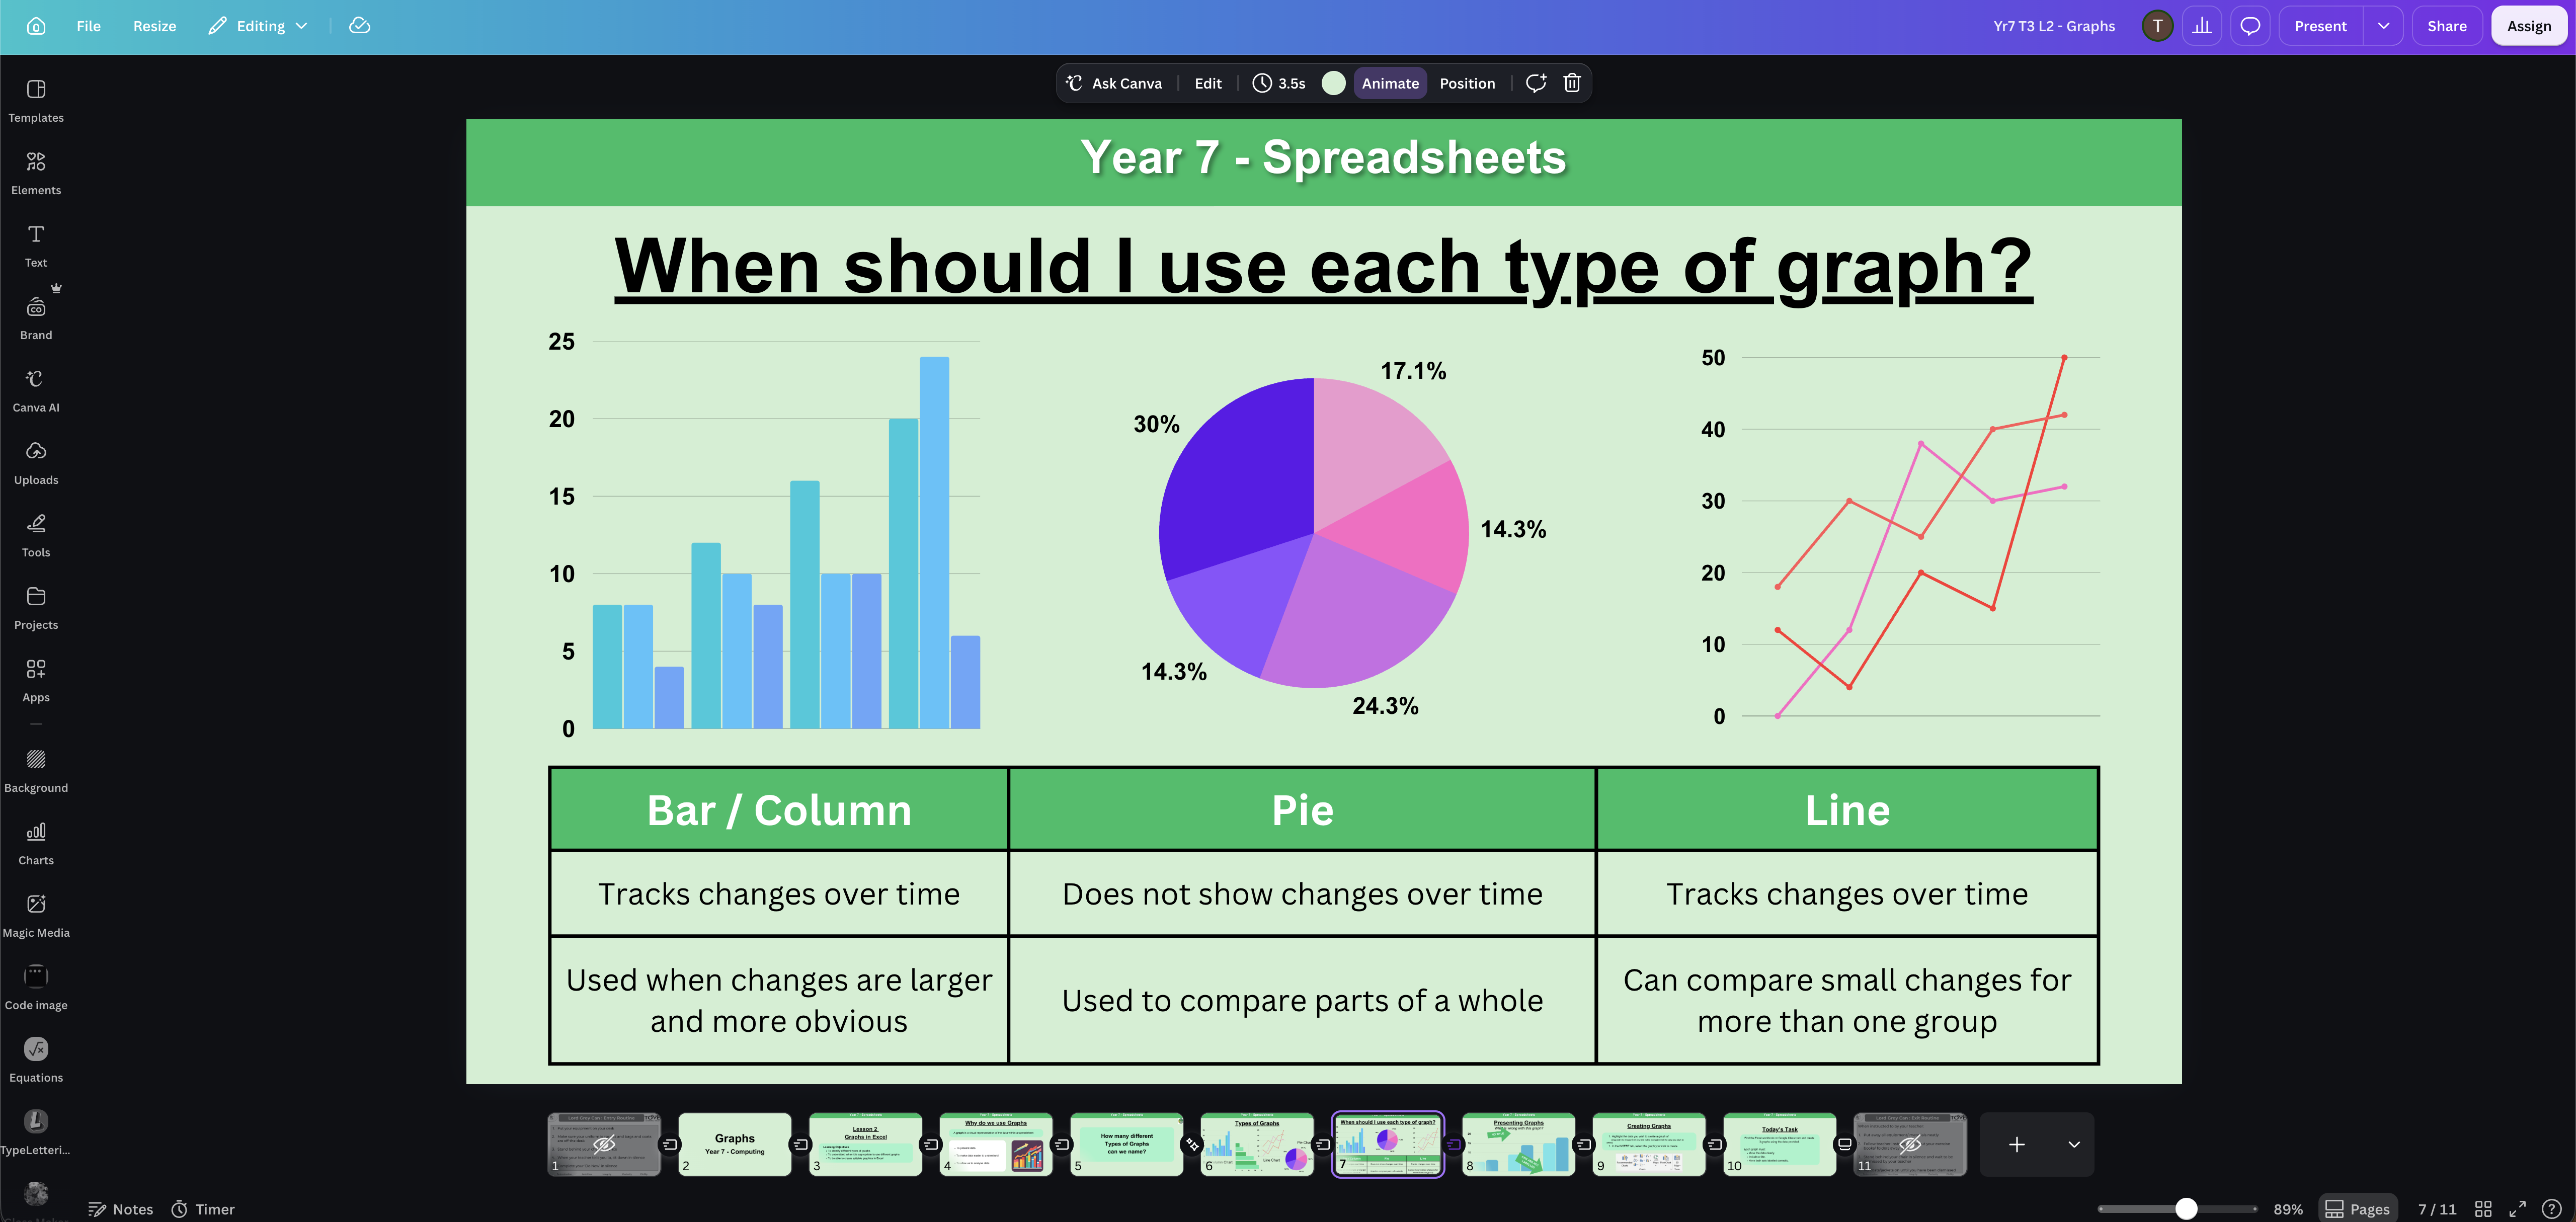
An example slide design in Canva using simple shapes, colours and text, as well as Graphs and Tables.
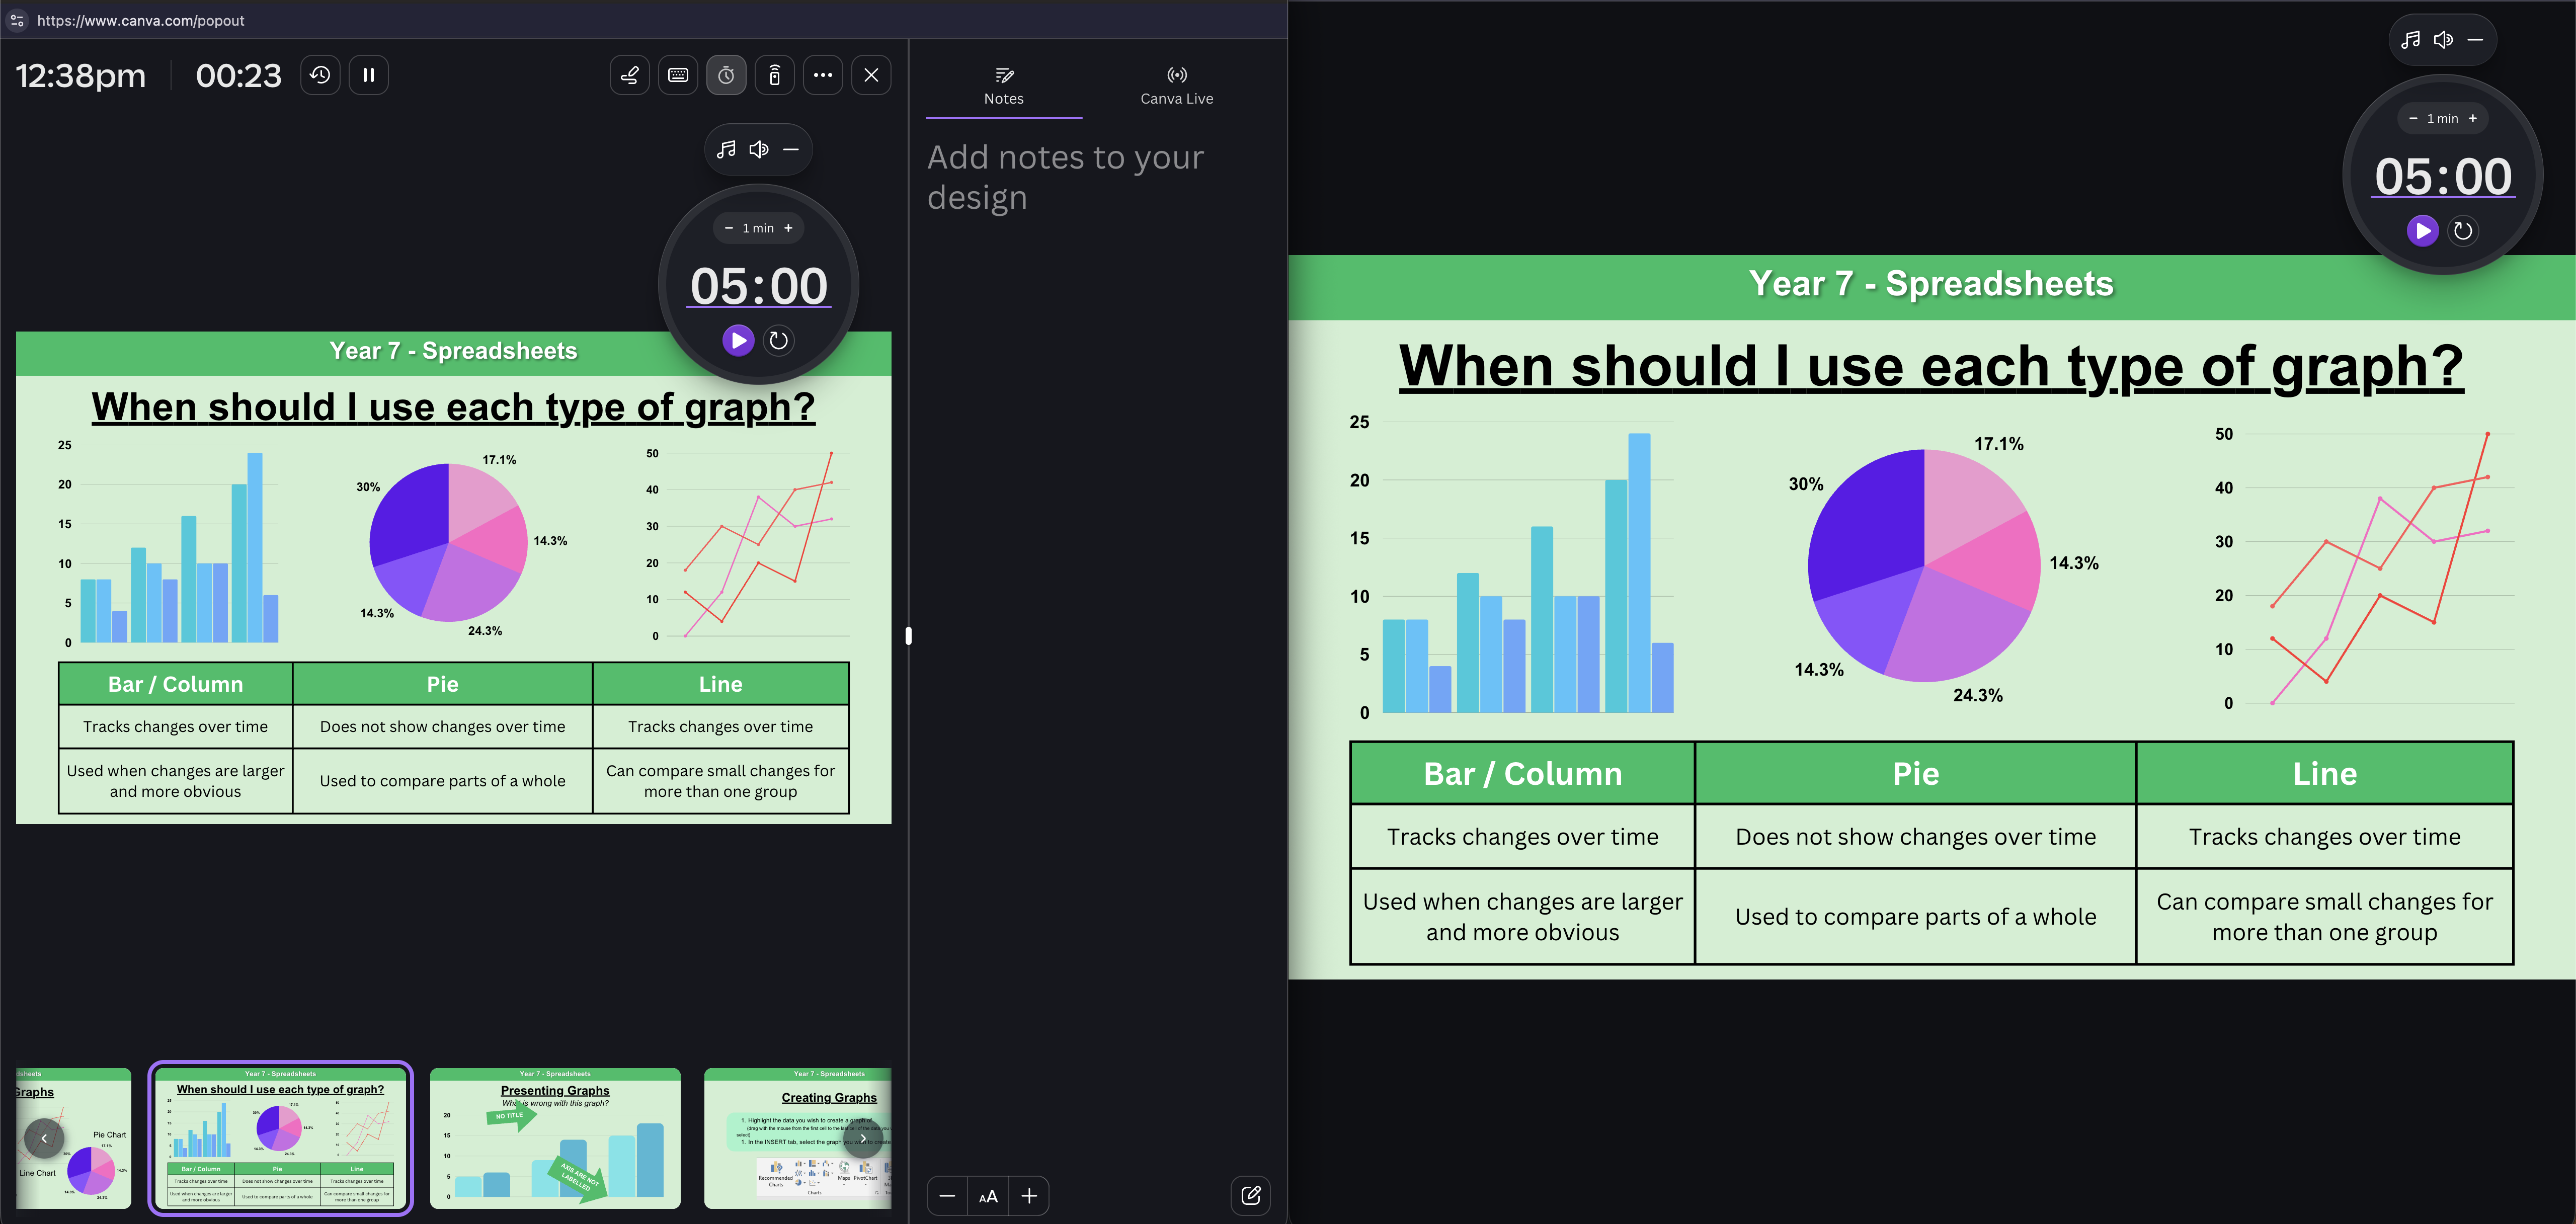
A screenshot of the Canva presenter view, including the built-in timer.

Canva

I assigned Canva to my Year 7 Spreadsheets unit, and it fundamentally shifted how I approach lesson design. Its greatest advantage is the sheer volume of high quality, built in assets, which instantly made building spreadsheets in the slides easy. Crucially, Canva introduced a new way of teaching. It allowed me to roam the classroom with a tablet, annotating directly over the slides, with those drawings updating instantly on the main projector. This made live modelling entirely frictionless. While the interface can sometimes feel slightly crowded due to the vast array of features, the inclusion of smooth Morph transitions, comprehensive speaker tools and the built-in timer makes it an unparalleled ecosystem for modern teaching.

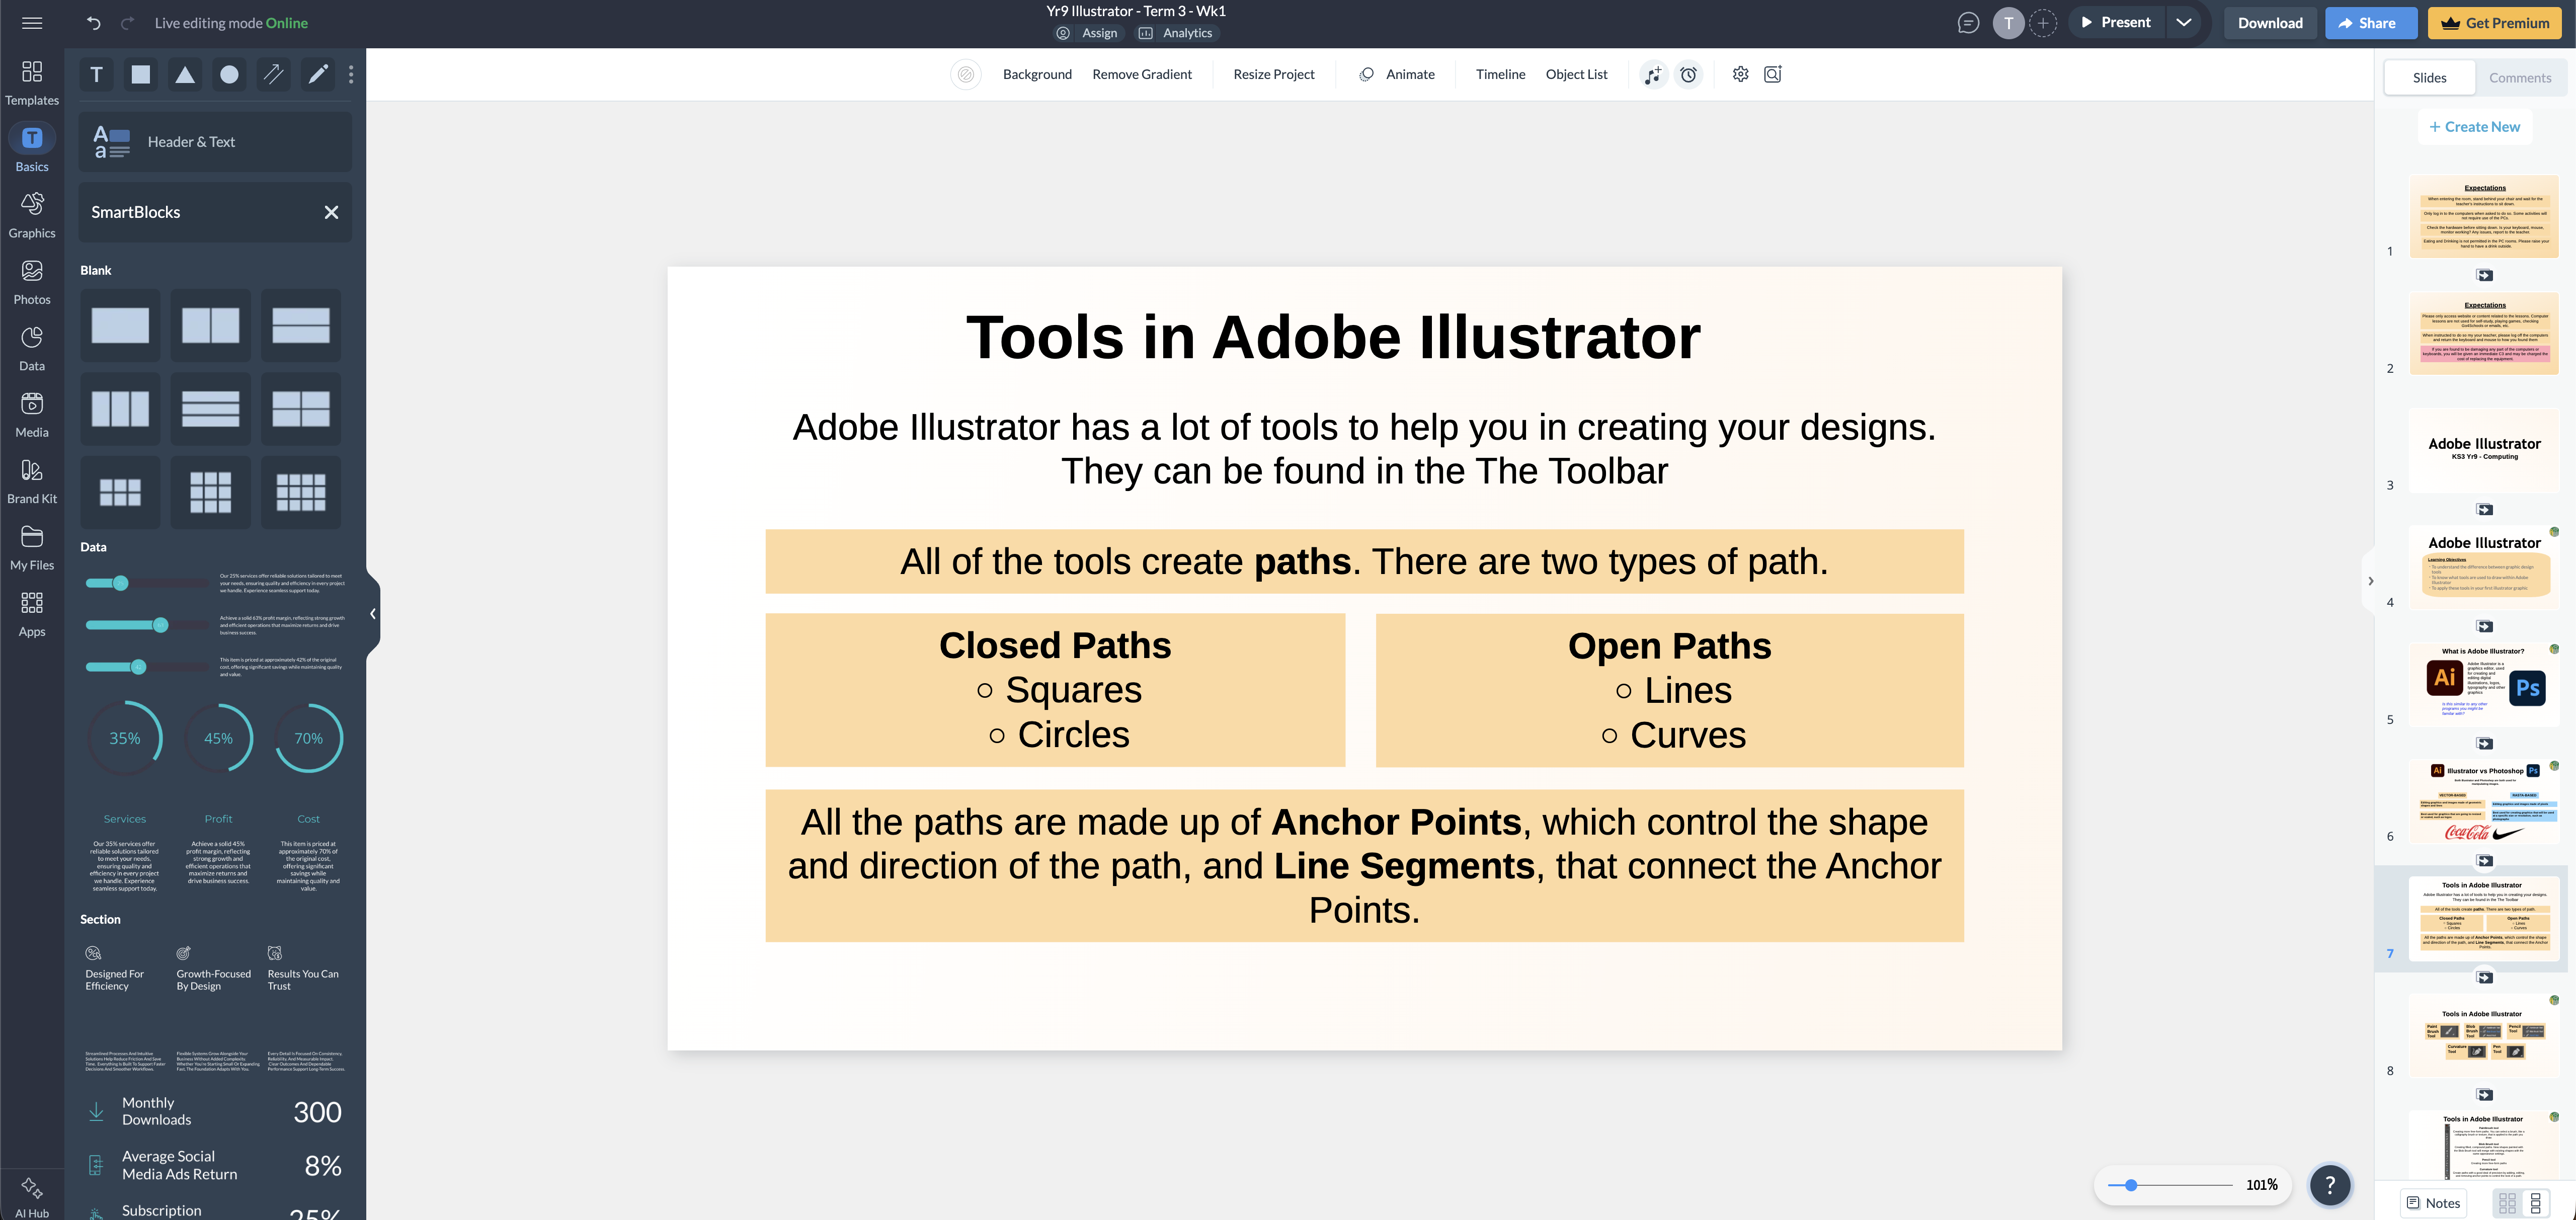
An example slide design in Visme using simple shapes, colours and text.
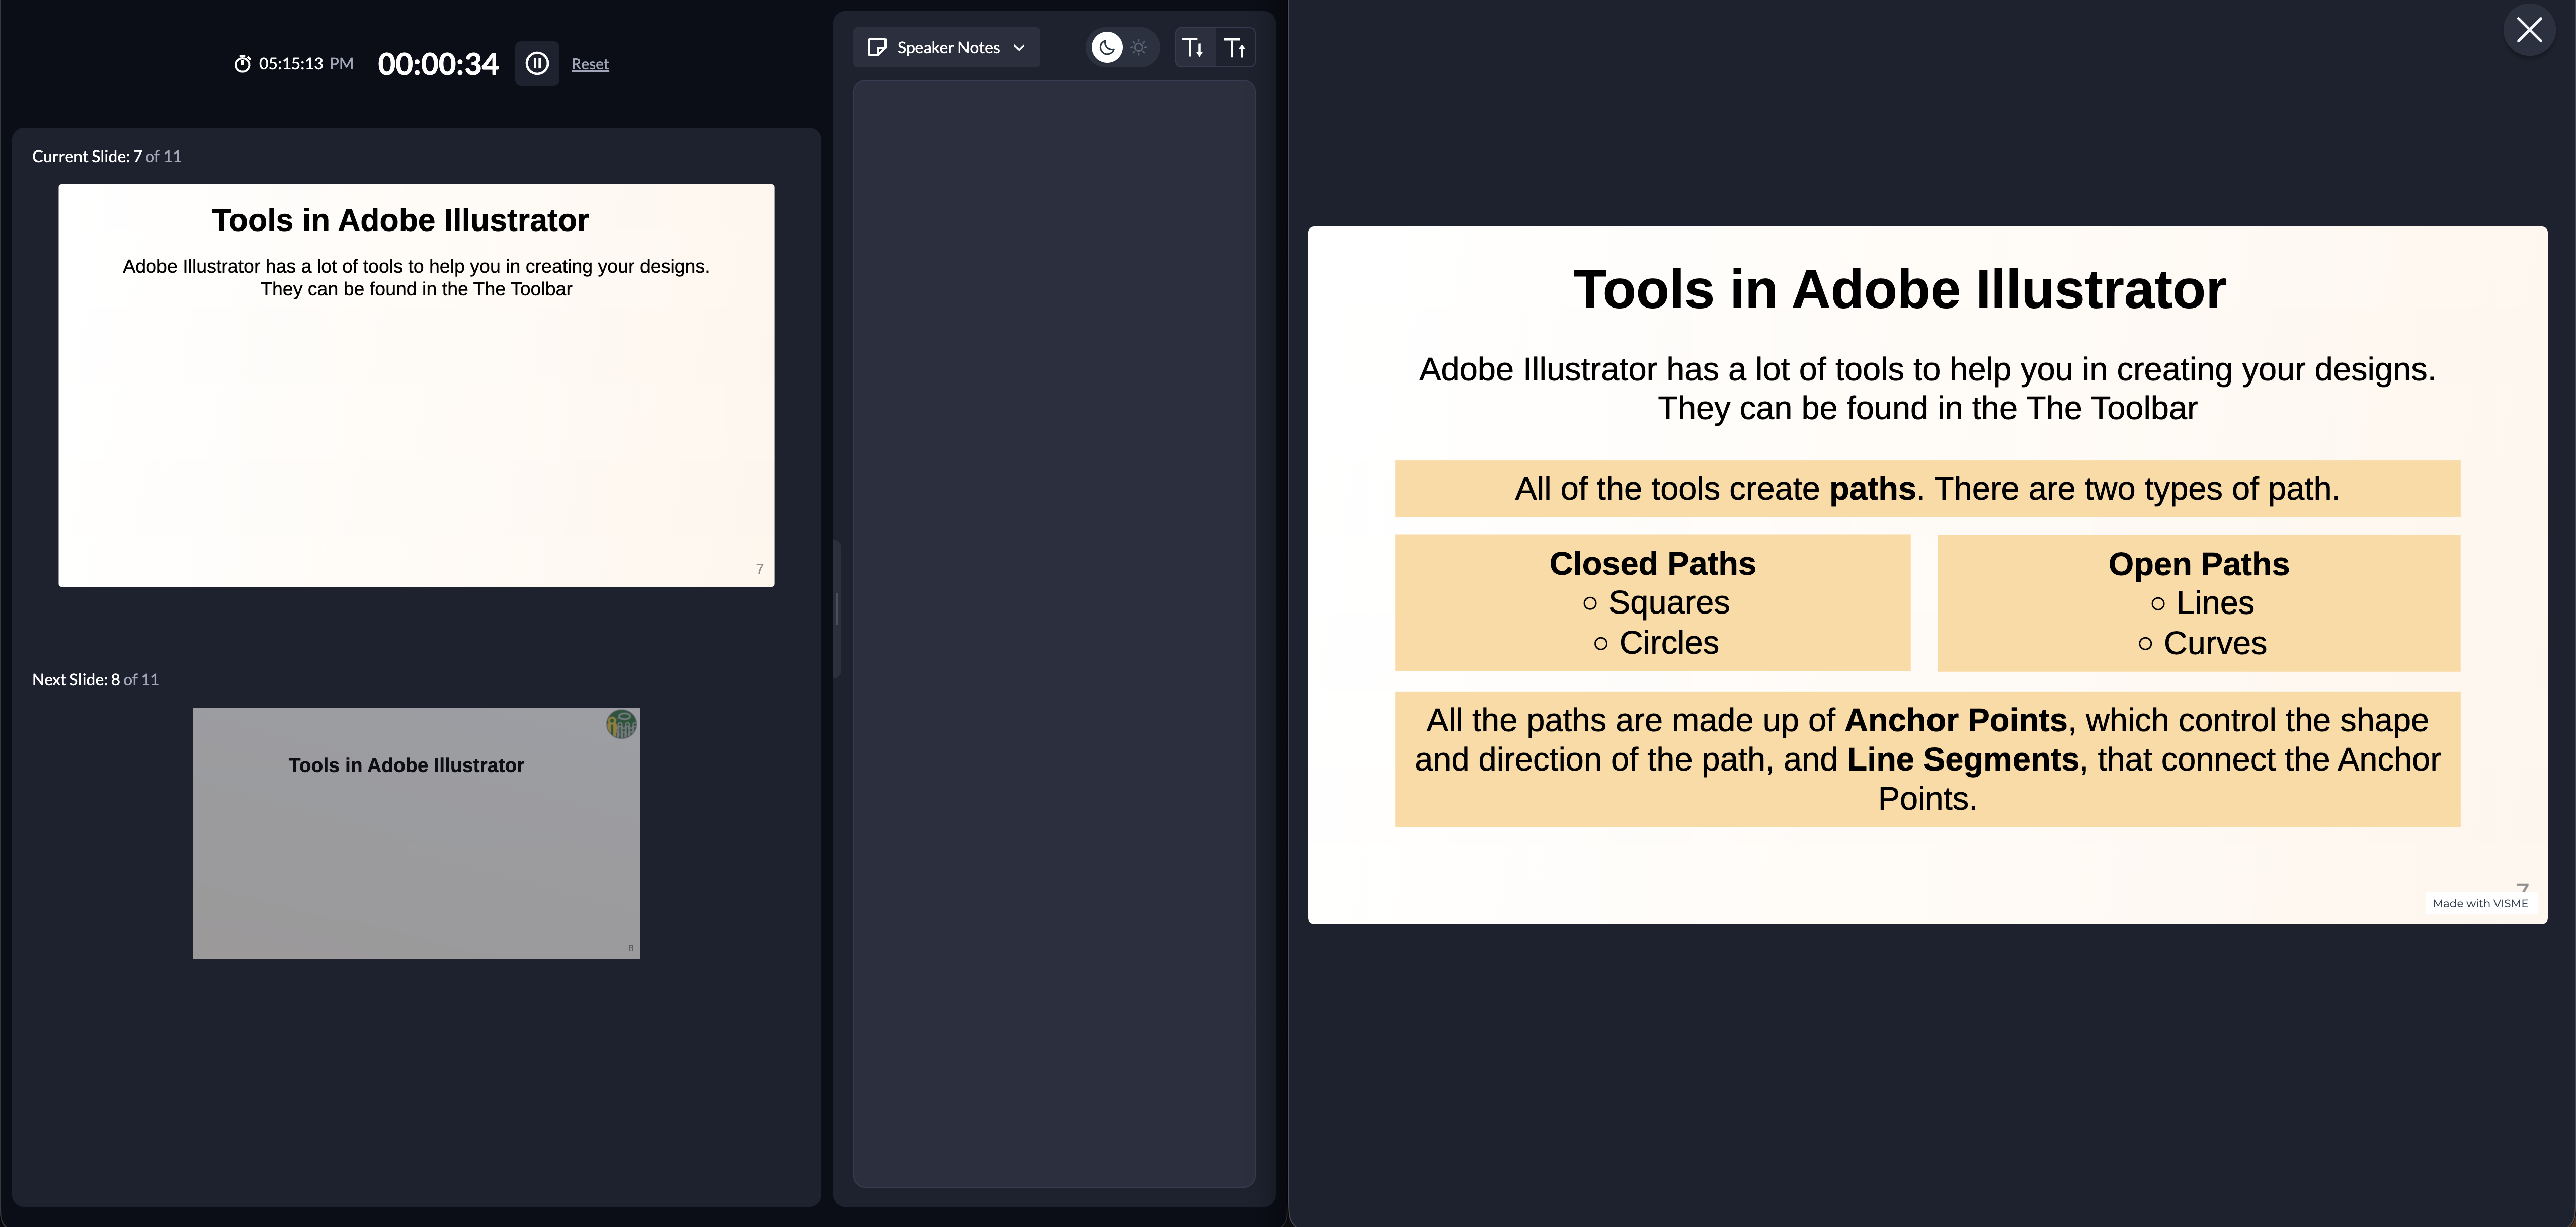
A screenshot of the Visme presenter view.

Visme

Testing Visme with my Year 9 Illustrator class was a highly engaging experience. Although I didn’t get to test it’s capabilities much, a massive advantage of this platform is its advanced interactive charts and data visualisation widgets, which are far beyond what standard presentation tools offer. However, these features are unlikely to be used much in day-to-day teaching but would be immensely useful for presenting to other staff. The animations were smooth and elicited genuine praise from the pupils, helping to break down graphic design concepts procedurally without becoming a distraction. The disadvantage, however, lies in its live teaching limitations. Like Google Slides, it lacked the integrated live annotation tools I appreciated for on the fly modelling, and many of its best interactive features are locked behind premium business tiers.

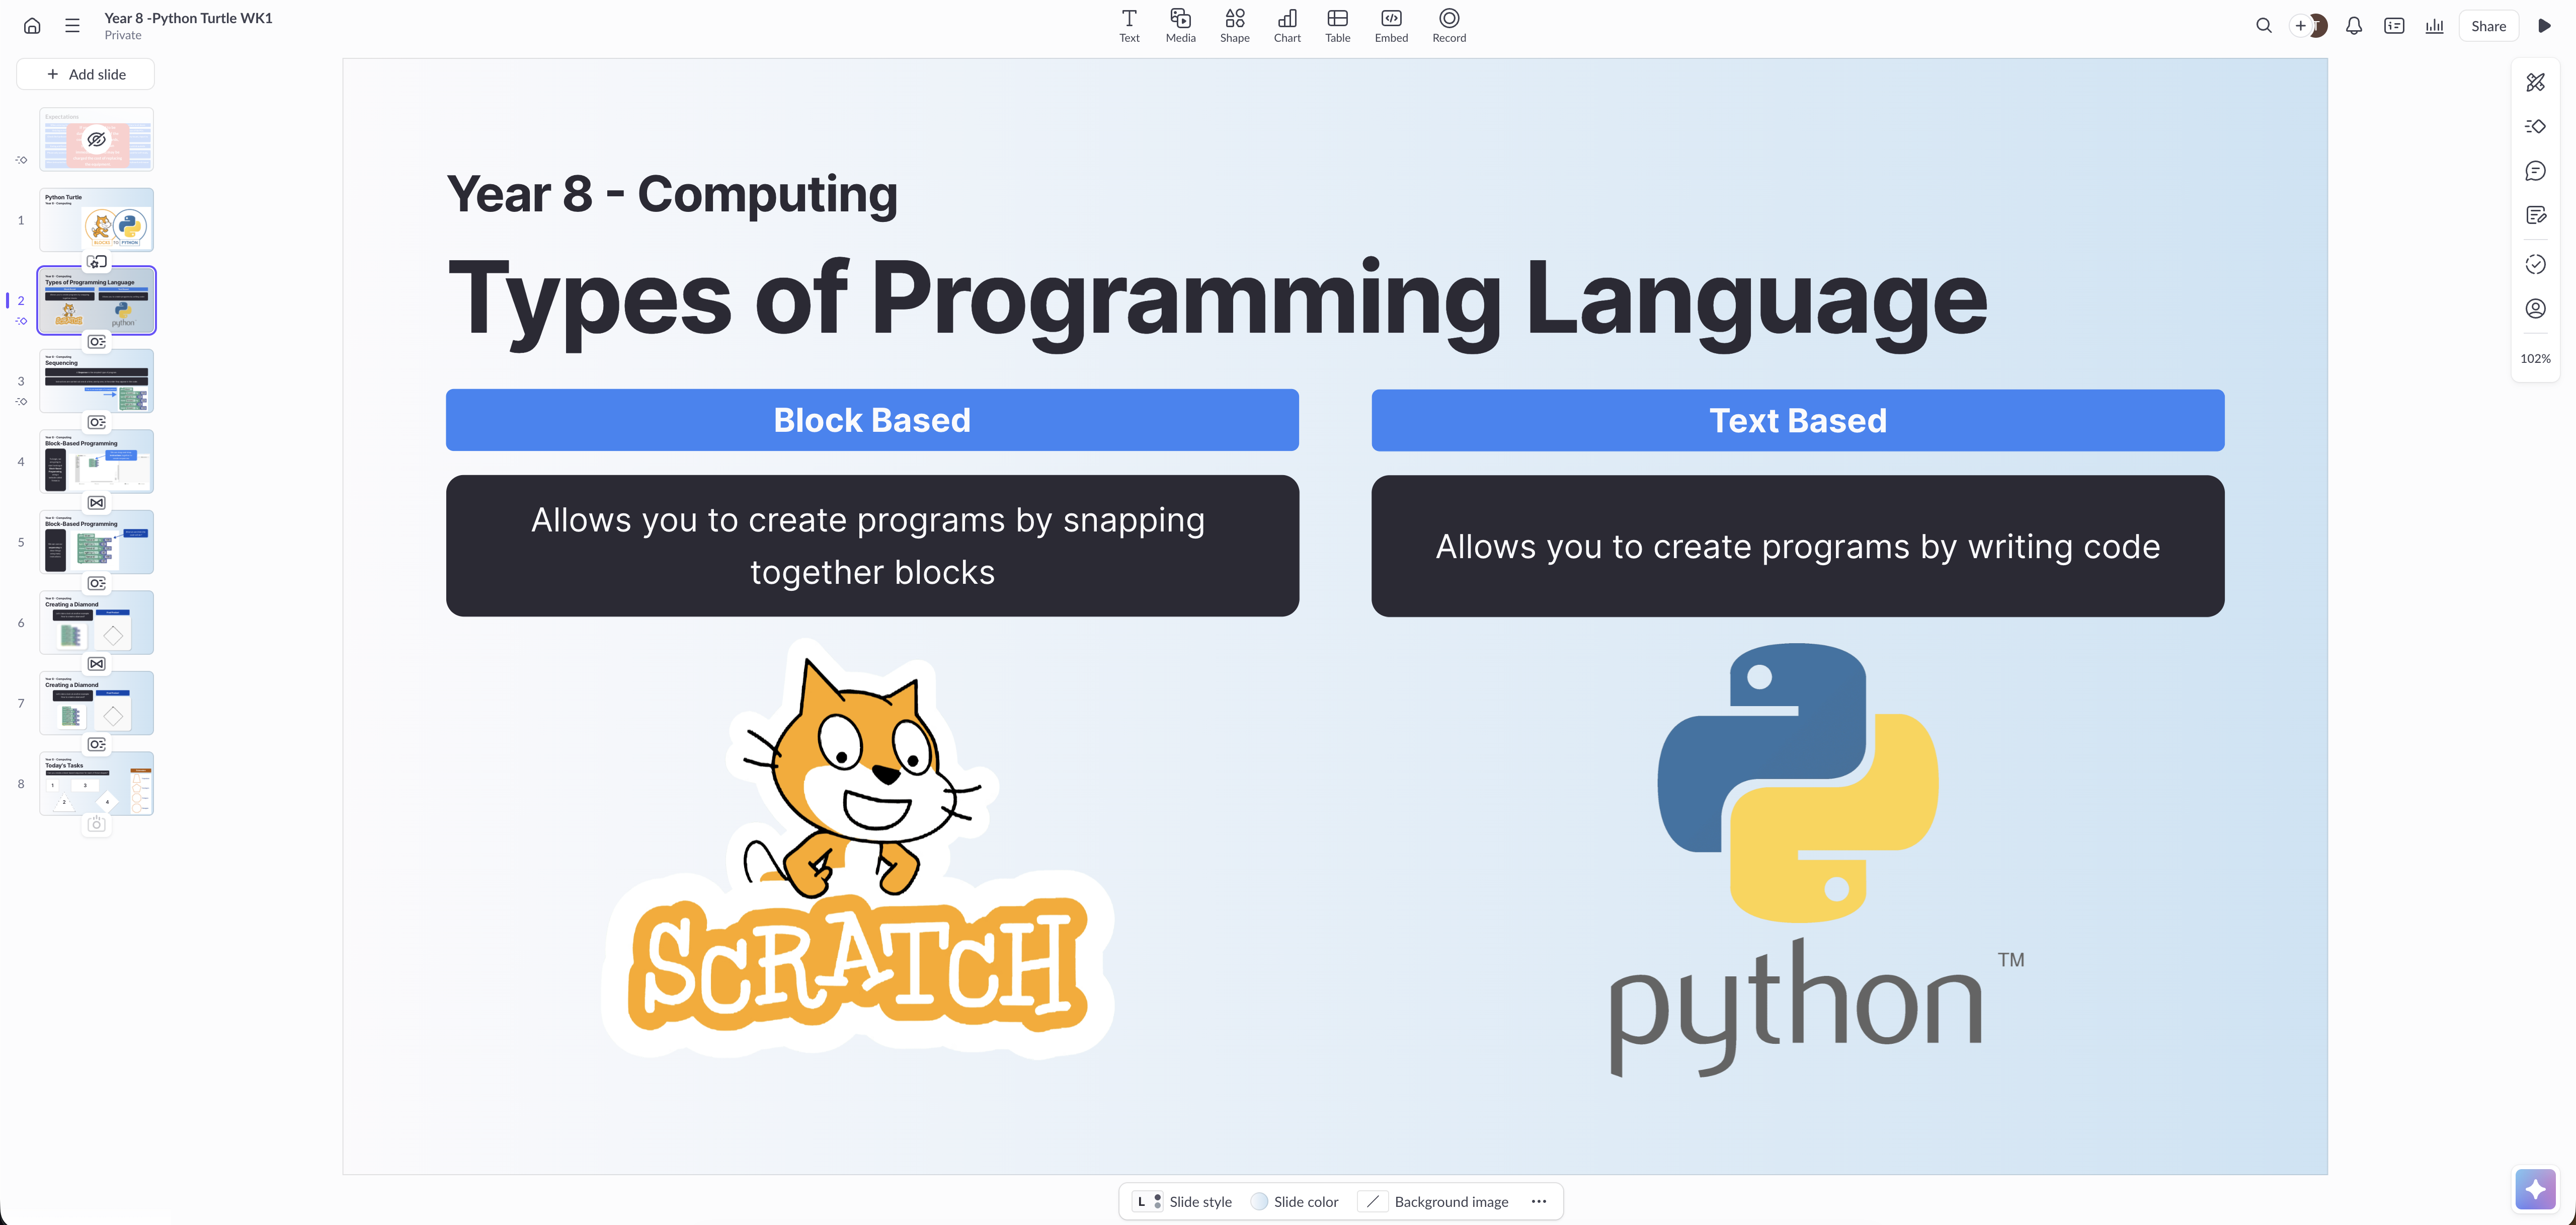
An example slide design in Pitch using simple shapes, colours and text.
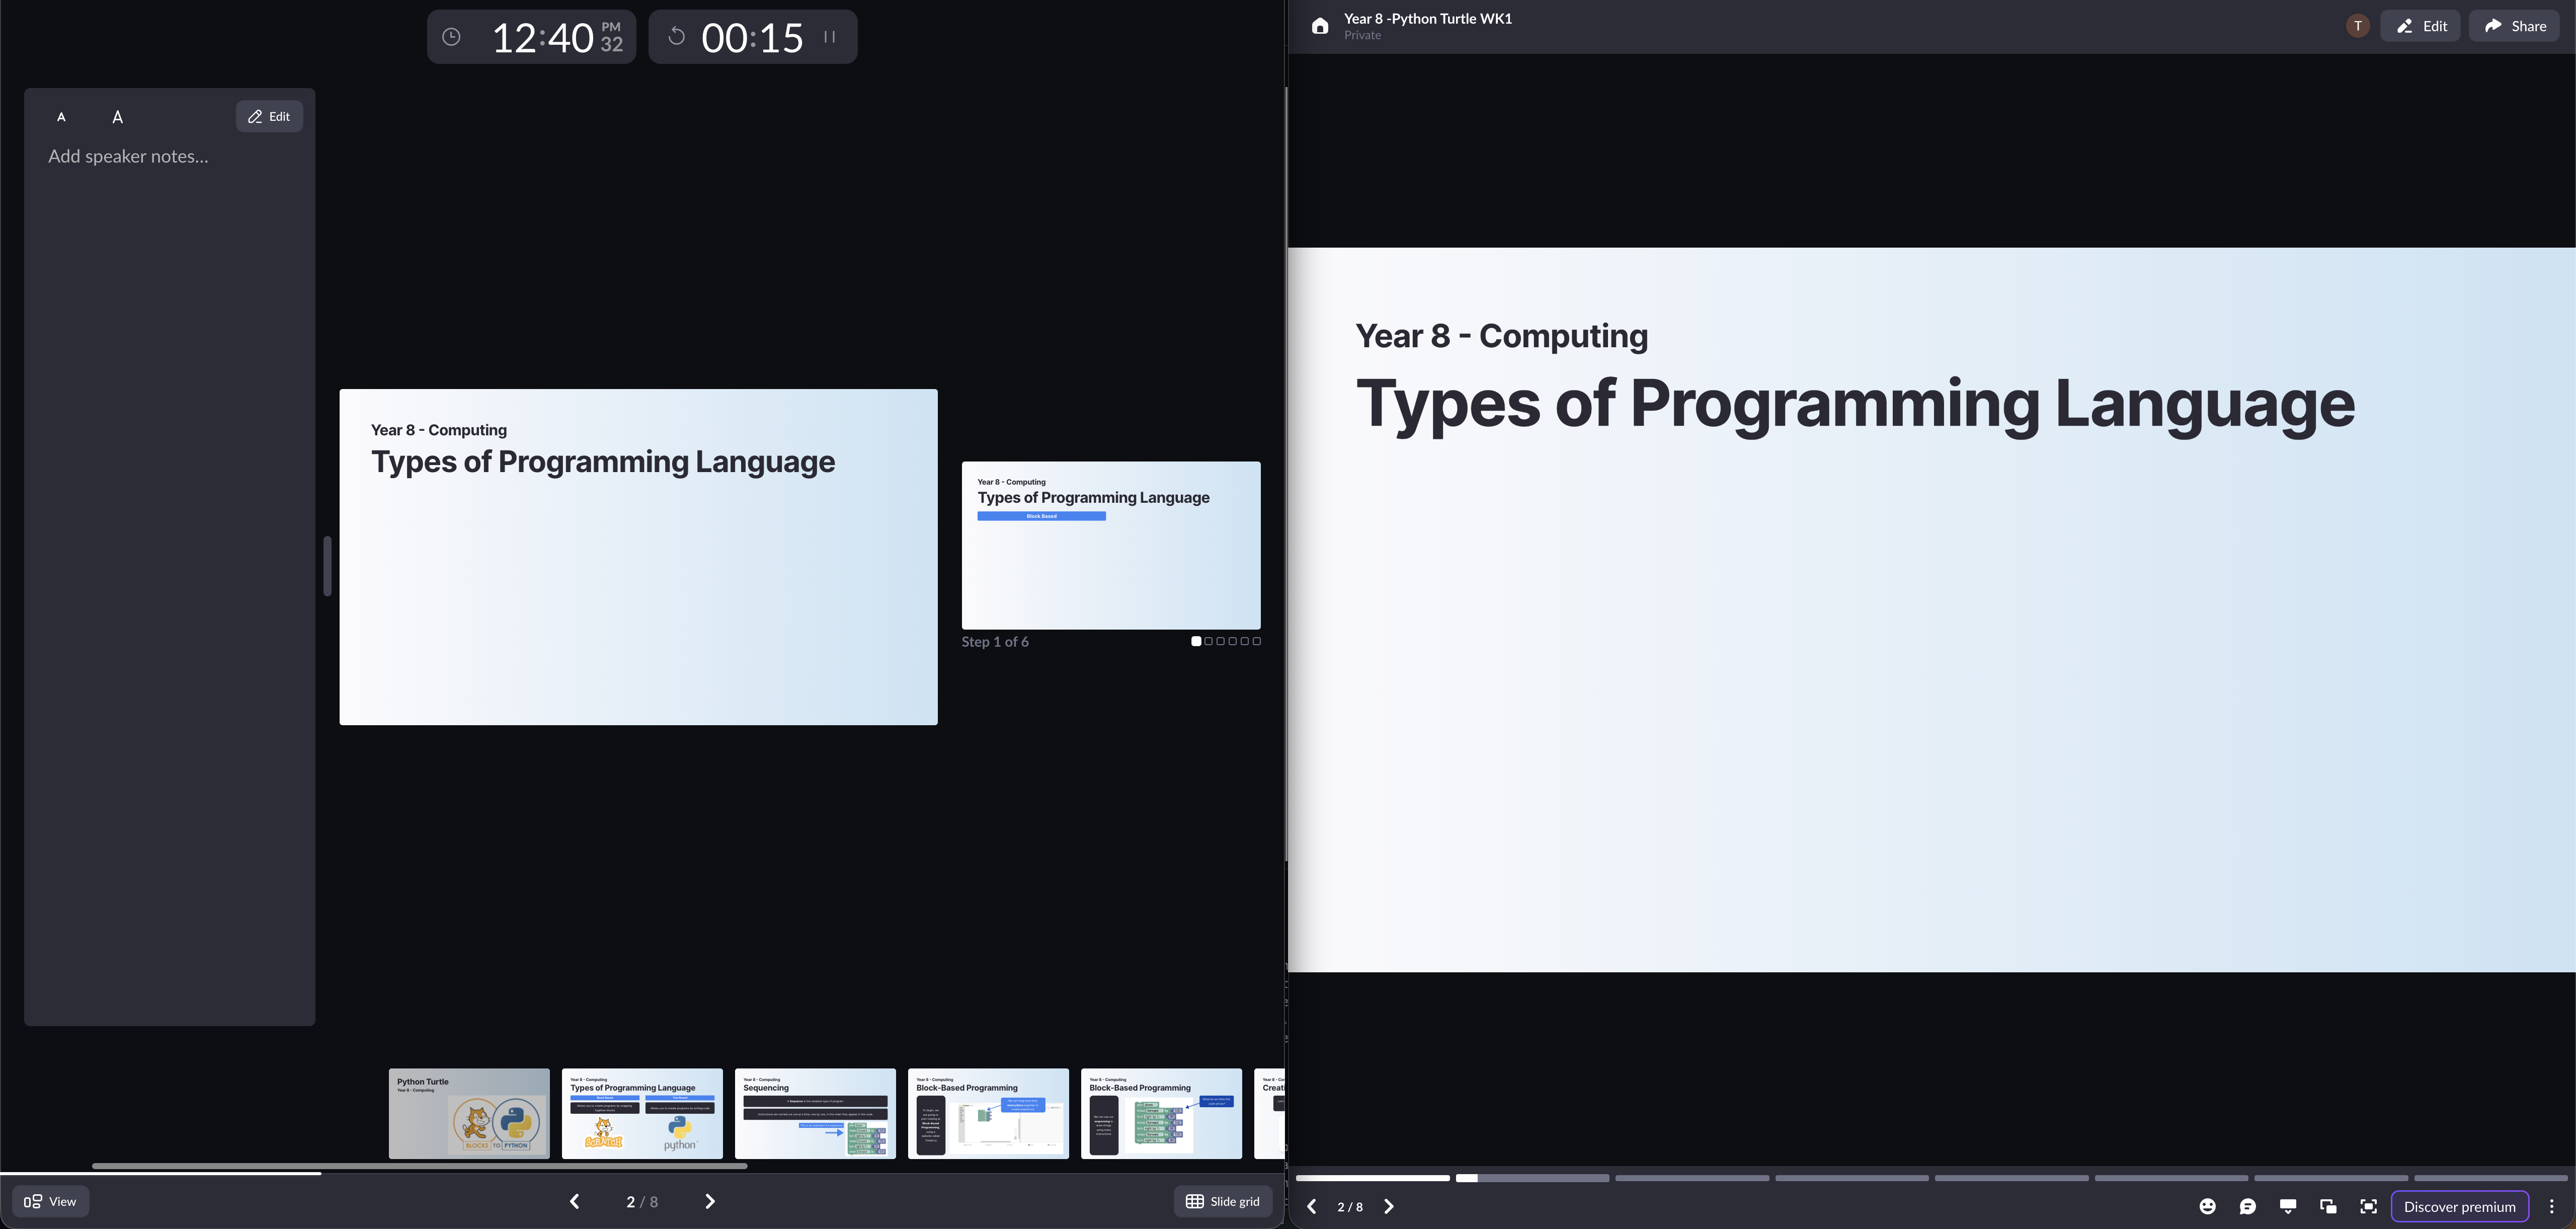
A screenshot of the Pitch presenter view.

Pitch

Pitch was allocated to my Year 8 Python Turtle module. It is a wonderfully clean, snappy platform that produces incredibly professional looking slides very quickly. The user interface is modern and intuitive. However, its disadvantage for an educator became obvious quite quickly. The aesthetic and template libraries are heavily geared towards startup pitch decks and business boardrooms. My Year 8s found the resulting presentations slightly dry and corporate. Without built in educational icons or dynamic live delivery tools, I found myself spending far too much time sourcing external images, and diagrams to make the Python code visually interesting.

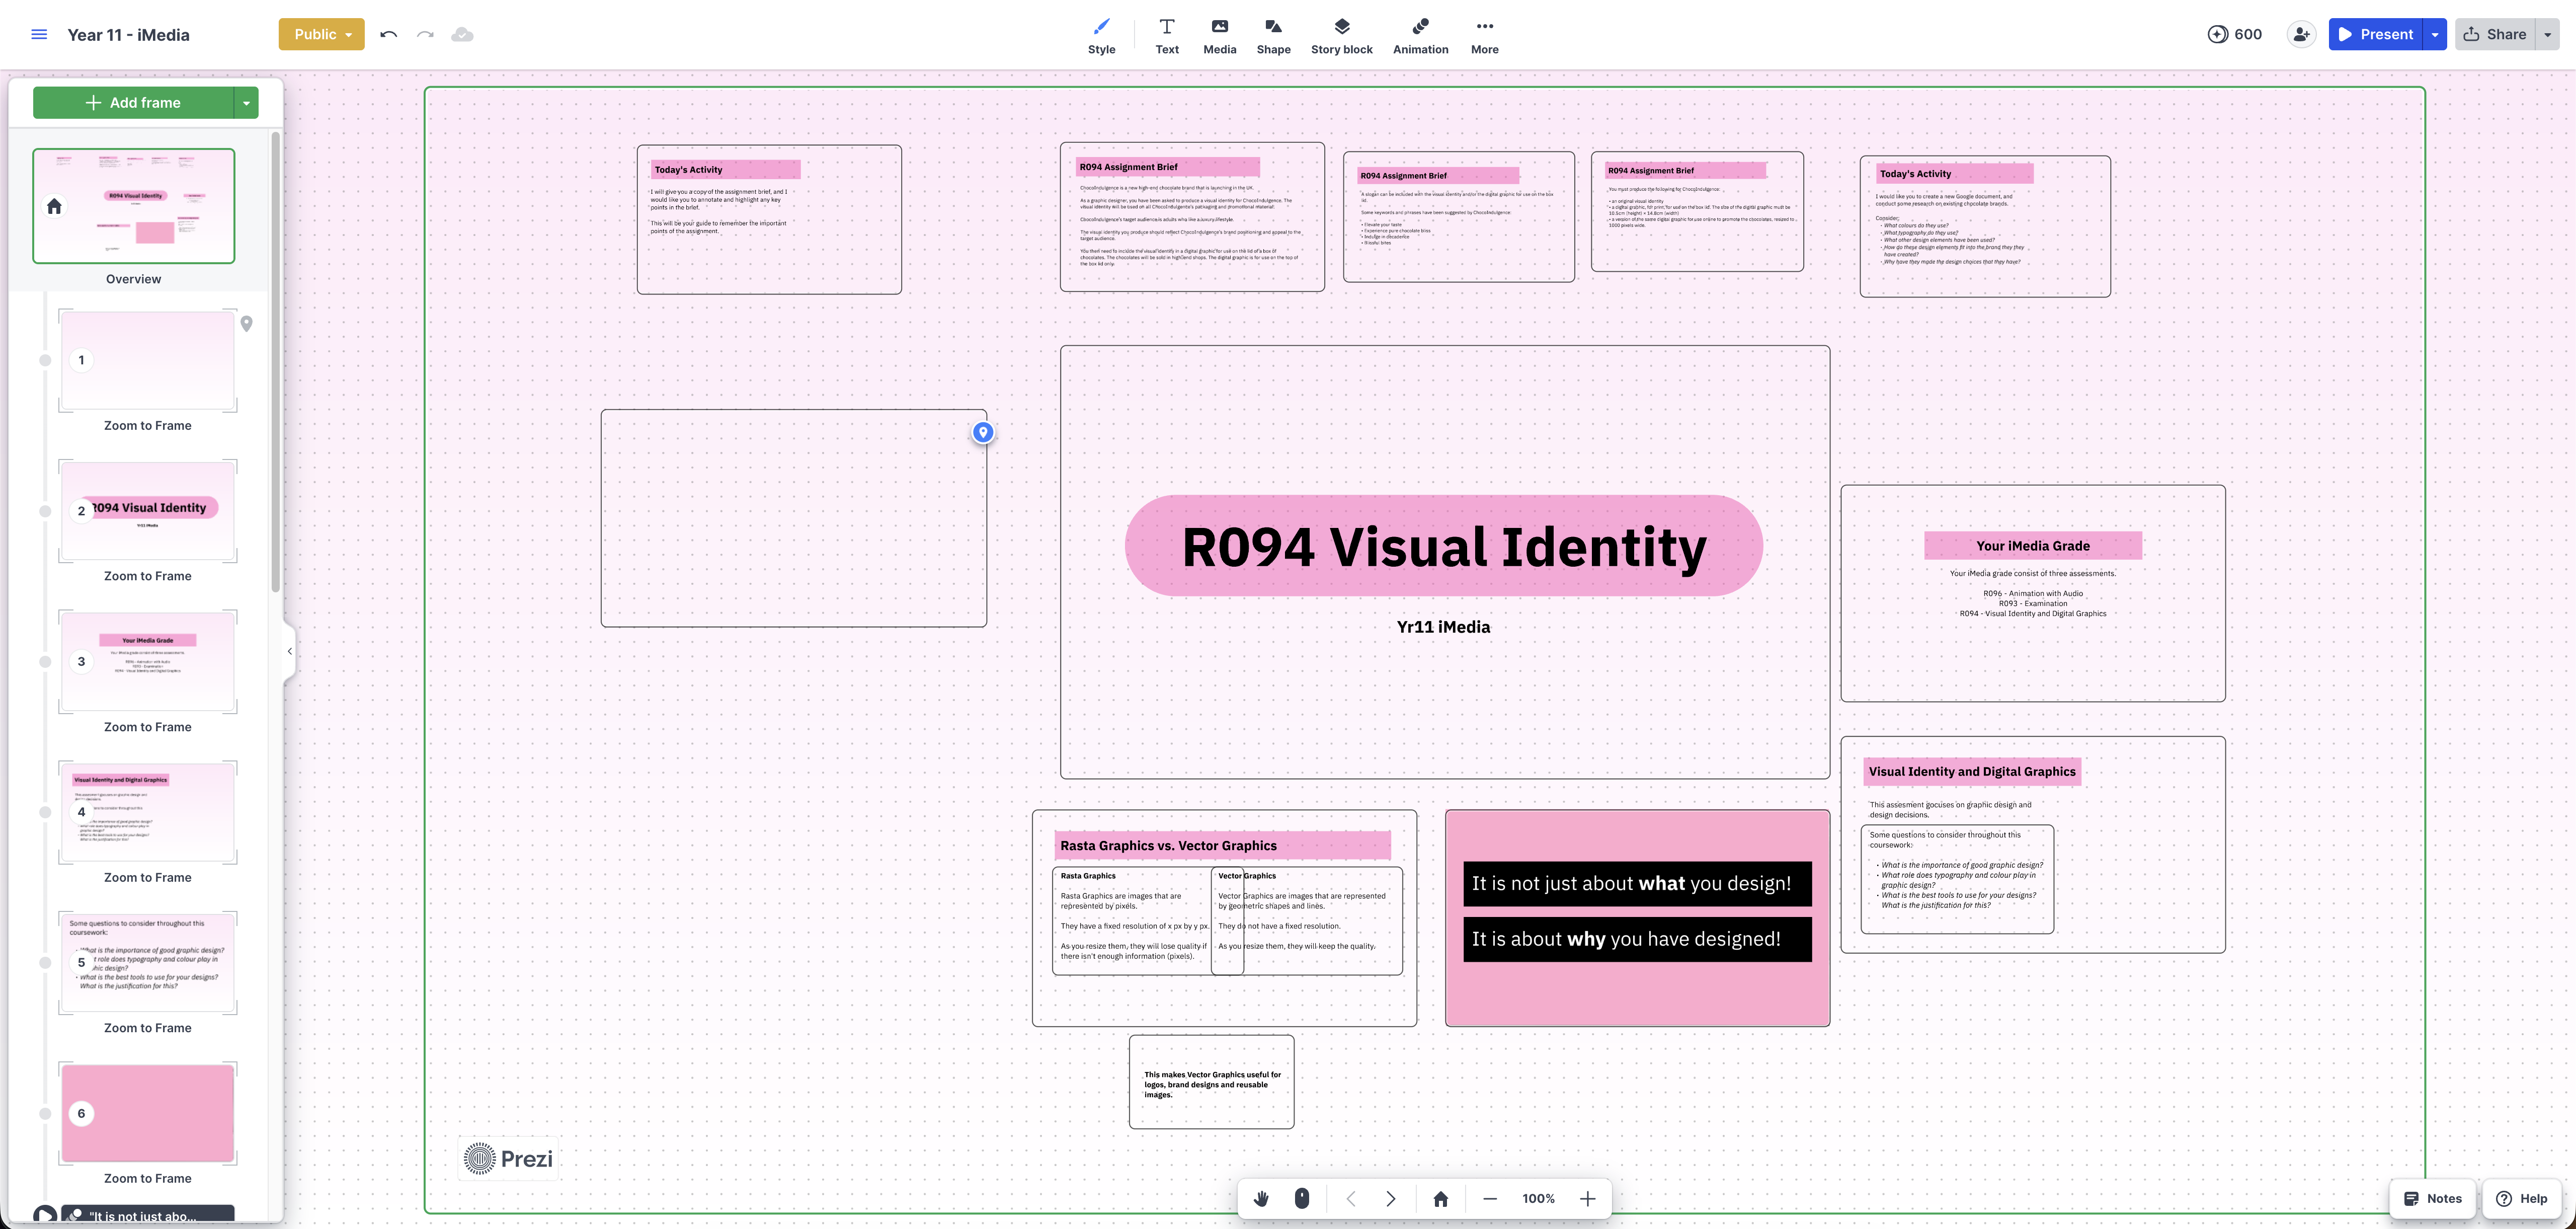
An example worfklow in Prezzi using the whiteboard-based canvas approach.
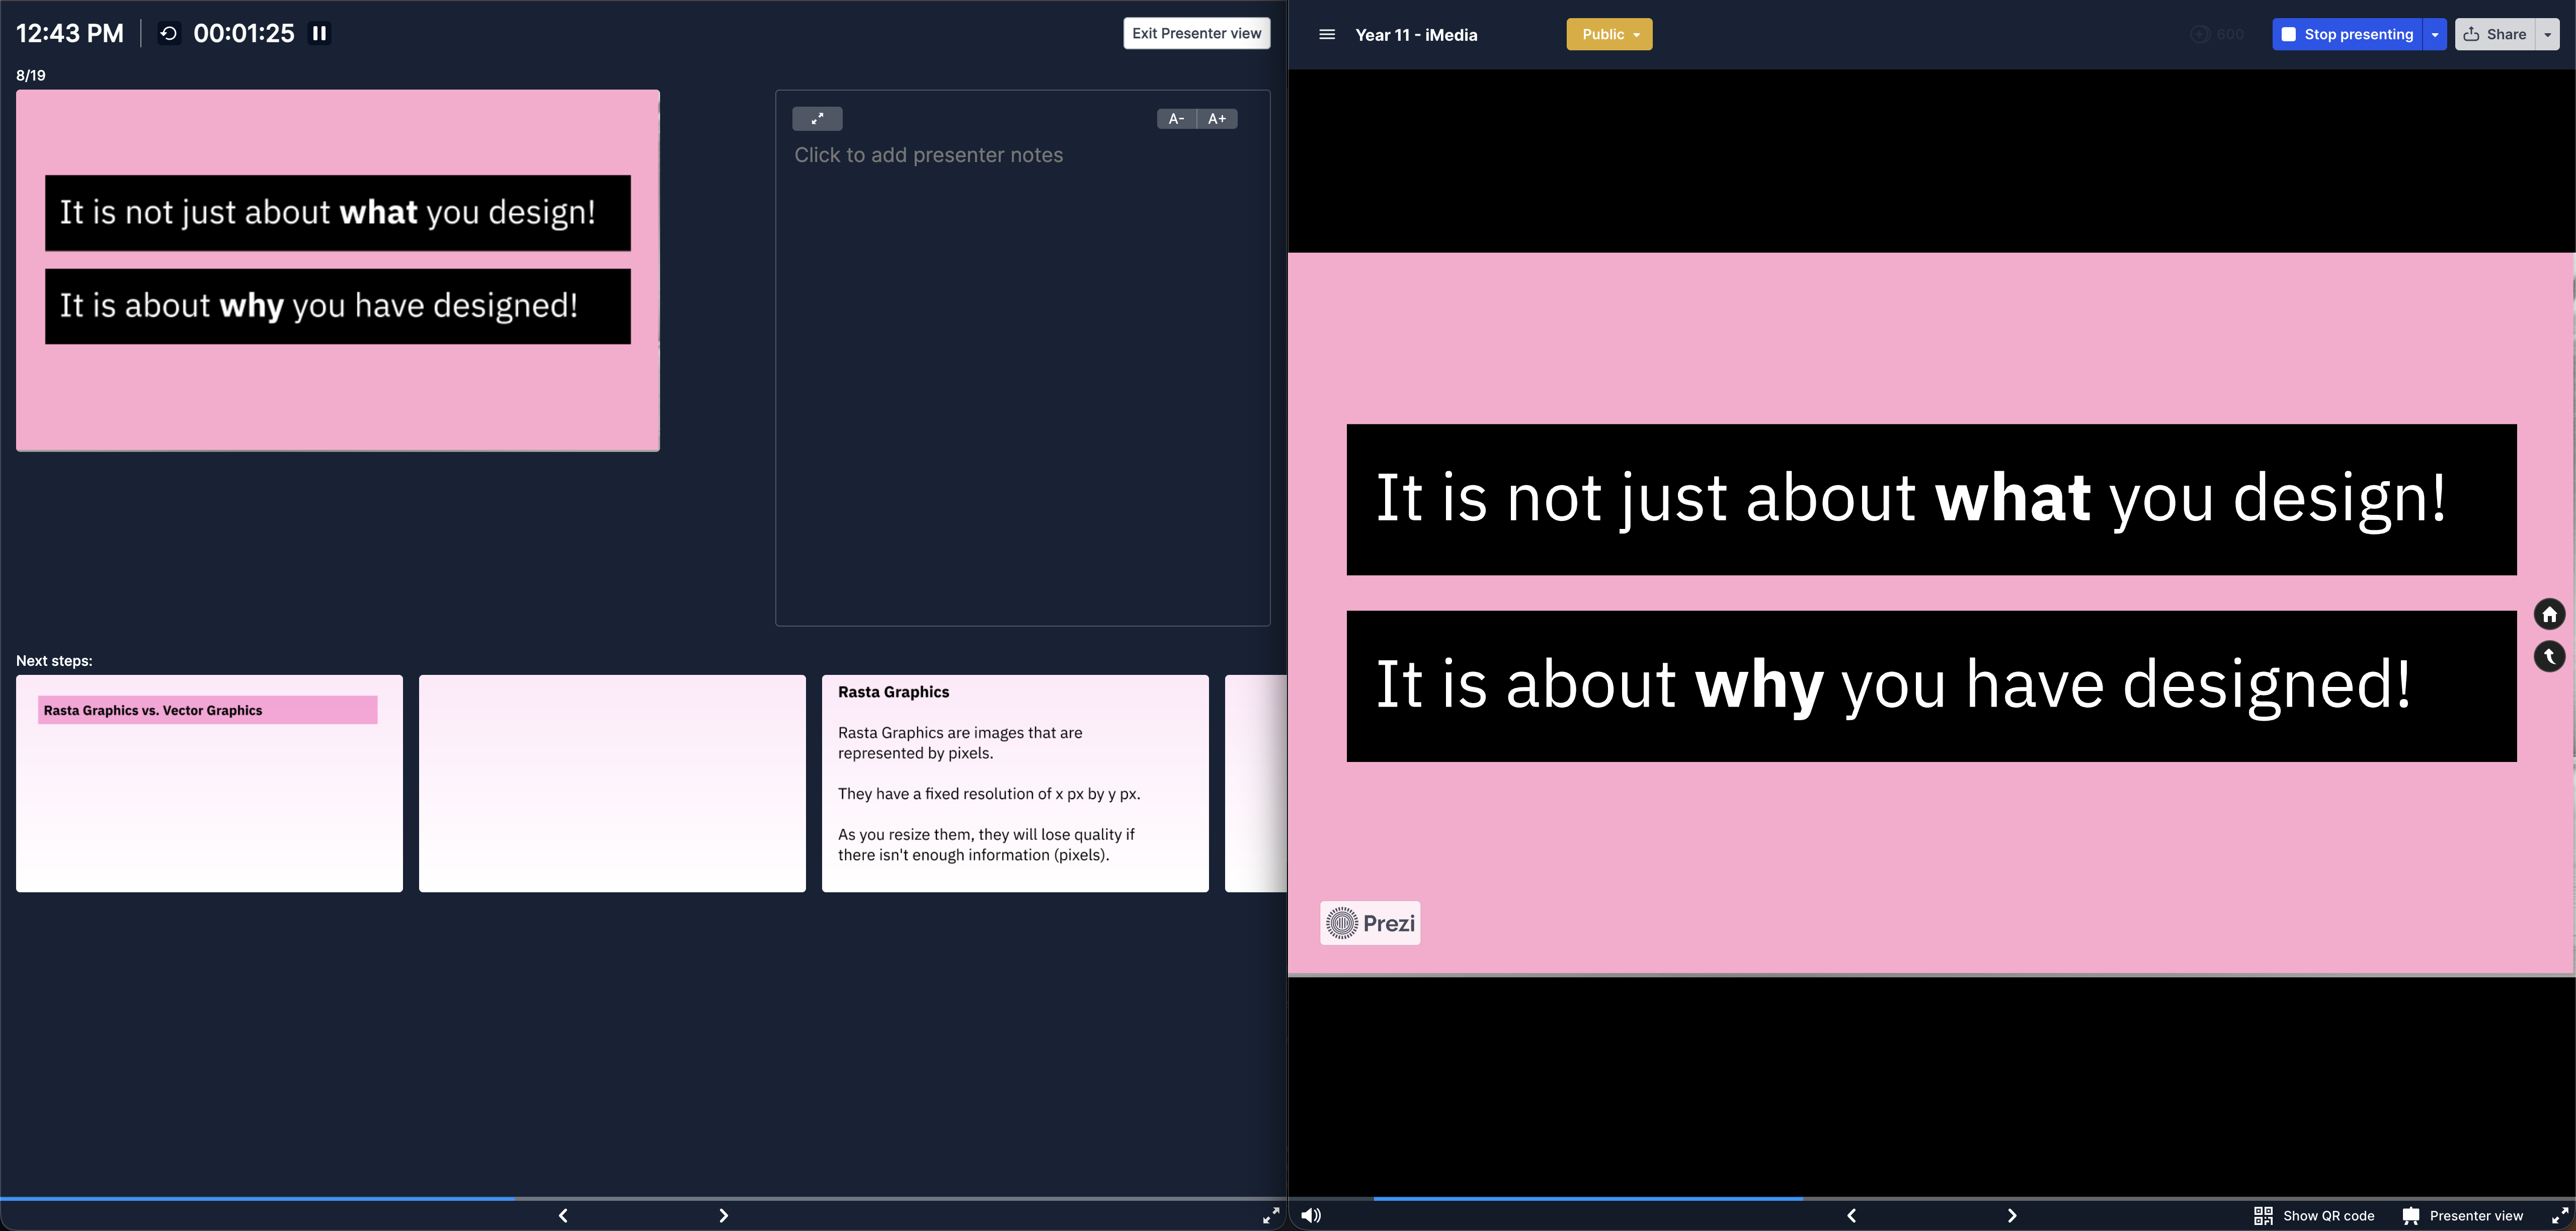
A screenshot of the Prezzi presenter view.

Prezi

Using Prezi for my Year 11 iMedia class was the most challenging part of the experiment. Its clear advantage is the unique, zooming canvas, which is phenomenal for big picture storytelling and showing how smaller media concepts fit into a broader framework. It certainly breaks the monotony of traditional slides. The major disadvantage is that it demands significant cognitive effort to force into a linear, step by step instructional flow. Trying to map out a rigid sequence for exam preparation on an infinite canvas was highly frustrating, proving that it is perhaps better suited to one off assembly presentations rather than daily, structured lesson delivery.

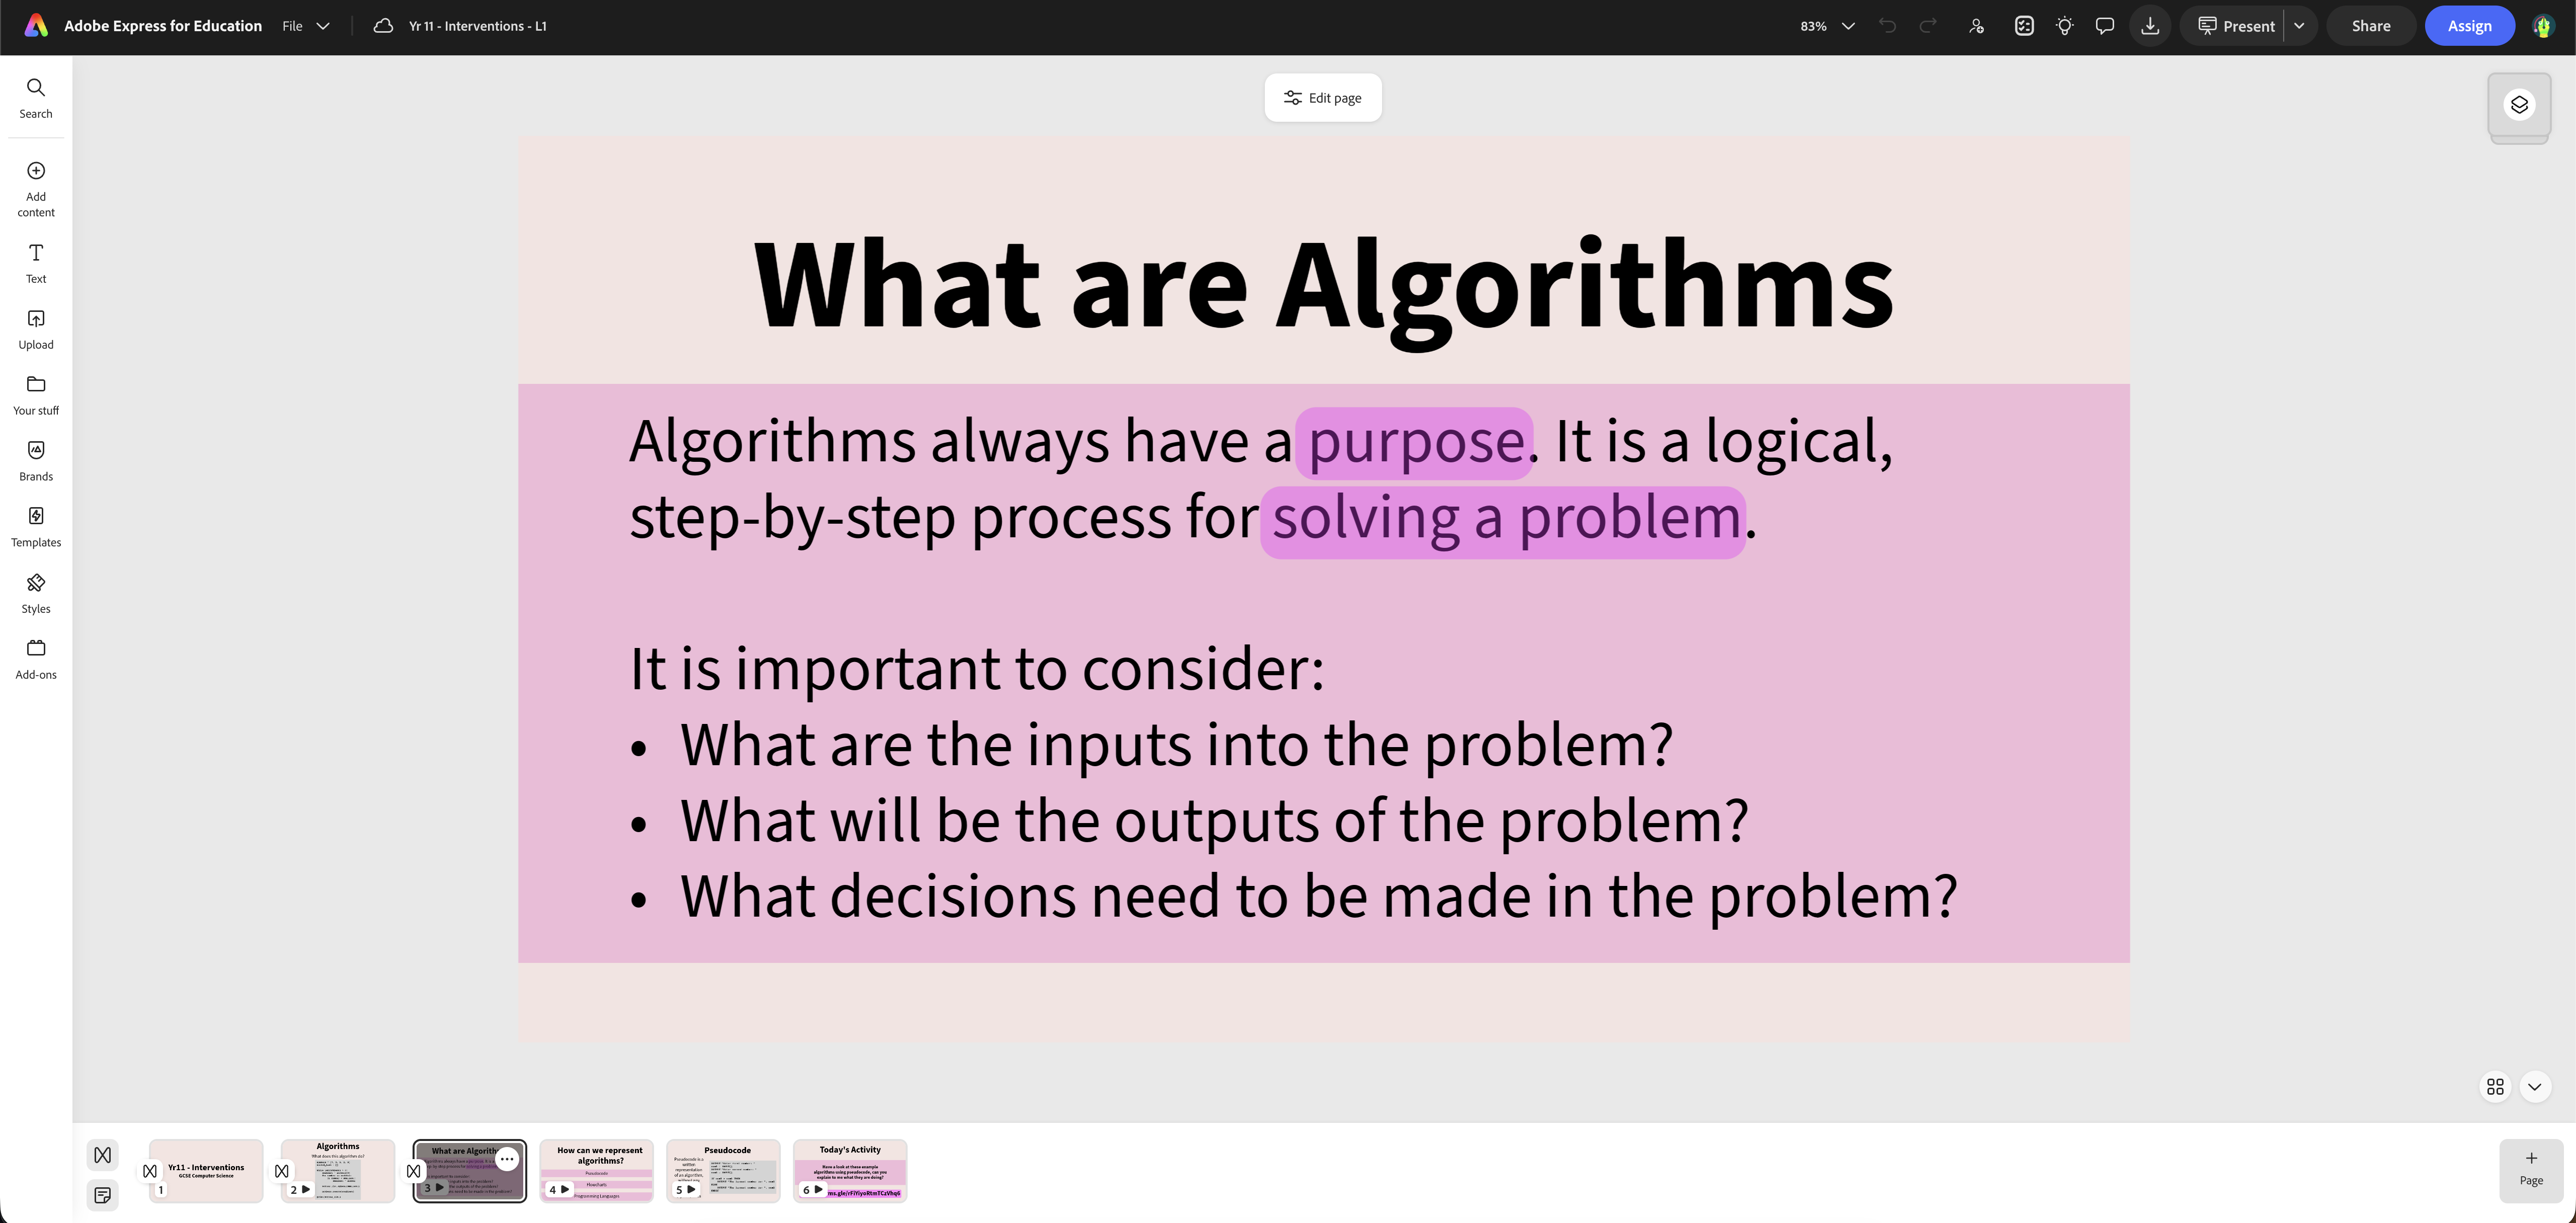
An example slide design in Adobe Express using simple shapes, colours and text.
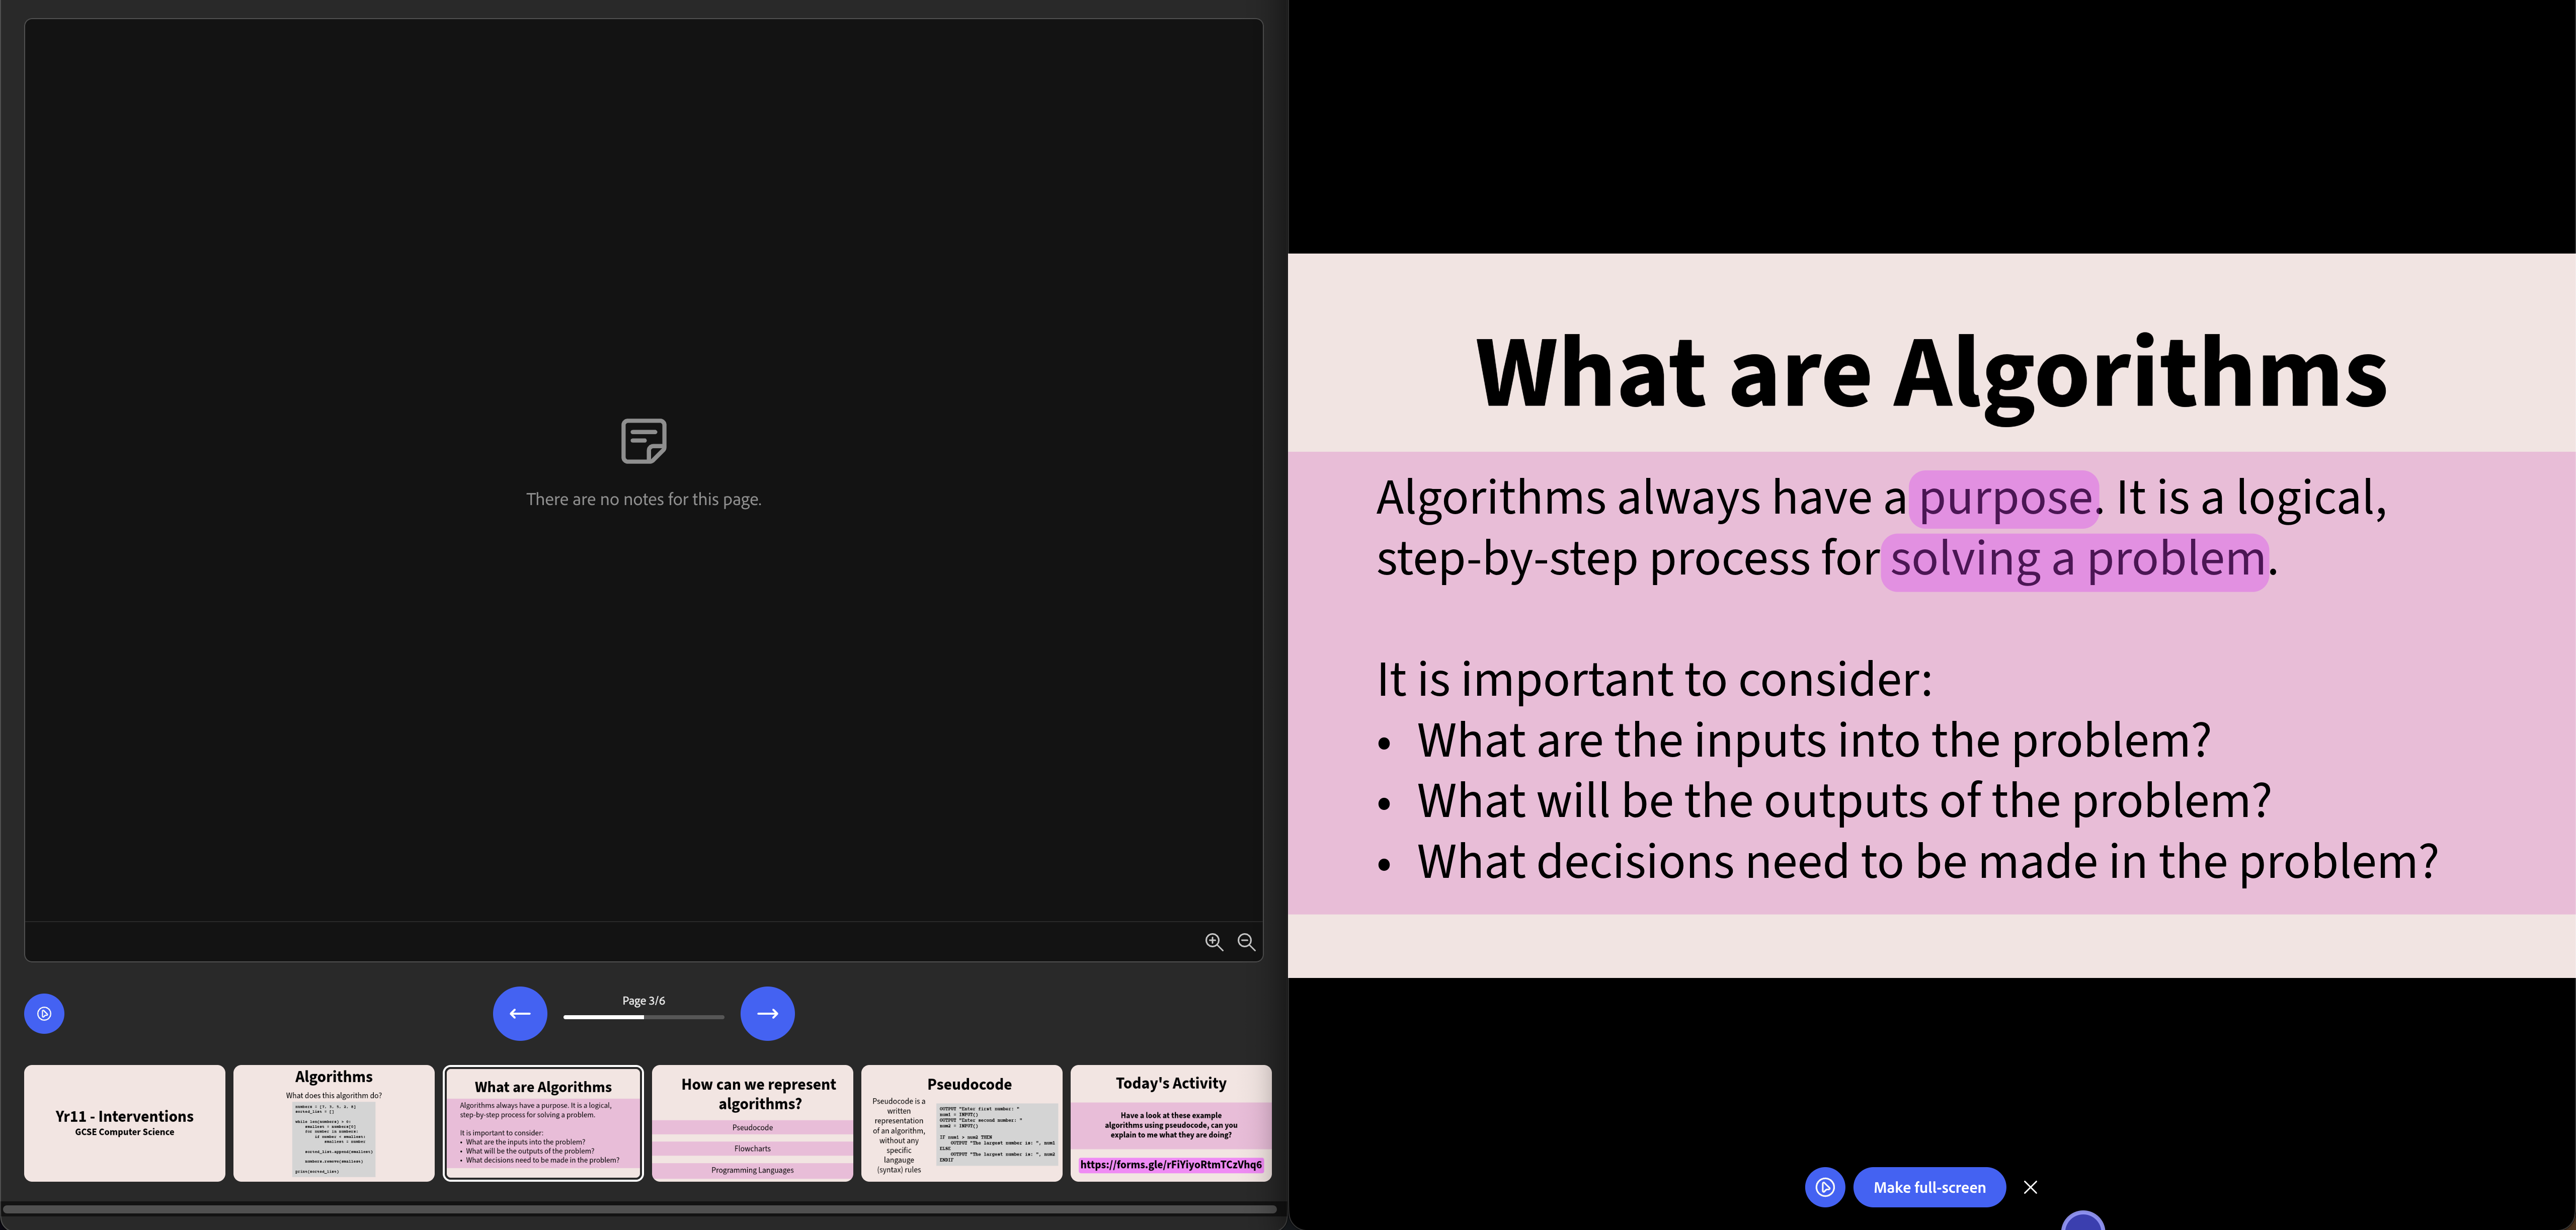
A screenshot of the Adobe Express presenter view.

Adobe Express

I used Adobe Express to build resources for my Year 11 Faculty Interventions. The distinct advantage here is the brilliant multimedia integration, allowing you to seamlessly pull in graphics and design elements from the wider Adobe ecosystem. It excels at creating visually striking title cards and multimedia collages. The disadvantage is that it operates more as a general graphic design suite than a dedicated, sequential presentation tool. Managing detailed, text heavy slides for intervention theory felt somewhat clunky and disorganised compared to using a purpose built presentation tool.

Data & Results Overview

After six weeks of experimenting, here are the scores based on the evaluation criteria.

Graph (Filters):

Toggle the different tools on and off to filter the graphs.

Making Presentations

Software Design Animations Morph Ease Assets Importing Sharing
Google Slides34No4No55
Canva55Yes4Yes45
Visme45No3Yes33
Pitch33Yes4No34
Prezi32No2Yes33
Adobe Express43No3Yes24

Presenting Presentations

Software Speaker View Speaker Notes Preview Drawing Built-in Timer Features
Google SlidesYesYesNoYesNoNone
CanvaYesYesYesYesYesLive polling, random name picker, magic shortcut animations
VismeYesYesNoYesYesLive polling, presenter studio recording
PitchYesYesNoYesNoViewer analytics, asynchronous recording
PreziYesYesNoYesYesVideo integration on canvas, non-linear zooming
Adobe ExpressYesYesNoYesNoNone

Conclusion

While several platforms showed initial promise, Canva emerged as the undisputed winner for overall classroom utility. The decision ultimately comes down to practical teaching reality. In education, aesthetics are highly appreciated, but workflow efficiency is paramount.

Speed and Efficiency

As a teacher planning multiple classes, year groups, and topics, I needed a tool that entirely eliminates friction from my planning hours. Canva achieves this by centralising the entire creative process. Instead of spending hours scouring the web for specific educational icons or transparent images, the volume of built-in assets means everything is instantly searchable within the platform. This keeps the focus on lesson sequencing rather than graphic hunting.

Animations and Flow

Canva scored perfectly on design tools and animations. It provides essential modern transitions like Morph, allowing me to smoothly map objects from one slide to the next. This is a phenomenal feature for step-by-step modelling and visually explaining the logical flow of data in computing algorithms, keeping pupil cognitive load perfectly balanced.

Live Delivery

Most importantly, Canva handles the live delivery aspect. A beautiful slide deck is useless if it restricts the teacher to the front desk.

  • The Ultimate Presenter Dashboard: The presence of a clear speaker view gives me total control over the lesson's pacing. With integrated notes serving as my hidden scaffolding and a dependable next slide preview, I can transition seamlessly between concepts.
  • Built-in Classroom Management: The native, on-screen timer keeps pupils on task during independent work without the clunky need to switch tabs, open separate browser windows, or disrupt the visual flow of the lesson.
  • Live Modelling: The absolute standout feature is the ability to push live updates from on-screen drawings. Being able to roam the classroom with a tablet, highlighting code snippets or annotating diagrams in real time, completely transforms a static presentation into a highly interactive, responsive modelling tool.

The Complete Package

Ultimately, Canva consistently supports my pedagogy rather than hindering it. It successfully bridges the gap between efficient, time-saving lesson preparation and dynamic, engaging classroom delivery, making it the definitive, complete package for the modern teacher.

One Year Later ...

Having relied on Canva for every single slide deck throughout the entire 2025-2026 academic year, the experience has been nothing short of brilliant. Over the past twelve months, I have deeply expanded my knowledge of the platform's advanced tools, having established brand templates that has streamlined my daily planning, continually refining and improving the master slide deck template that keeps my resources highly consistent and professional.

The live drawing features have become an absolute staple in my mathematics lessons, allowing me to smoothly annotate complex equations and model problem-solving directly from my tablet.

As I've discussed previously in my posts exploring gamification, finding ways to make classroom resources more interactive is something I am incredibly passionate about. Integrating interactive Canva Code resources straight into my presentations has been a game-changer for computing instruction. It allows me to seamlessly embed custom interface widgets and gamified activities directly into the flow of the lesson, keeping pupils engaged without ever needing to switch away to an external tool. This would not have been as seamless without using Canva is my primary presentation tool.

The impact of these tools even extended beyond my school gates. When I delivered a guest lecture at the University of Kent in February 2026, I built the entire presentation using my Canva skills. The design and clarity of the deck received a lot of praise, serving as the validation of the skills I have built over the past year, and the final proof that Canva is the best tool for slide decks in Education.

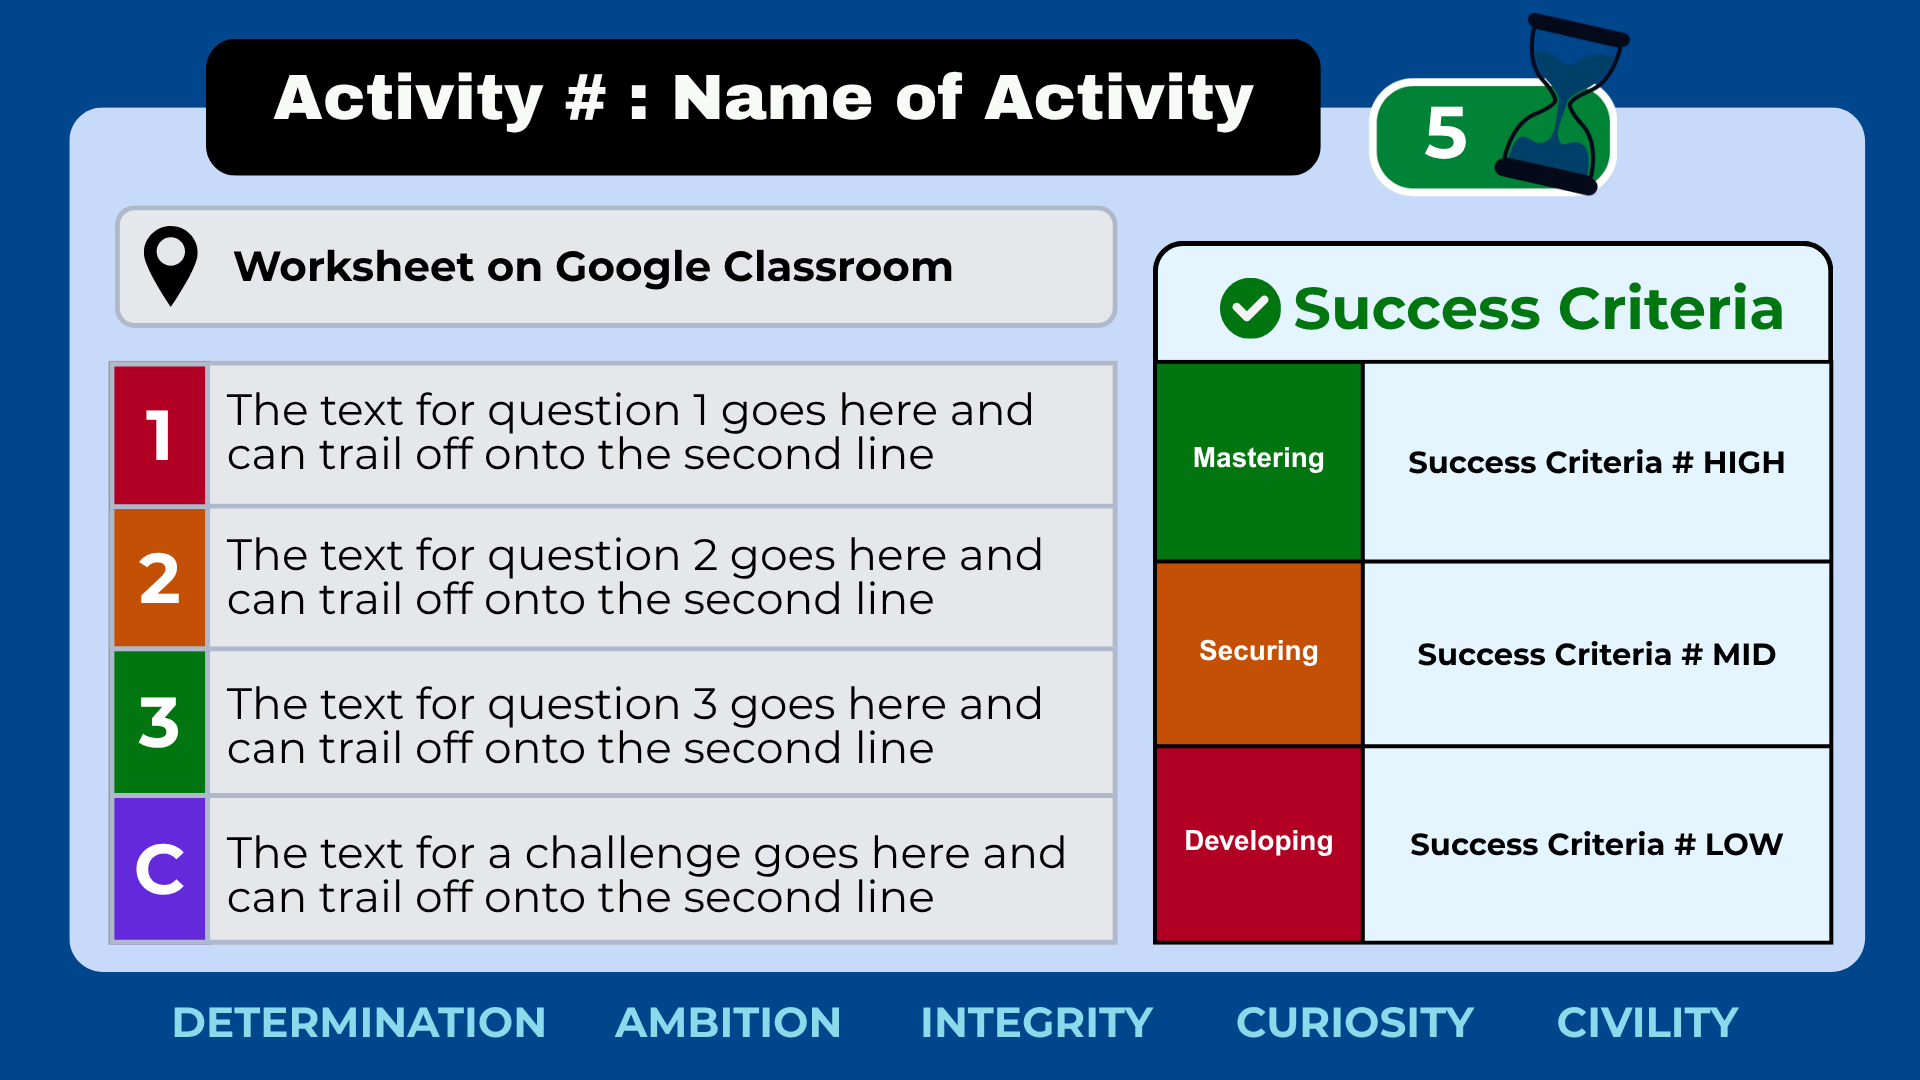
An example 'Activity' slide from my brand template
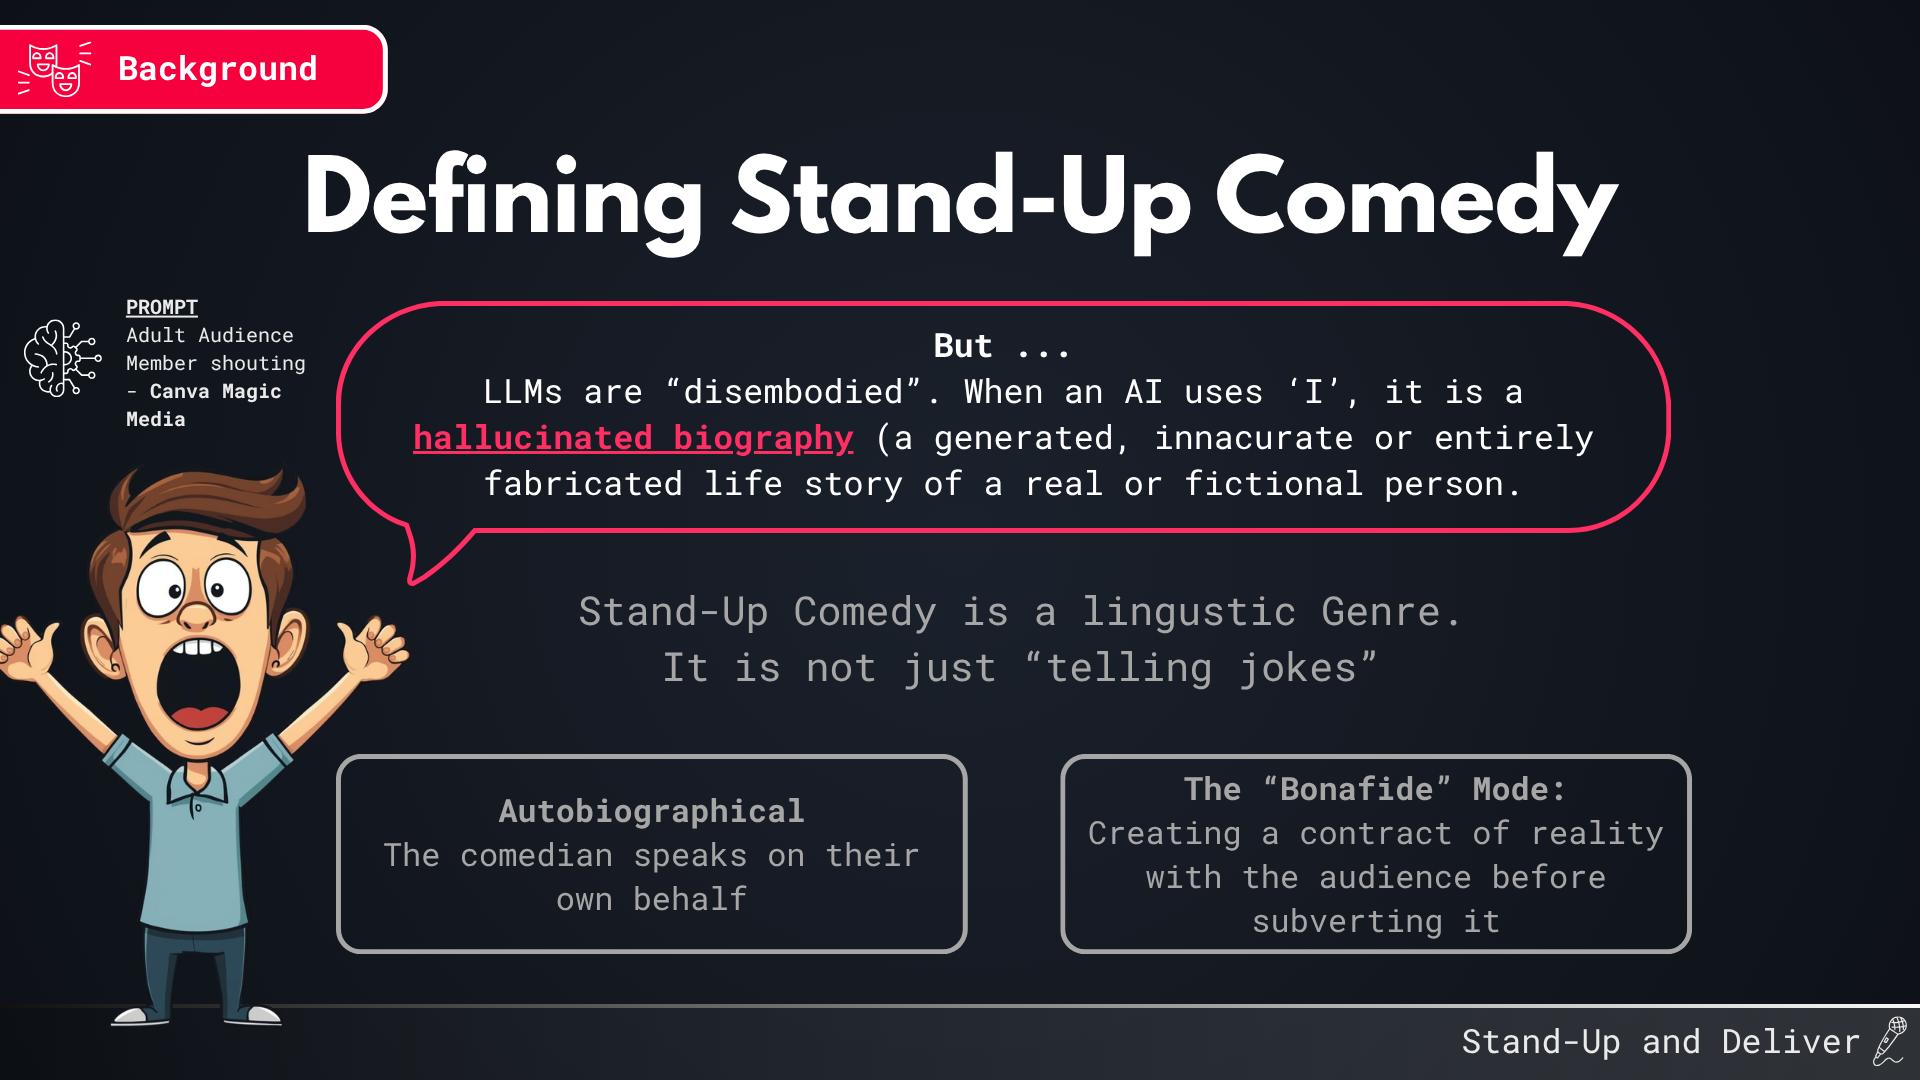
My February 2026 University of Kent lecture slide deck

This post is a follow-up to my previous blog entry where I concluded that Canva was the best tool for creating slide decks in education. I wanted to break down more information regarding this initial experiment and what I learnt going back to these platforms a year later.

Recap

What was the experiment?
A year ago, I set out to find the ultimate presentation software for classroom teaching. I wanted to move beyond the default options (Google Slides or PowerPoint depending on being a Microsoft or Google school) and explore what was actually available for teachers needing to build engaging, clear, and functional resources.

What tools did I look at?
I tested six well-established online presentation platforms: Google Slides, Canva, Visme, Pitch, Prezi, and Adobe Express.

What was I looking for?
I needed software that could handle the demands of a secondary classroom. When teaching, a presentation is not just a static backdrop. It needs to support live modelling, step-by-step worked examples, syntax highlighting for code, and smooth step-by-step transitions and animations to chunk content. I evaluated each platform on design flexibility, animation capabilities, asset libraries, file compatibility, presenter tools, and interactive classroom features.

What was the conclusion?
Canva emerged as the clear winner. This post explores exactly how each platform performed against my metrics and why today (a year since I did that experiment) that conclusion still holds up.

How Each Tool Performed

Below is a deep dive into how each platform stacked up against the core metrics. I have expanded heavily on the micro-interactions of these tools compared to my overview in my previous post, as it is often the small workflow details that dictate whether a platform survives the reality of a busy teaching schedule.

Google Slides
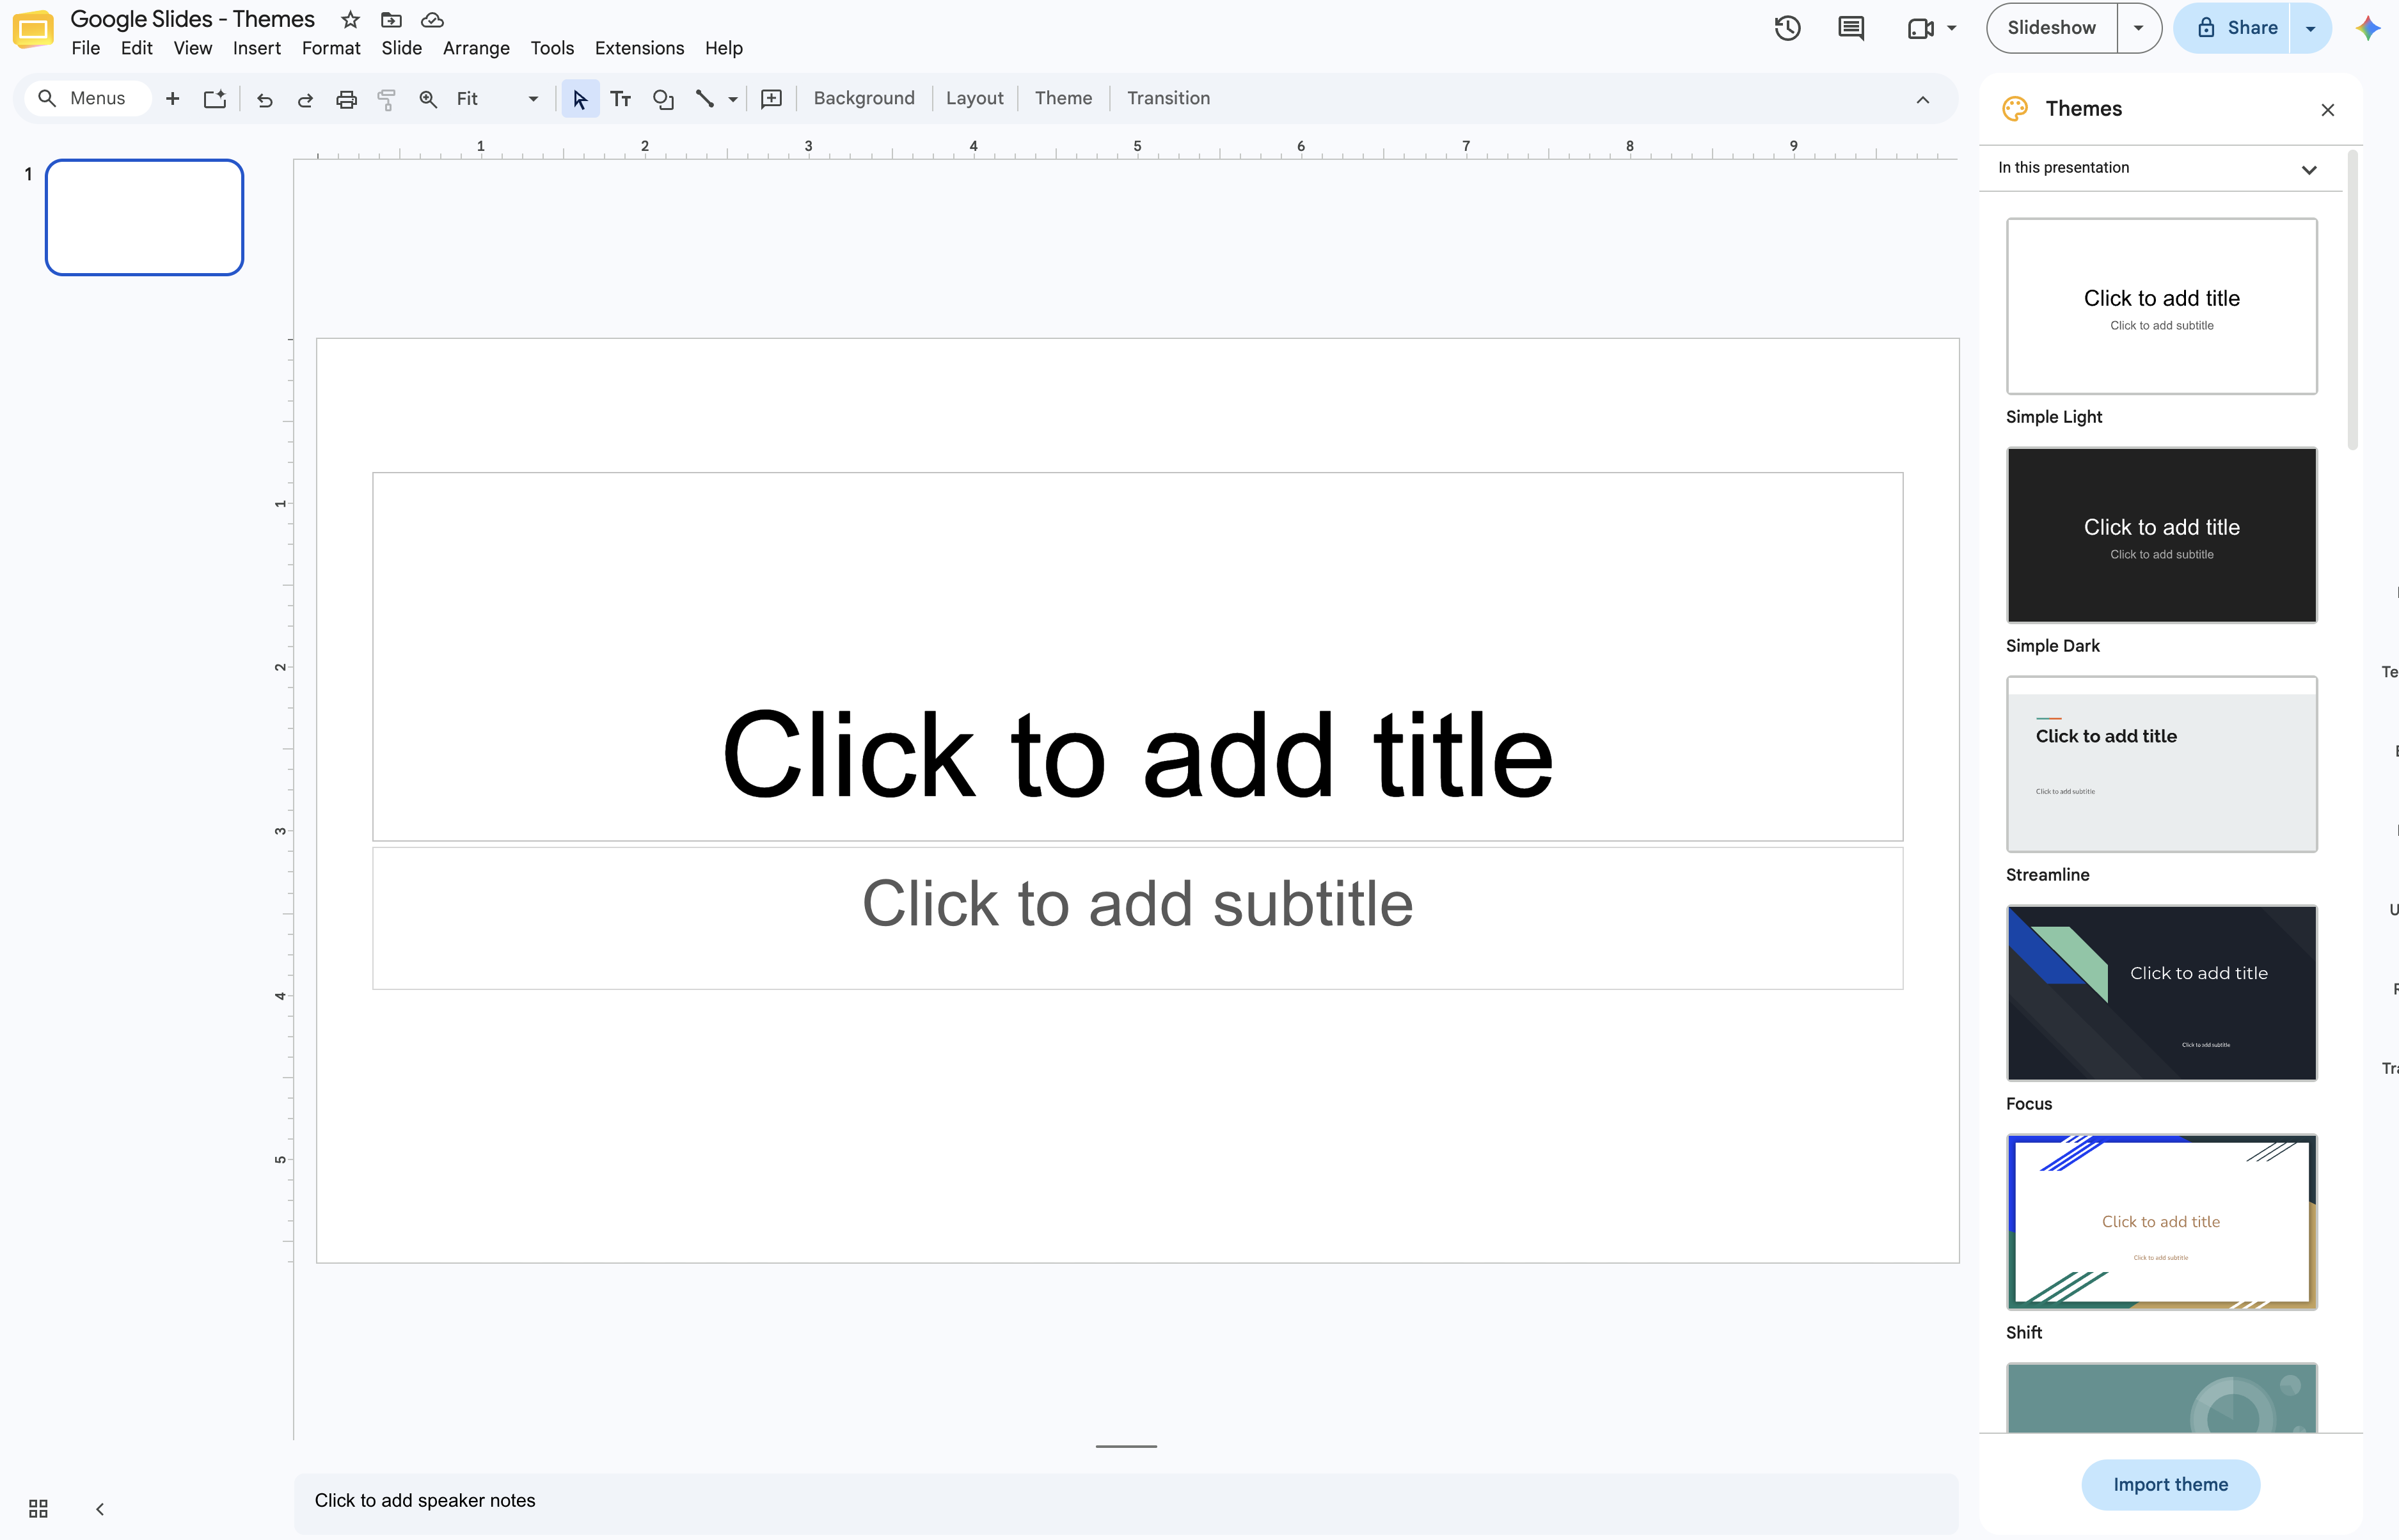
A standard Google Slides interface showing a basic layout with the theme picker open on the right-hand side

Design Tools

Google Slides is reliable but inherently basic. The grid snapping works well for rough layouts, but the typography controls and layout options feel quite dated compared to modern design suites. You are largely restricted to basic alignment and standard web fonts, making it difficult to create a truly bespoke look without a lot of manual adjustment.

View of the Google Slides format options panel, showing the text formatting settings

Animations

Animations are limited to simple fades and basic movements. There is no native 'Morph' transition. If you want to show a step-by-step mathematical proof or a sequence of code execution, you are forced to duplicate slides and manually adjust elements across each frame. This can be incredibly tedious and often results in jerky transitions if you misalign an element by even a single pixel or change the layout of the slide after duplication.

Library of Assets

A native library of assets is virtually non-existent. You have to rely on web searches or third-party add-ons to find decent icons and pictures. The shapes on offer are minimal but cover most the required shapes for day-to-day slide creation. However, this lack of assets disrupts the workflow heavily, as you are constantly leaving the application to source graphics.

Importing PPTX files & Sharing resources

This is where Google Slides excels. Importing PPTX files is flawless, retaining almost all original formatting. Furthermore, the Google Workspace ecosystem makes sharing resources with colleagues completely frictionless. You can share a lesson deck with a department in seconds and collaborate in real time. However, this is reliant on using Google Workspace within your school, Microsoft 365 does offer an equivalent.

Speaker View and Speaker Notes

The speaker view is functional and includes an audience Q&A tool, which is a nice touch. While you can use basic formatting like bold text and bullet points, the notes section still feels very restrictive and less polished than dedicated desktop software.
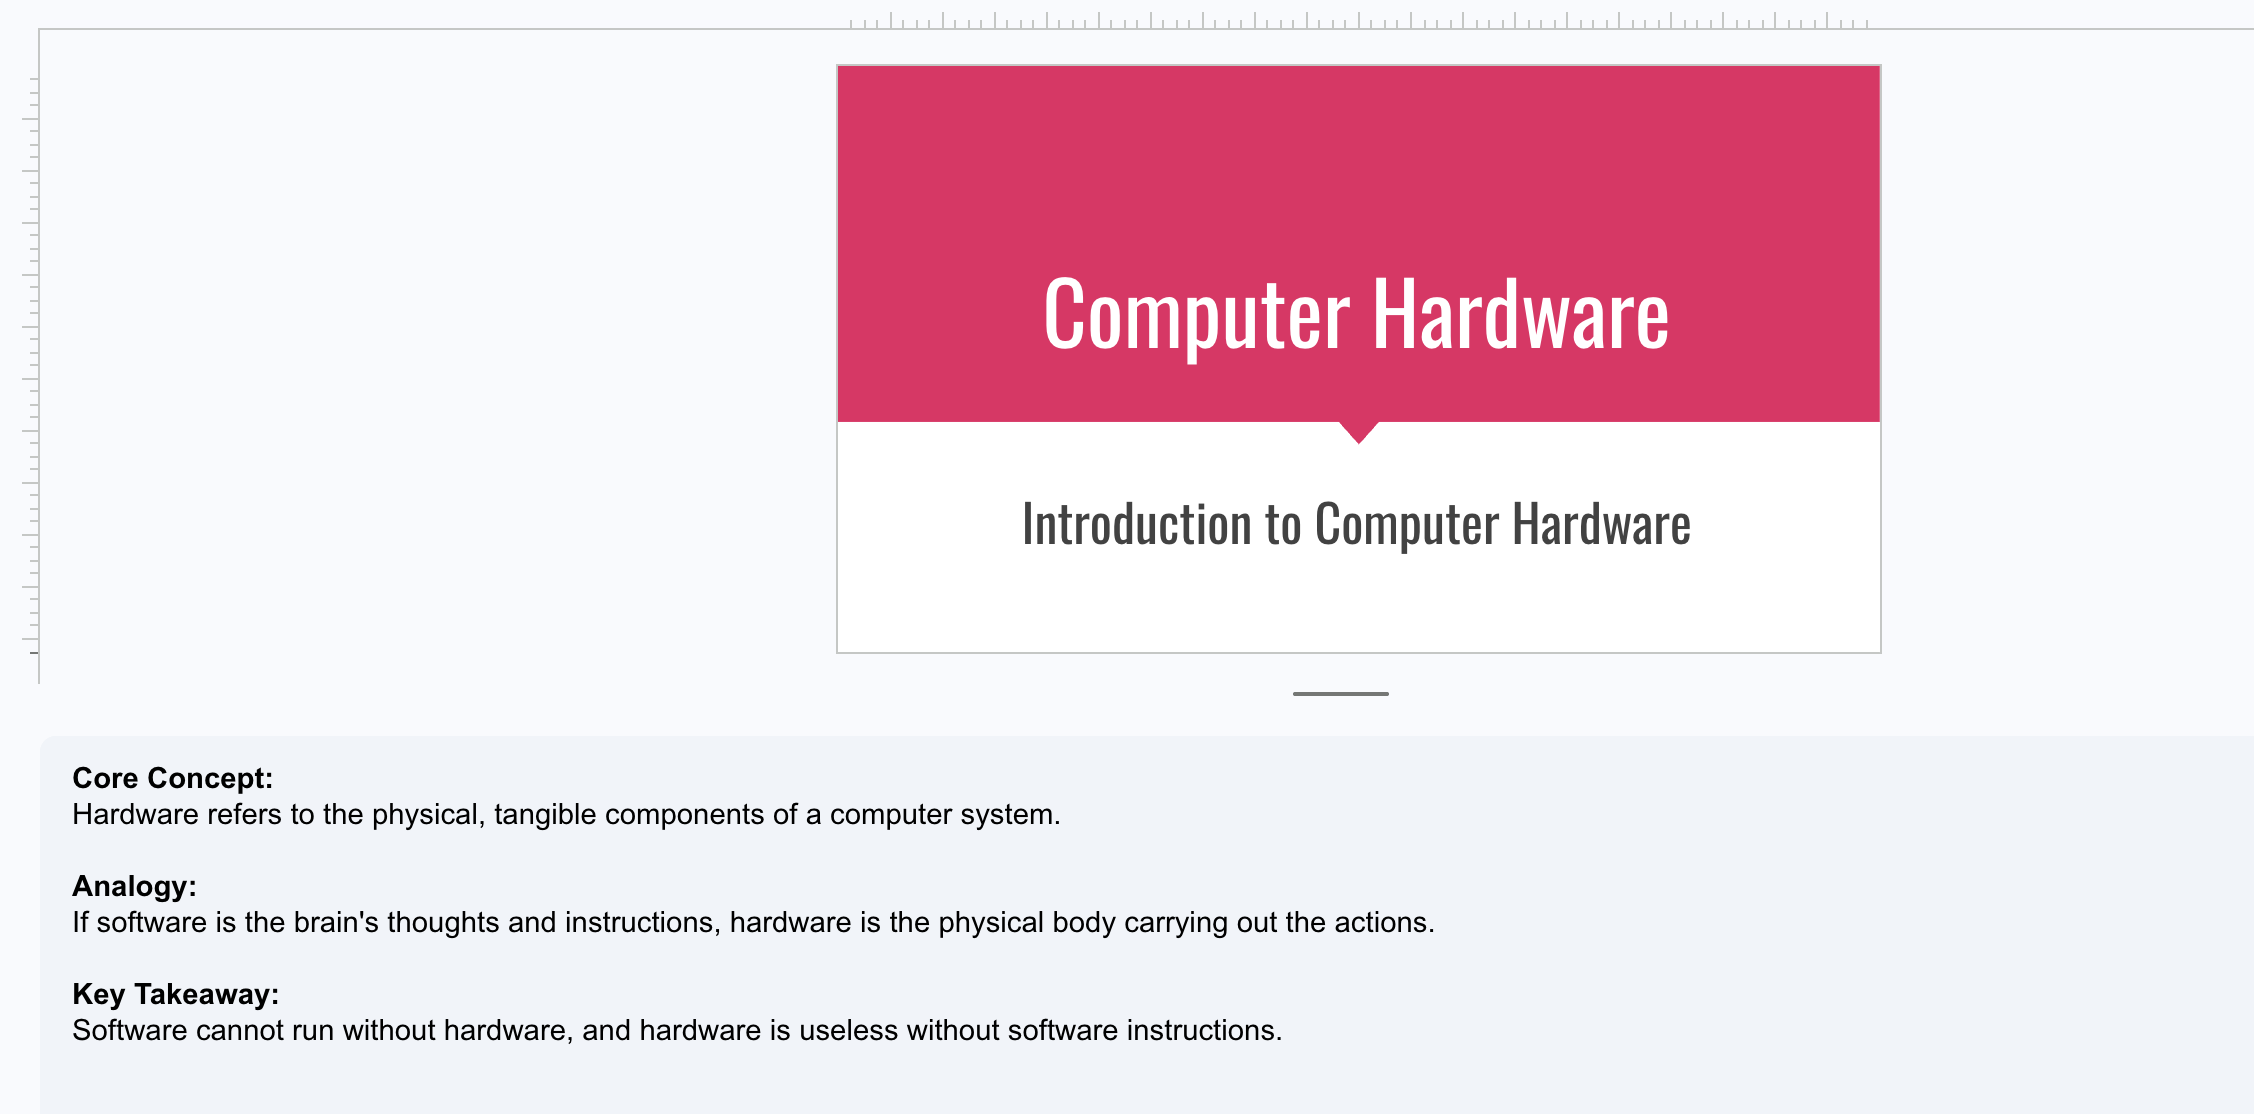
An example of Google Slides text speaker notes

Annotation Tools and Drawing

Google recently added a native pen tool that you can enable via the options menu during a slideshow. While it allows for basic drawing and annotation over your slides, the markings disappear once you end the presentation, meaning you cannot easily save your worked examples for students to review later (i.e. sharing notes with them after the lesson).

Timer tools

You have to embed a YouTube timer video or use a Chrome extension because there is no native countdown timer. For a teacher trying to manage a 60-minute lesson with multiple chunked tasks, this can be a significant frustration. Using a YouTube timer video is acceptable but lacks the ability to adjust the timer midway through.

Additional features

The platform benefits from a massive ecosystem of add-ons, but natively there are little additional features.

Canva
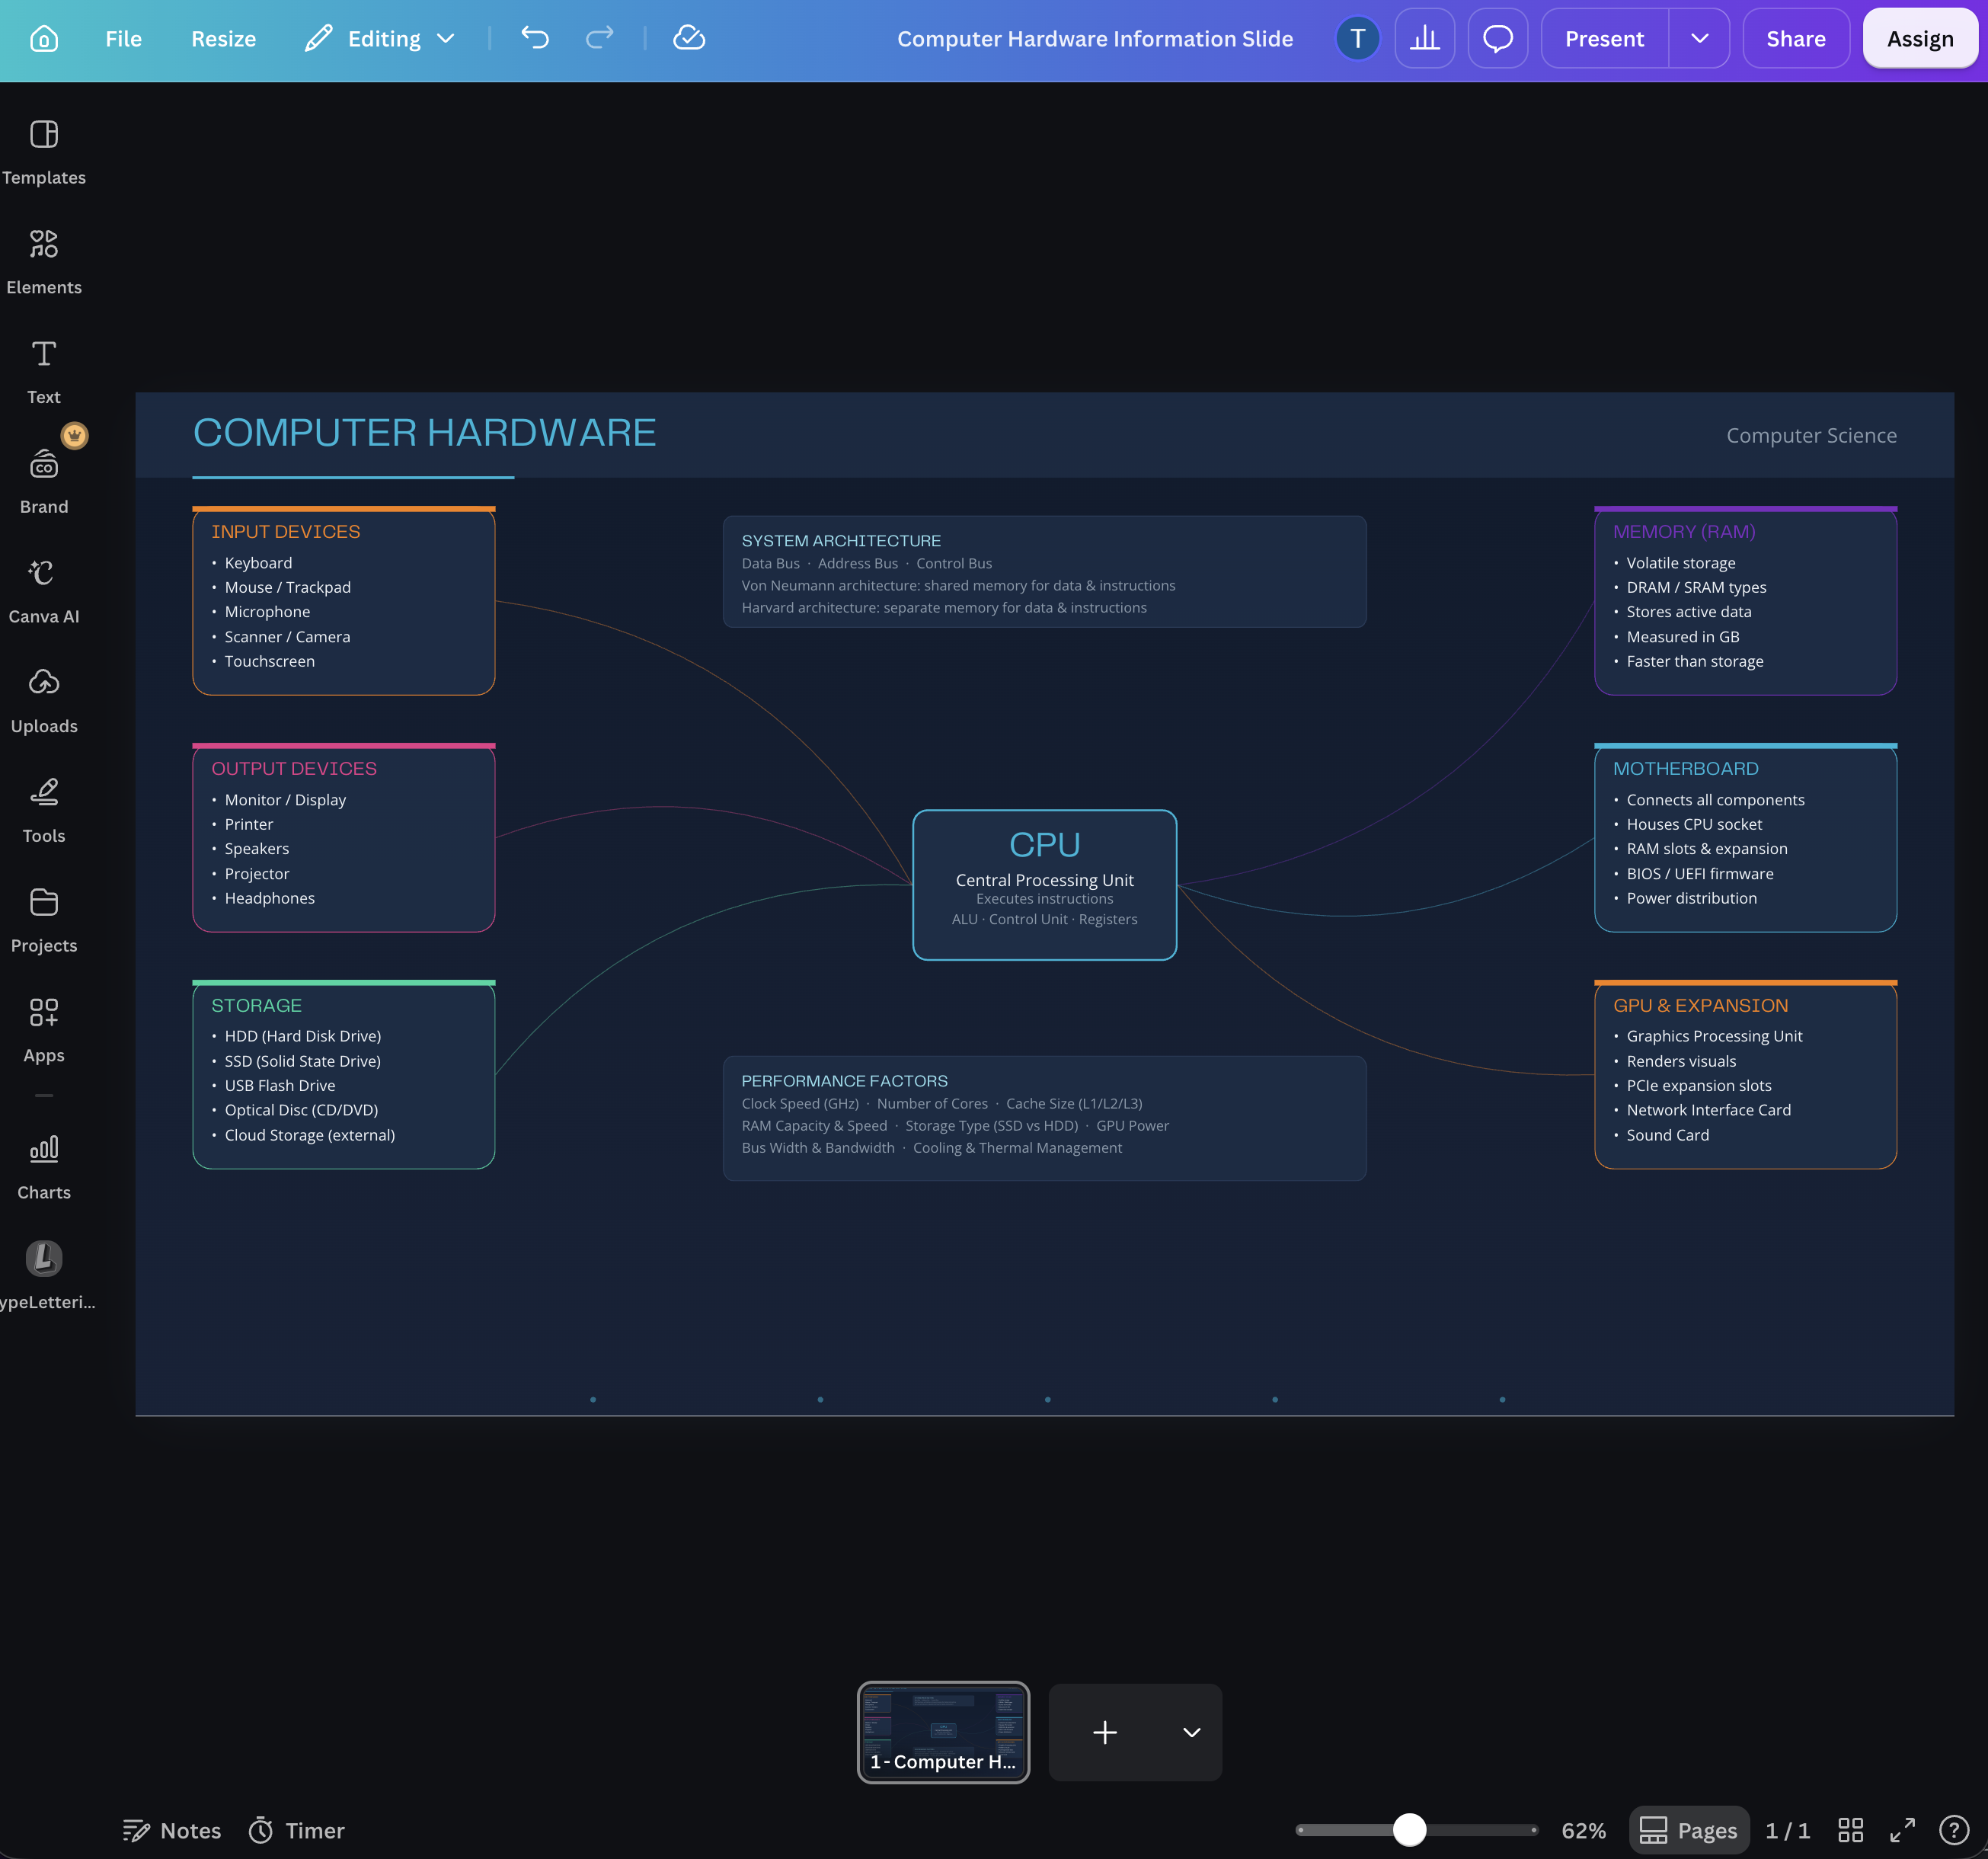
The Canva editor showing a detailed Computer Science diagram on Computer Hardware

Design Tools

The design tools are phenomenal. The interface is intuitive, the alignment guides are precise, and creating visually striking resources can be incredibly fast. My experience creating resources and widgets as a Canvassador has shown me just how deep these design capabilities go. Features like Magic Media can immediately improve the look your entire slide deck, and the grid snapping feels incredibly intelligent.

Animations

Canva's 'Match and Move' feature provides a seamless morph transition between slides. It works by tracking element IDs across duplicated pages, meaning you simply duplicate a slide, move your elements to their new positions, and Canva smoothly animates the transition. Sequencing animations for step-by-step reveals is straightforward, which is perfect for modelling algorithms or equations.

Canva features a number of exciting animations that can be applied to elements, groups and even whole slides. The main downside of the animation tools within Canva is the sequencing which (although easy once you know) can be difficult to get started with. Getting the objects to pop up ‘On Click’ in the right order took me a few attempts when I first started using Canva.

Library of Assets

The asset library is unmatched. Millions of educational diagrams, vector graphics, and high-quality photos are available instantly. You rarely have to leave the application to find a specific icon for a computer network diagram or a specific shape for a geometry lesson.

Importing PPTX files & Sharing resources

PPTX imports are highly accurate, turning text and shapes into editable native elements. Sharing templates with other teachers takes a single click, and you can easily publish decks as view-only websites for students to access from home.

Speaker View and Speaker Notes

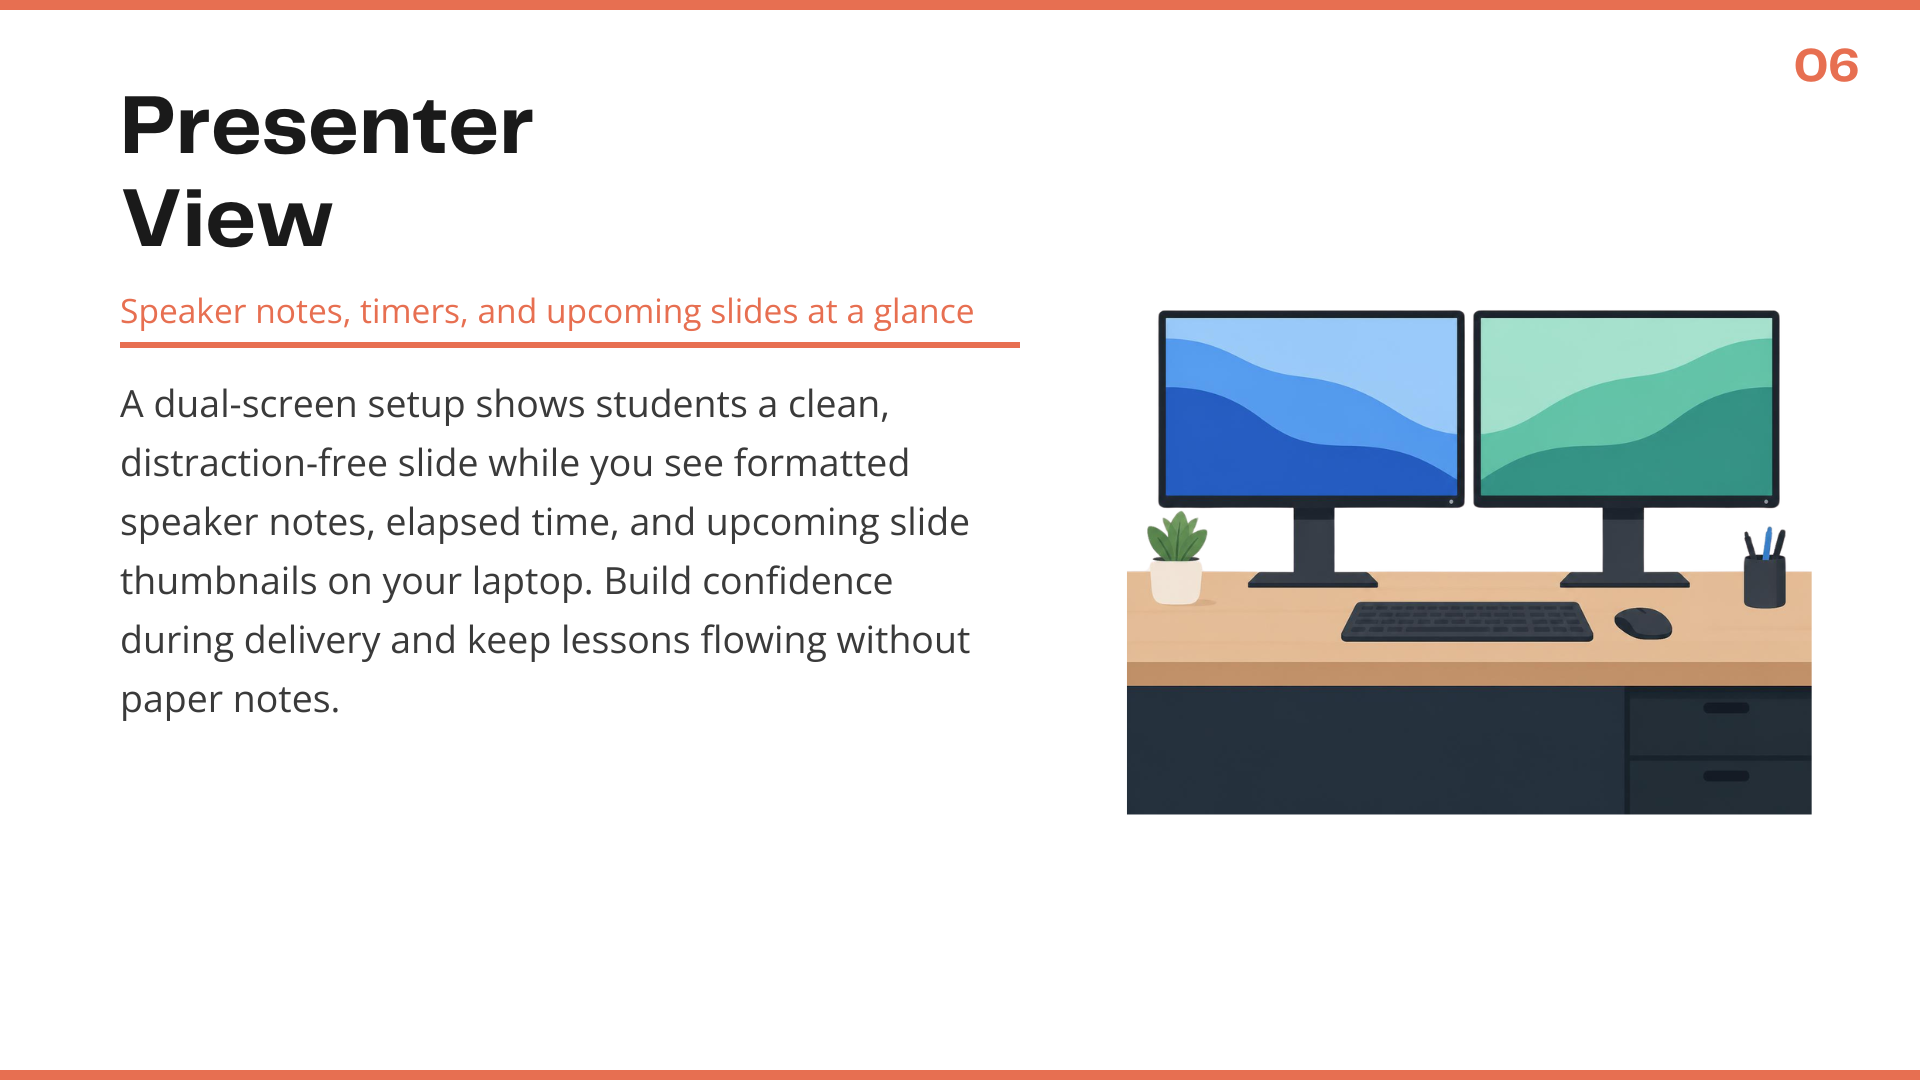
The presenter view is excellent, offering clear, formatted notes alongside a real-time clock. The layout is clean and ensures you can read your cues from the back of the classroom without squinting.

Annotation Tools and Drawing

Canva Draw is built right in. You can pick up a digital pen and highlight or write over your slides during live instruction. Unlike some other tools, these drawings become native elements that you can save and distribute to students after the lesson.
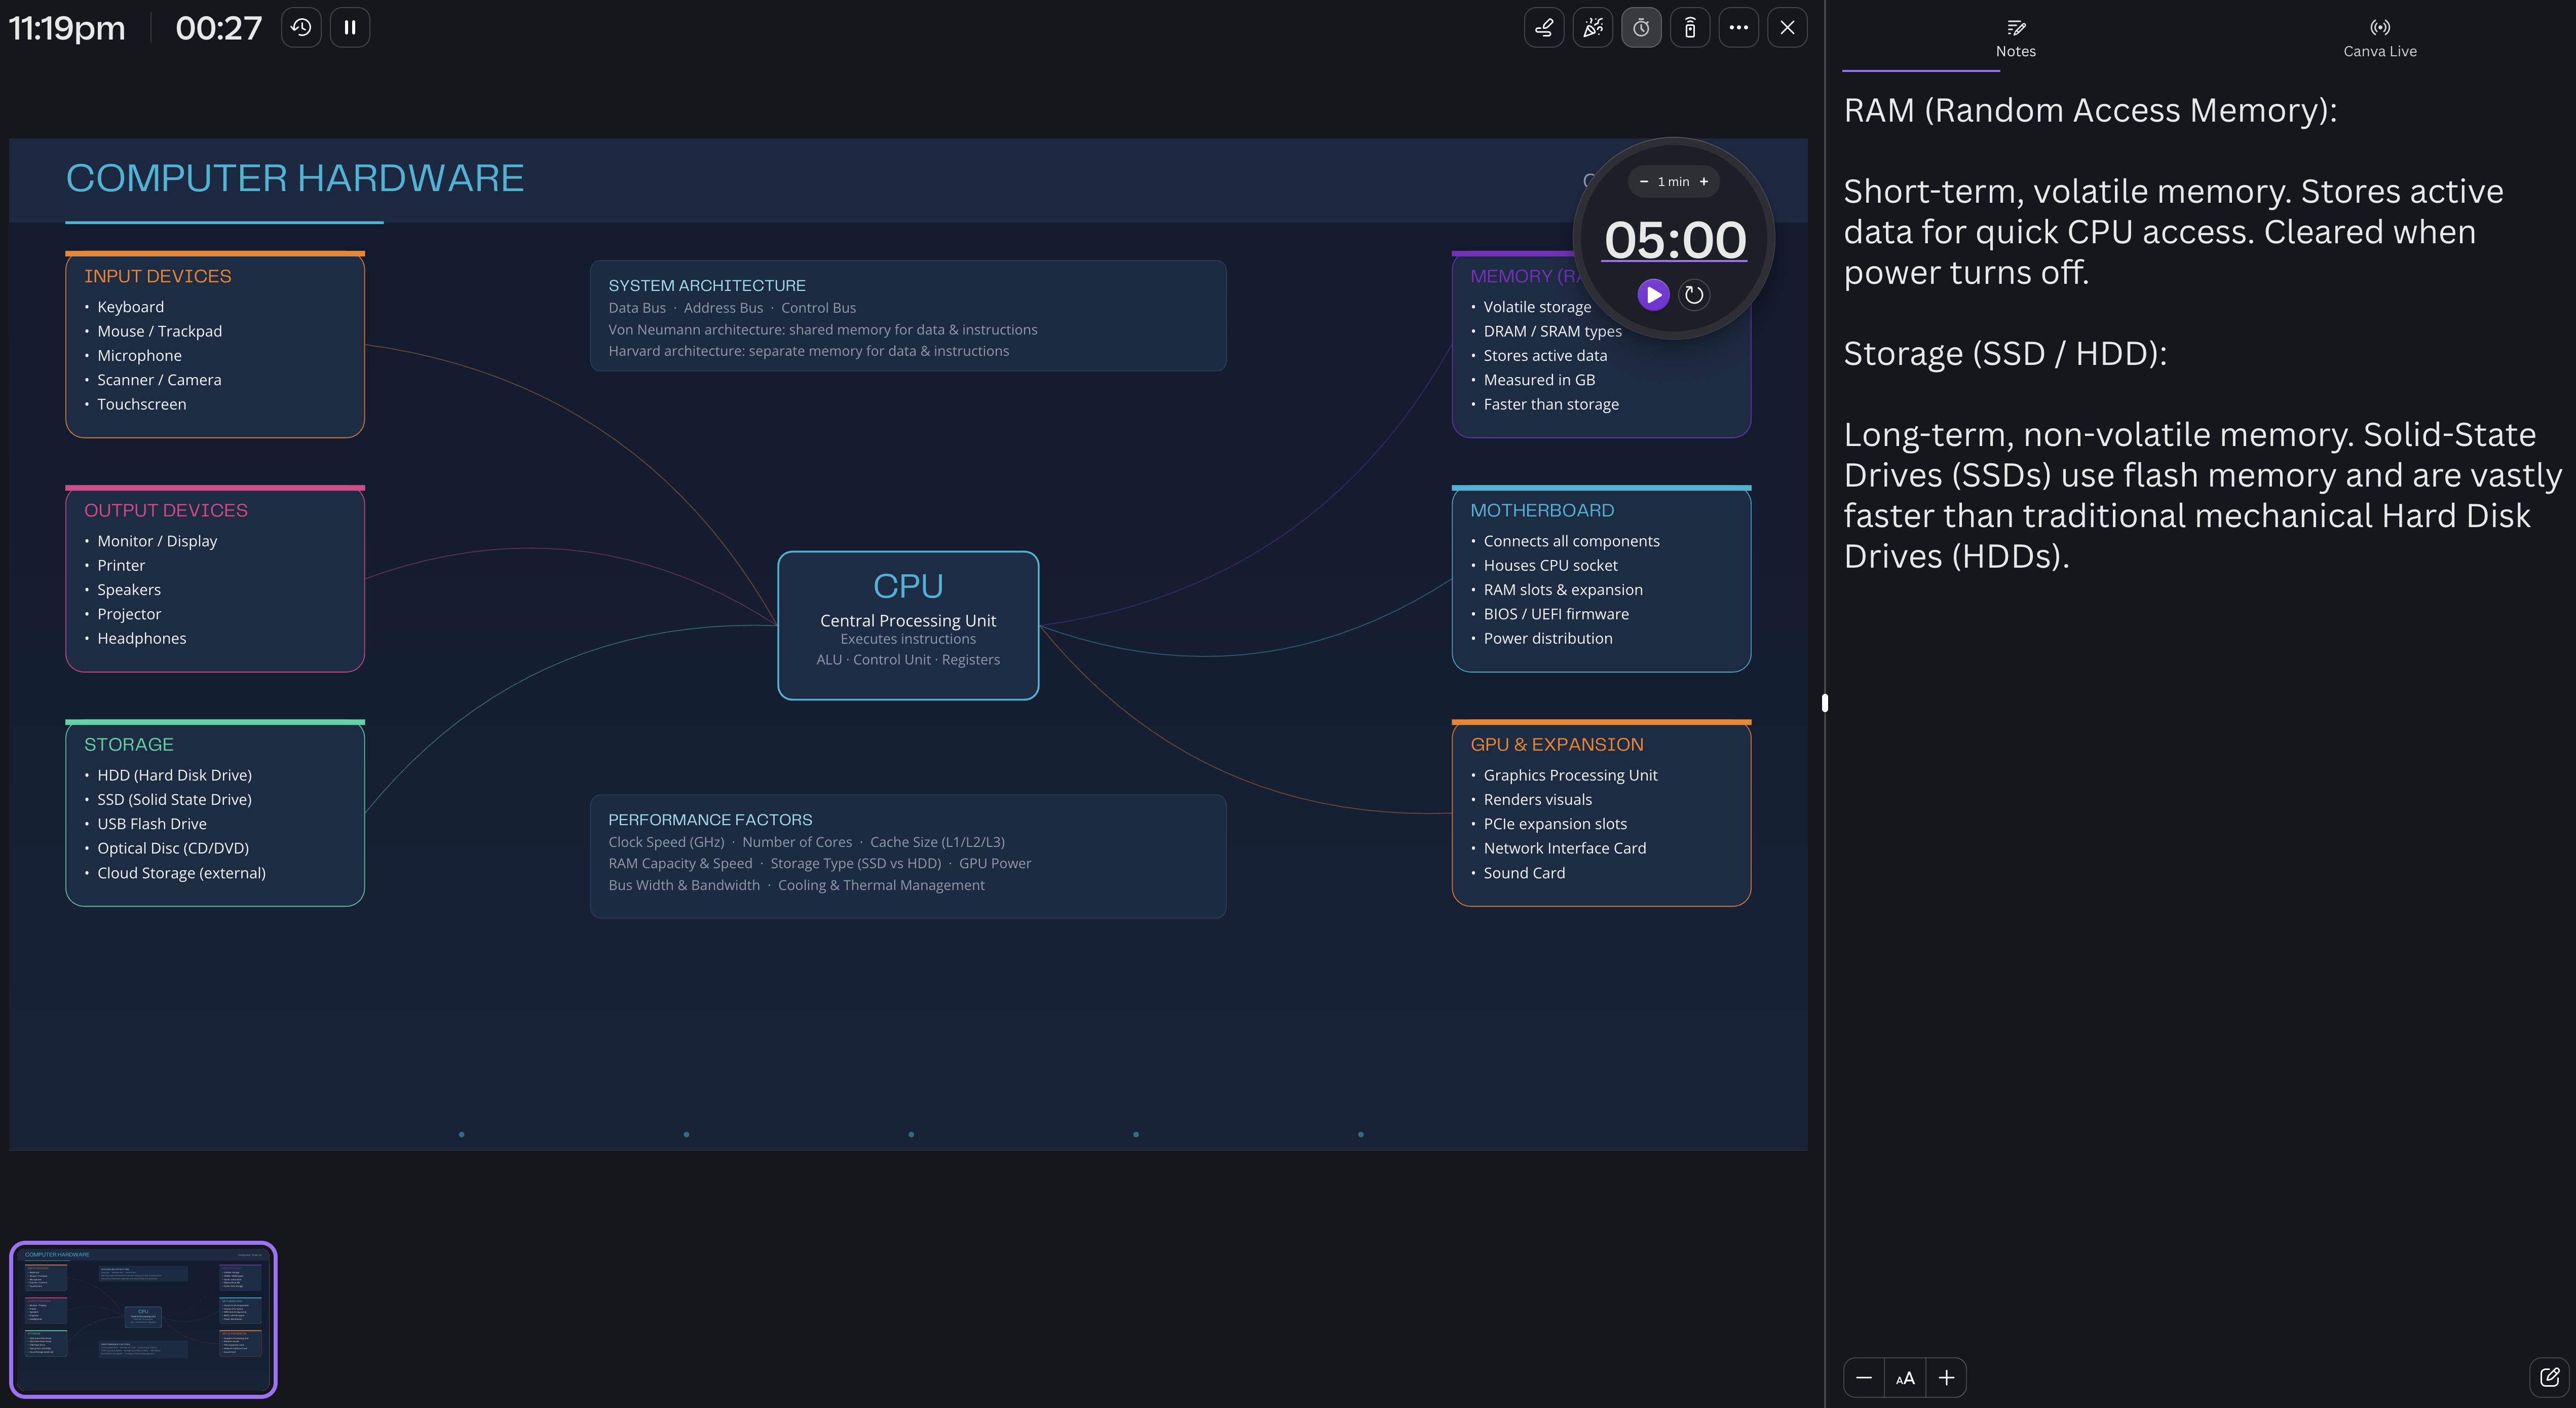
Canva's presenter view displaying formatted speaker notes on the right and a live digital timer in the corner

Timer tools

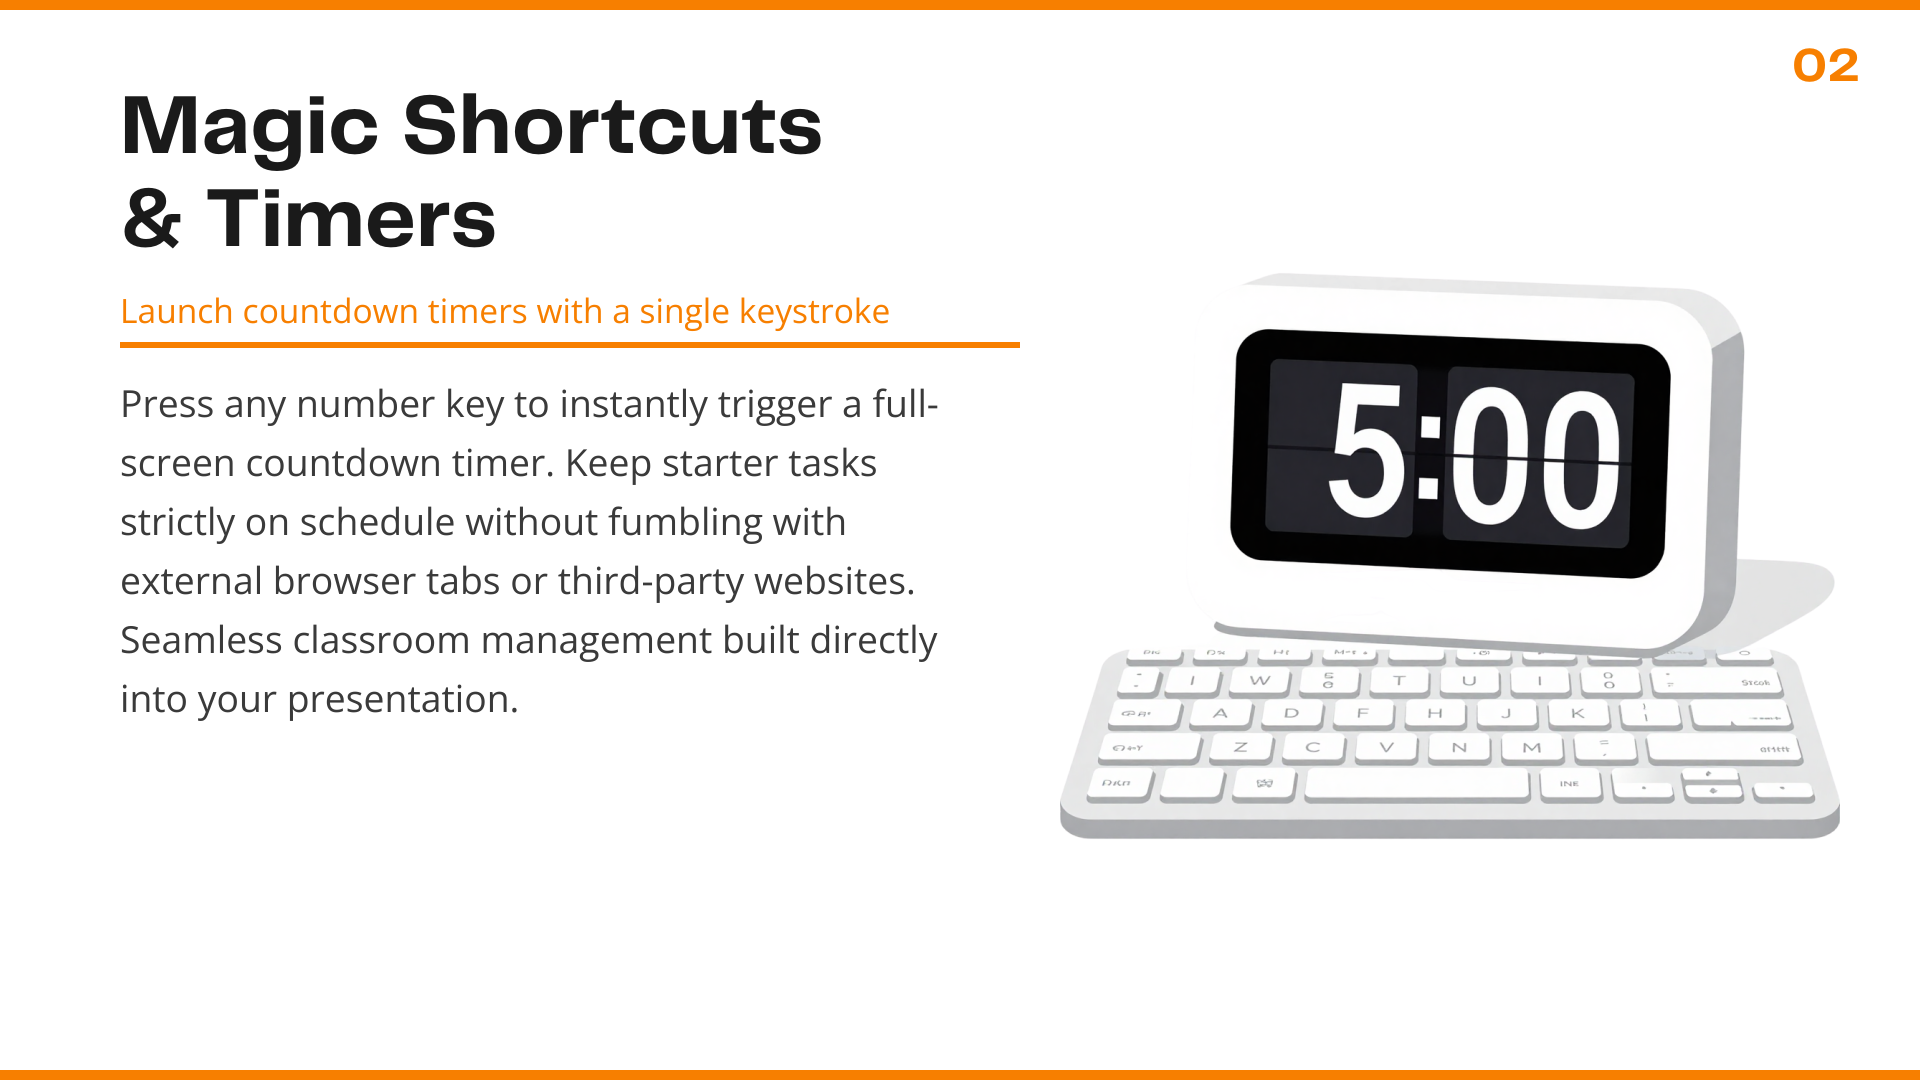
Canva includes a built-in timer with keyboard shortcuts. Pressing a number key instantly starts a countdown on the screen, overlaying a sleek timer without disrupting the flow of the lesson or requiring you to embed a video.

Additional features

Canva Code allows you to embed interactive demonstrations, games, activities and live code snippets with proper syntax highlighting. The ability to seamlessly transition from a slide deck to a Canva Whiteboard for a live class discussion is also a massive advantage, giving you an infinite canvas to explore tangents and student questions.

Visme
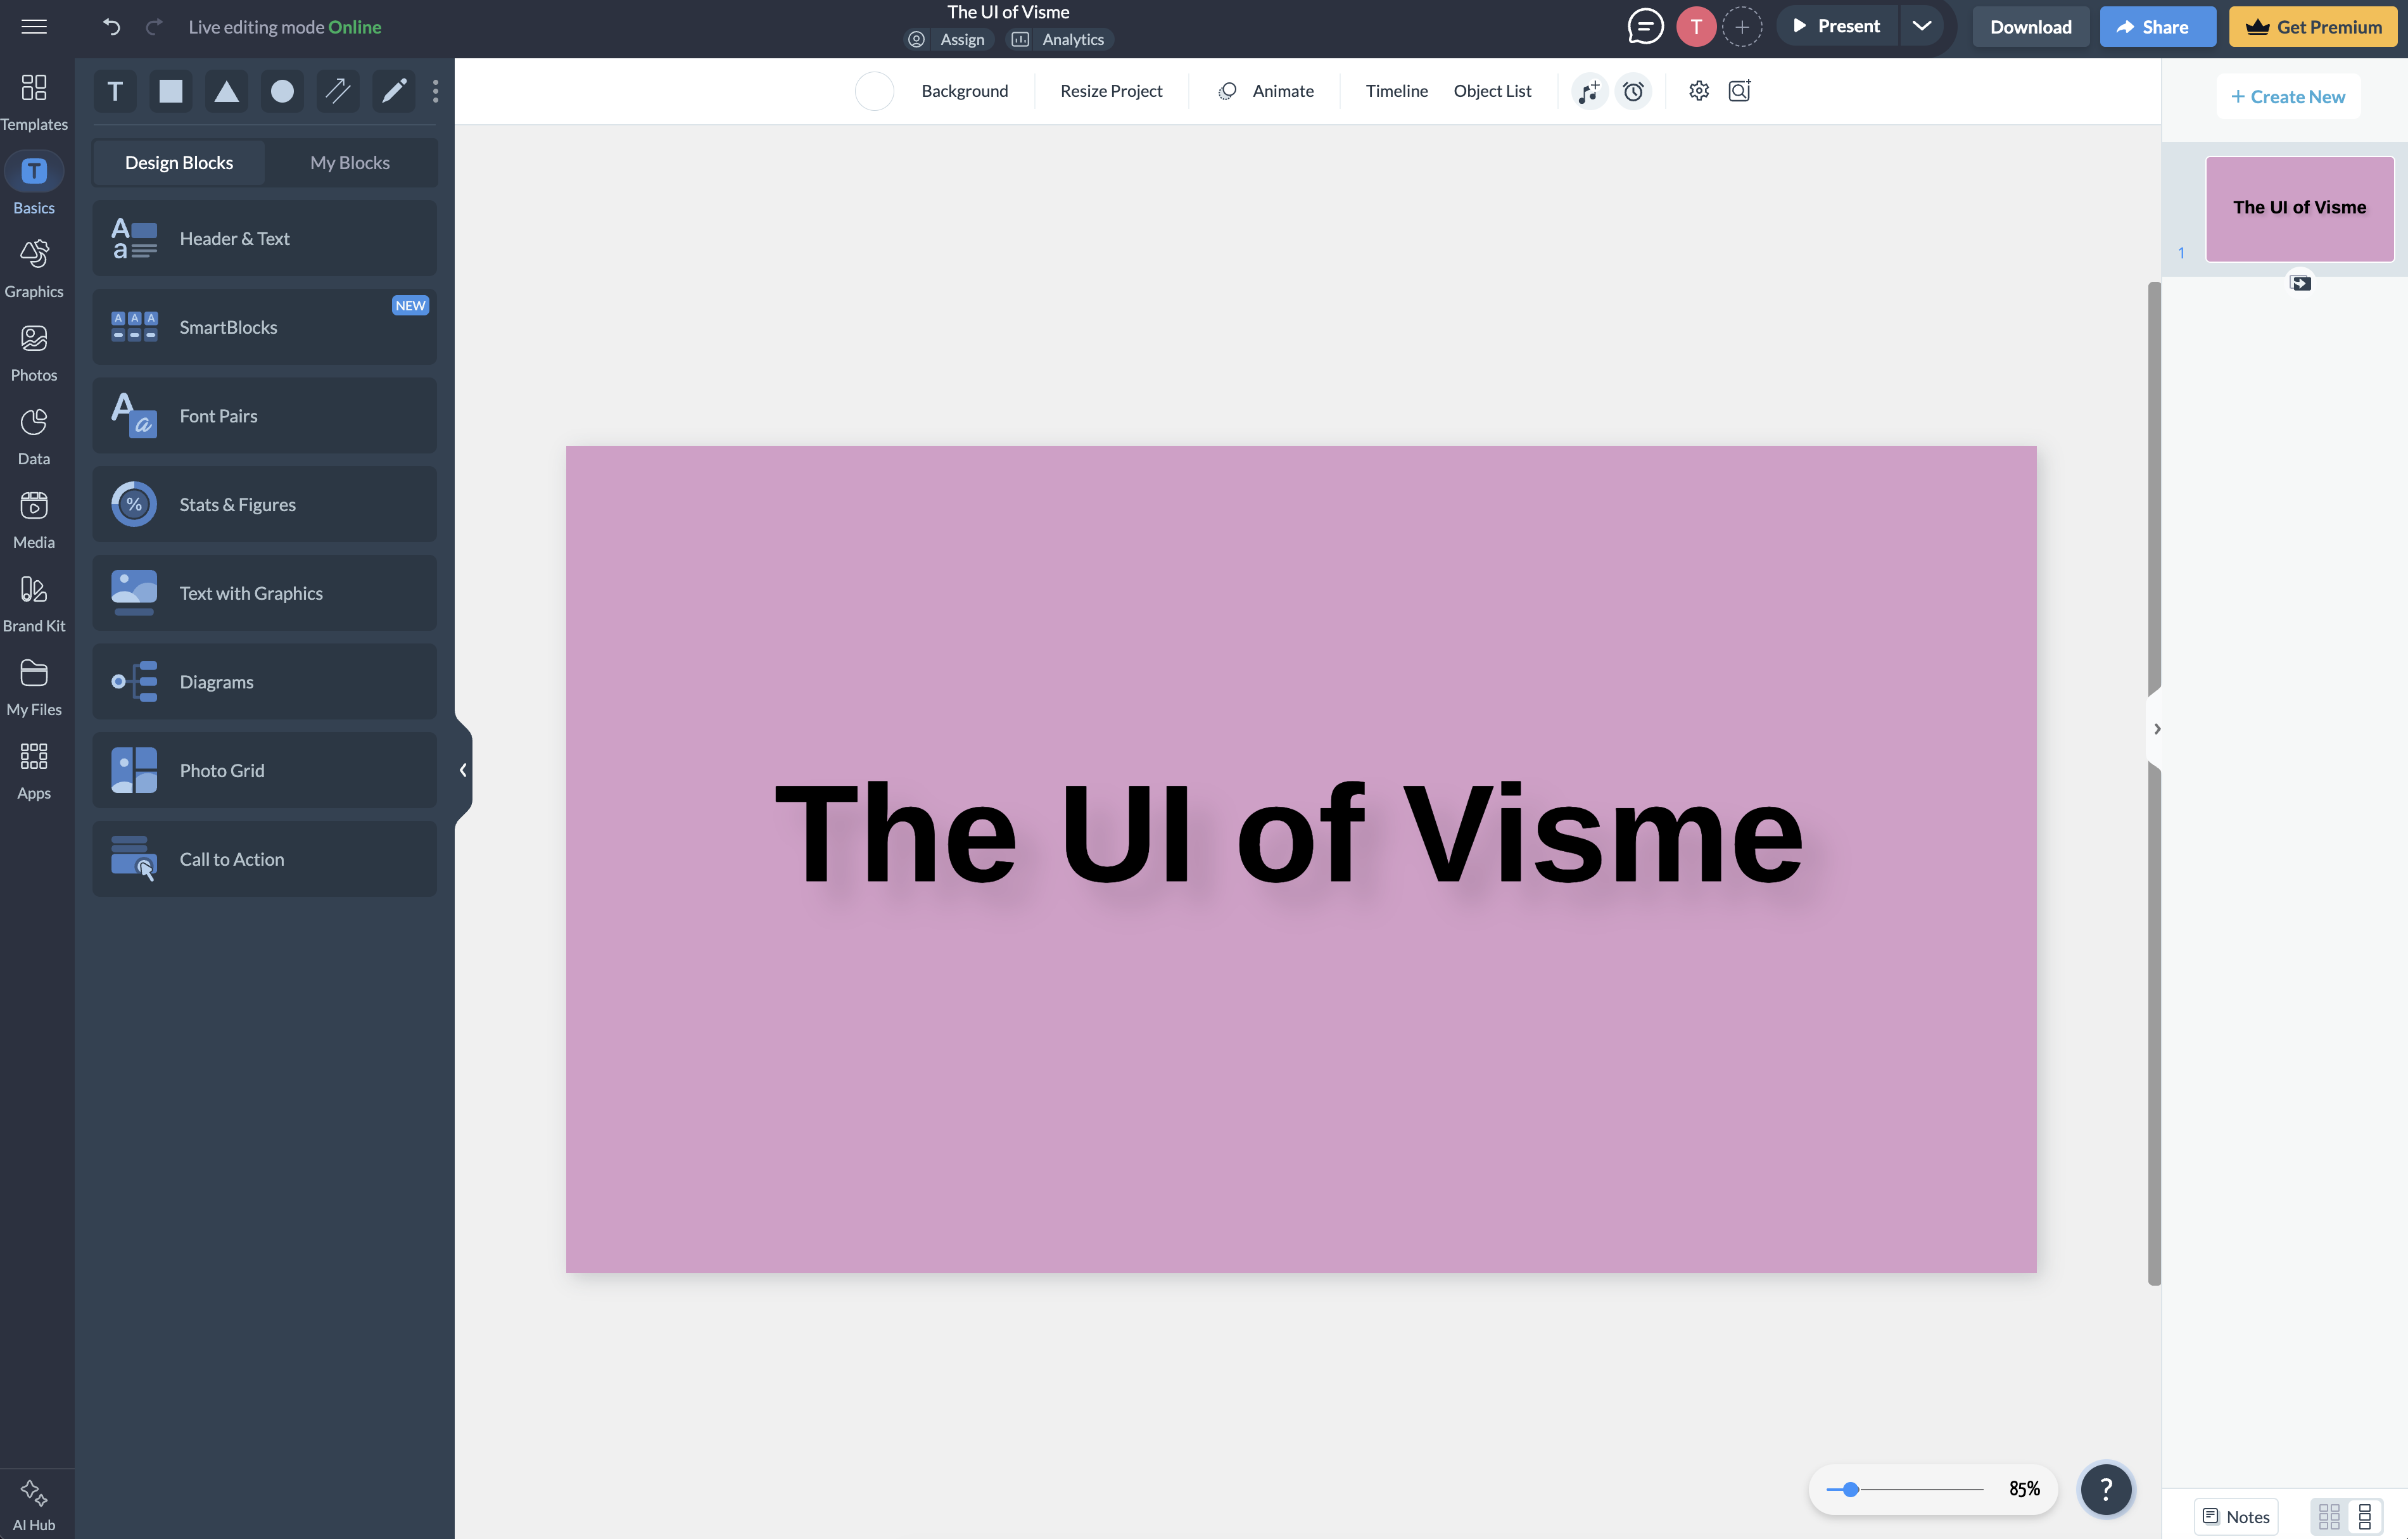
The Visme UI highlighting the blocks that can be used to build slides

Design Tools

Visme is heavily geared towards business data visualisation. The chart builders are powerful, allowing for complex data representation. However, the overall interface can feel quite cluttered for everyday lesson planning. It feels more suited to building an annual report than a quick 20-minute starter activity.
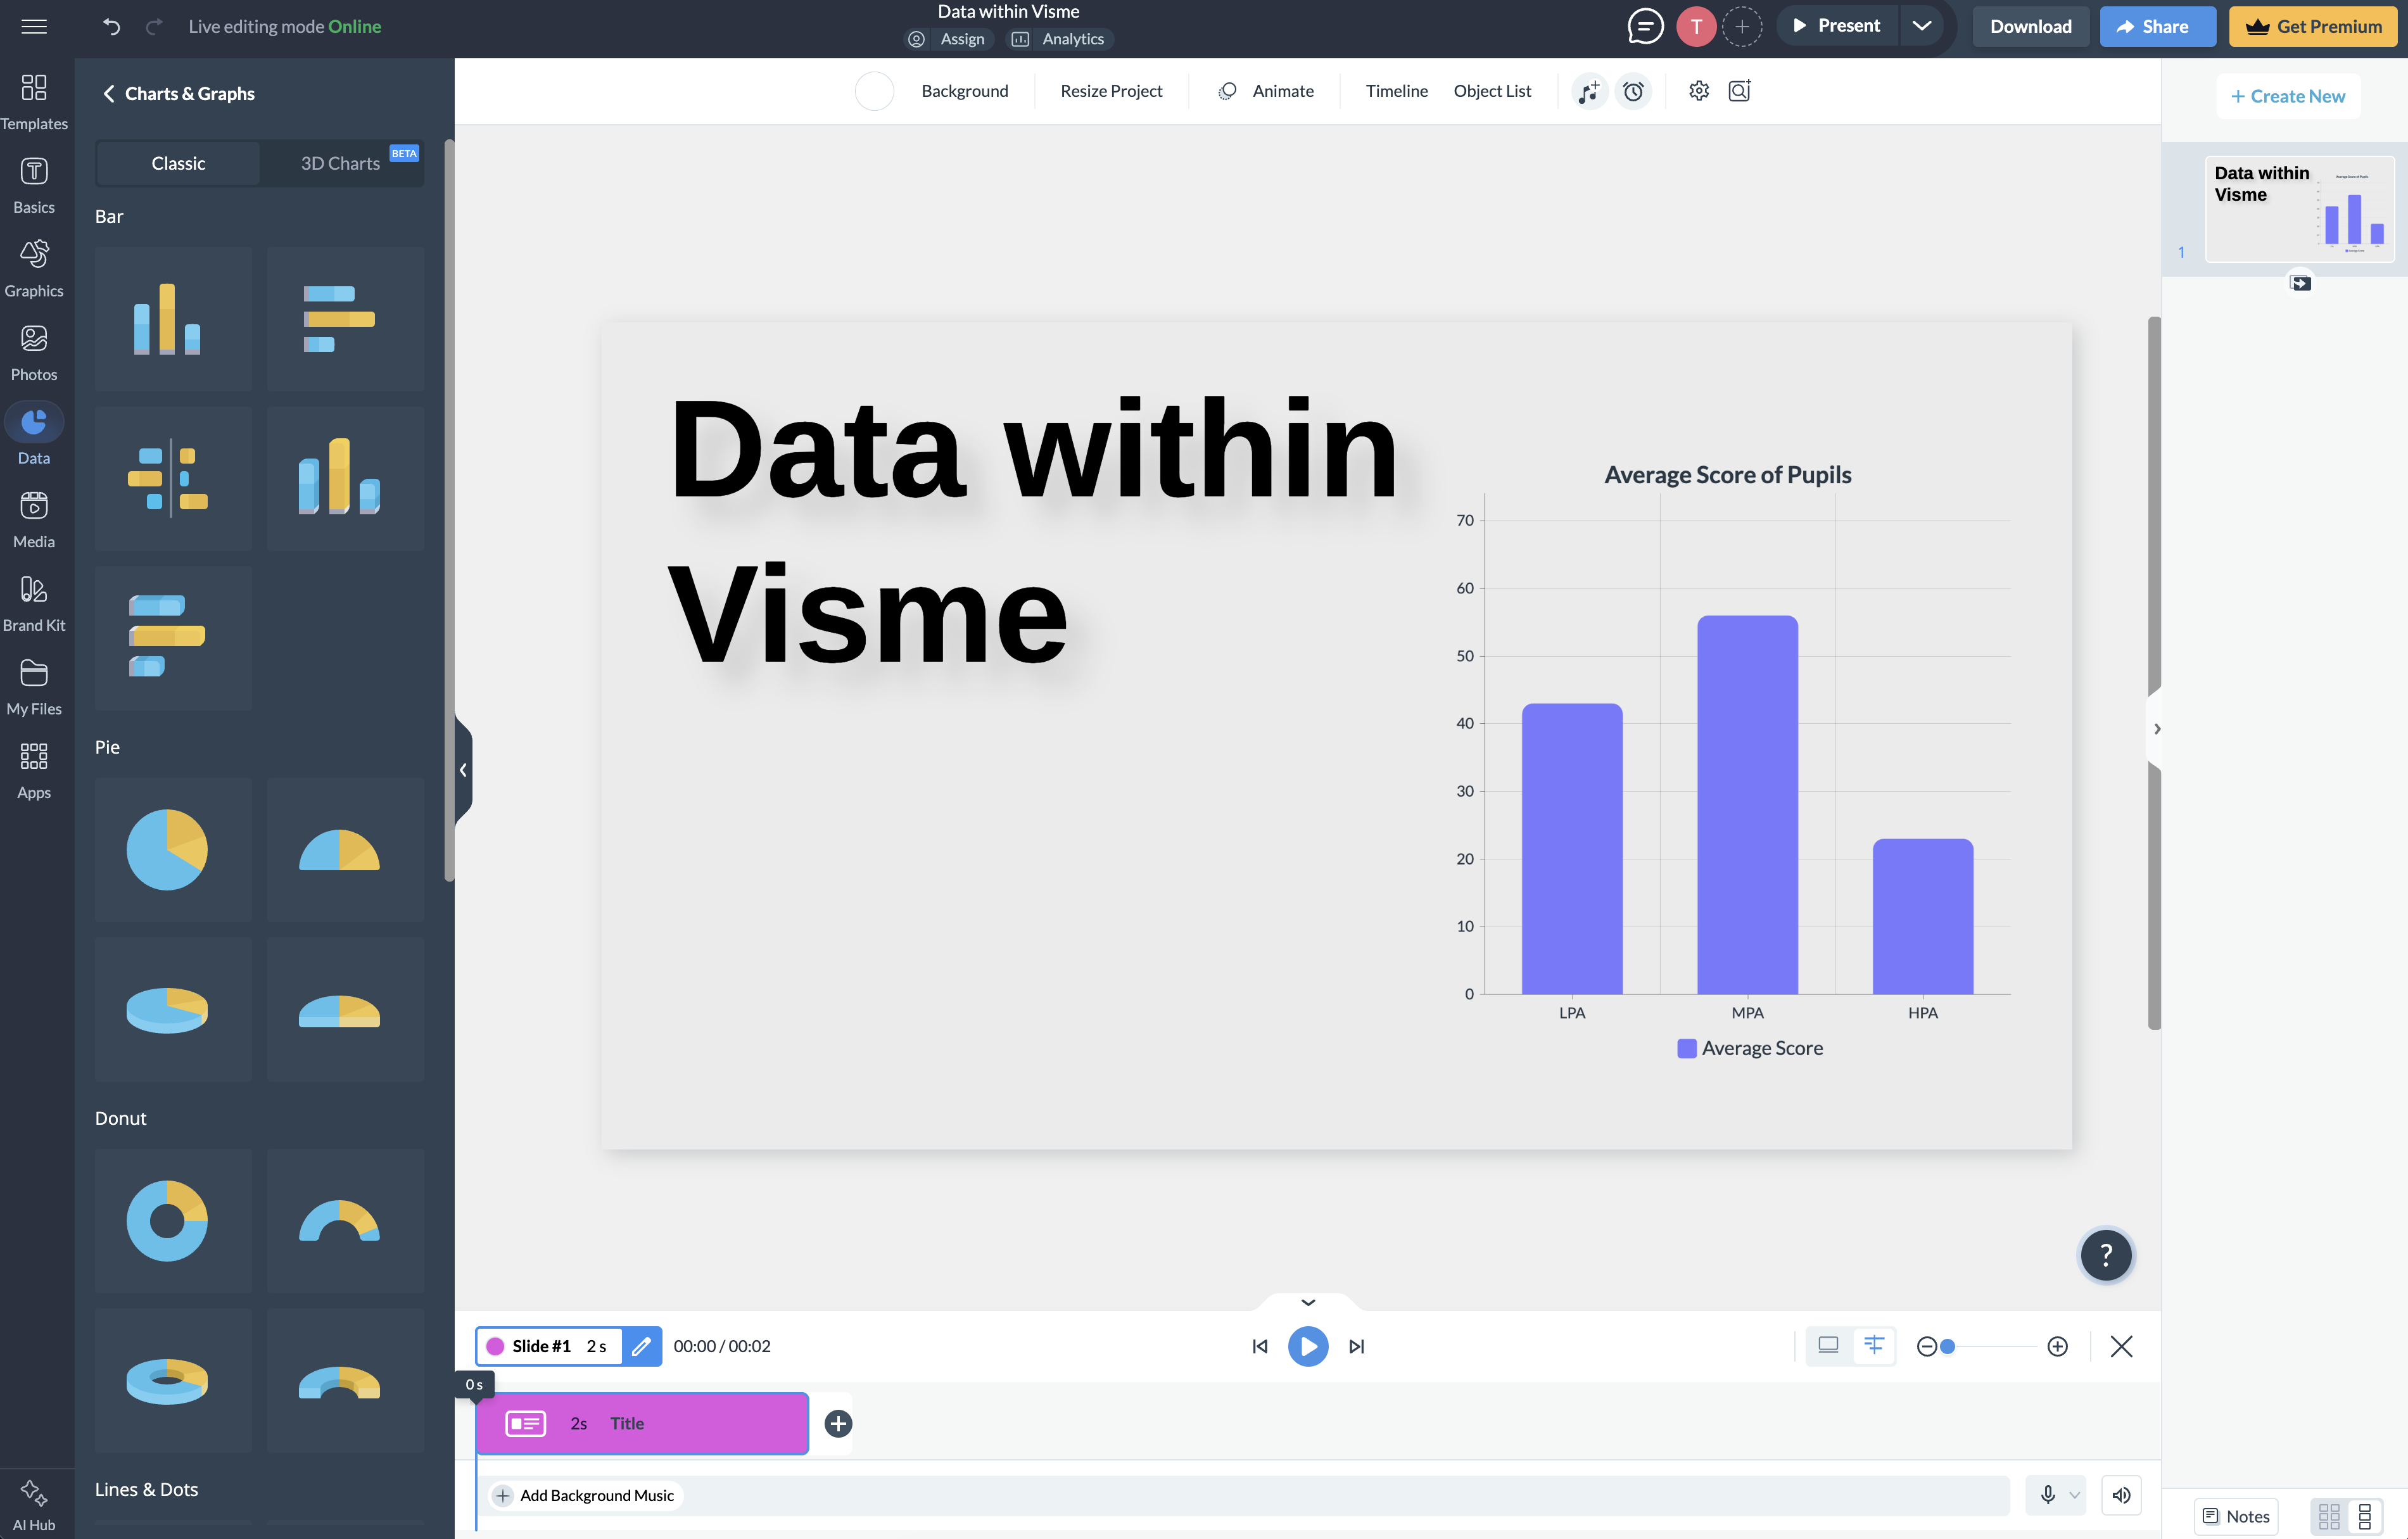
An example of Visme's data capabilities, specifically the column chart

Animations

It features a robust timeline for sequencing entrance animations, giving you precise control over when elements appear. Unfortunately, it lacks an automated slide-to-slide morph transition, meaning fluid transformations of equations or diagrams are not possible natively.

Library of Assets

There is a fantastic selection of 3D icons and animated widgets. However, the style leans more towards corporate presentations than classroom education. While a spinning 3D pie chart looks great in a boardroom, it can be distracting in a classroom.

Importing PPTX files & Sharing resources

PPTX files import adequately, though text formatting can occasionally break and require manual tweaking. Sharing via web links is very smooth, and you can track analytics to see if students have engaged with the shared resource.

Speaker View and Speaker Notes

The presenter mode is clean, but the speaker notes only offer basic formatting options. It lacks the polish and customisation found in dedicated presentation software.

Annotation Tools and Drawing

Live drawing tools during a presentation are extremely limited. You cannot easily annotate a diagram mid-explanation, which is a major drawback for live teaching.

Timer tools

There are basic timer functions available, but they are not as fluid to operate mid-lesson. You have to click through menus rather than using a simple hotkey.

Additional features

Interactive quizzes and data-driven widgets are a nice touch for self-paced student assignments, allowing them to engage with the data directly from the slides.

Pitch
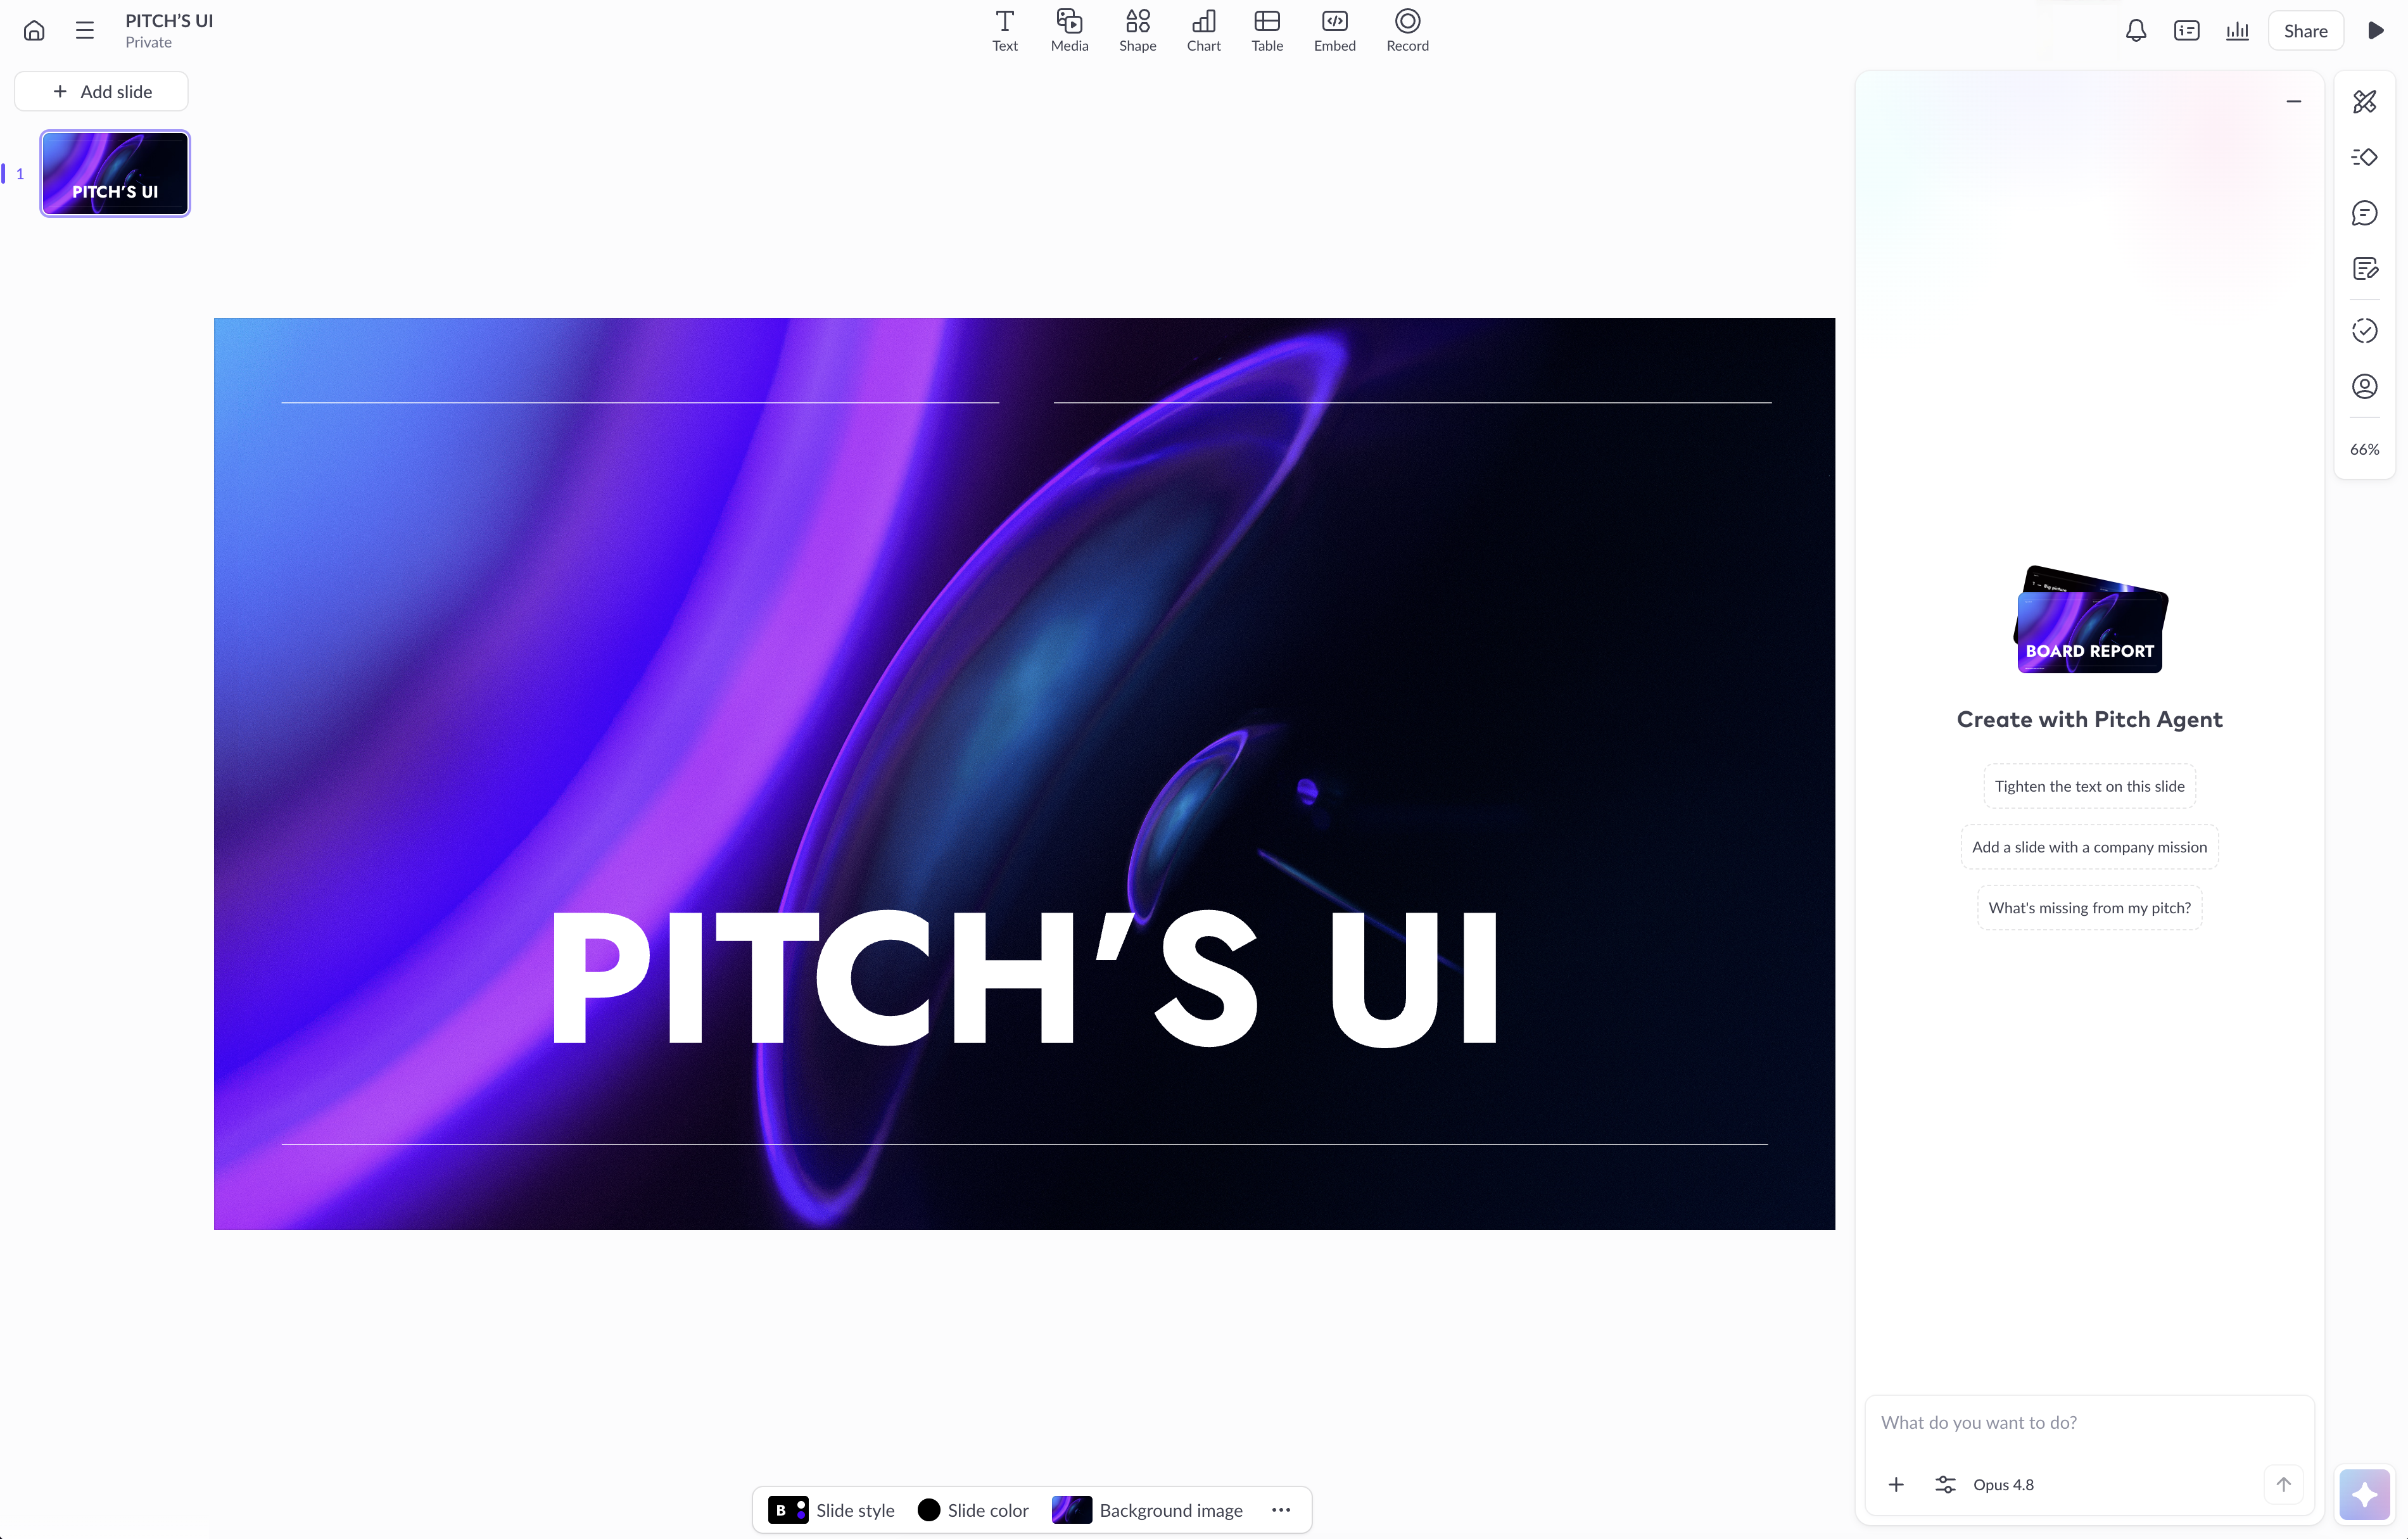
The Pitch UI showing a modern slide design found within Pitch's template library

Design Tools

Pitch offers a beautiful, minimalist interface. The typography hierarchy is superb, and the smart blocks make formatting text a joy. It forces a level of design consistency that ensures your slides always look professional, even if you build them in a rush.

Animations

Slide transitions are buttery smooth. However, it lacks advanced morphing capabilities or granular animation sequencing for complex diagrams. It is designed for slick slide changes rather than pedagogical step-by-step reveals.

Library of Assets

The integrations with Unsplash and Giphy are great for sourcing high-quality imagery quickly, but it lacks a dedicated library of educational or scientific vectors. You will struggle to find a specific chemistry flask or physics diagram natively.

Importing PPTX files & Sharing resources

The PPTX import engine is solid. The collaborative sharing features are excellent, especially the live presentation rooms that allow multiple people to navigate the deck simultaneously.

Speaker View and Speaker Notes

The speaker view matches the main editor in its clean, minimalist aesthetic, keeping notes highly readable and free from clutter.

Annotation Tools and Drawing

There are no native live drawing tools for in-class annotation. This strictly limits Pitch to being a static delivery tool rather than an interactive whiteboard replacement.

Timer tools

Pitch does not feature a built-in countdown timer, so you are entirely reliant on external solutions for classroom timing.

Additional features

The ability to record video bubbles directly onto slides could make it a great option for asynchronous learning or flipped classrooms. Students can watch your explanation while clicking through the slides at their own pace.

Prezi
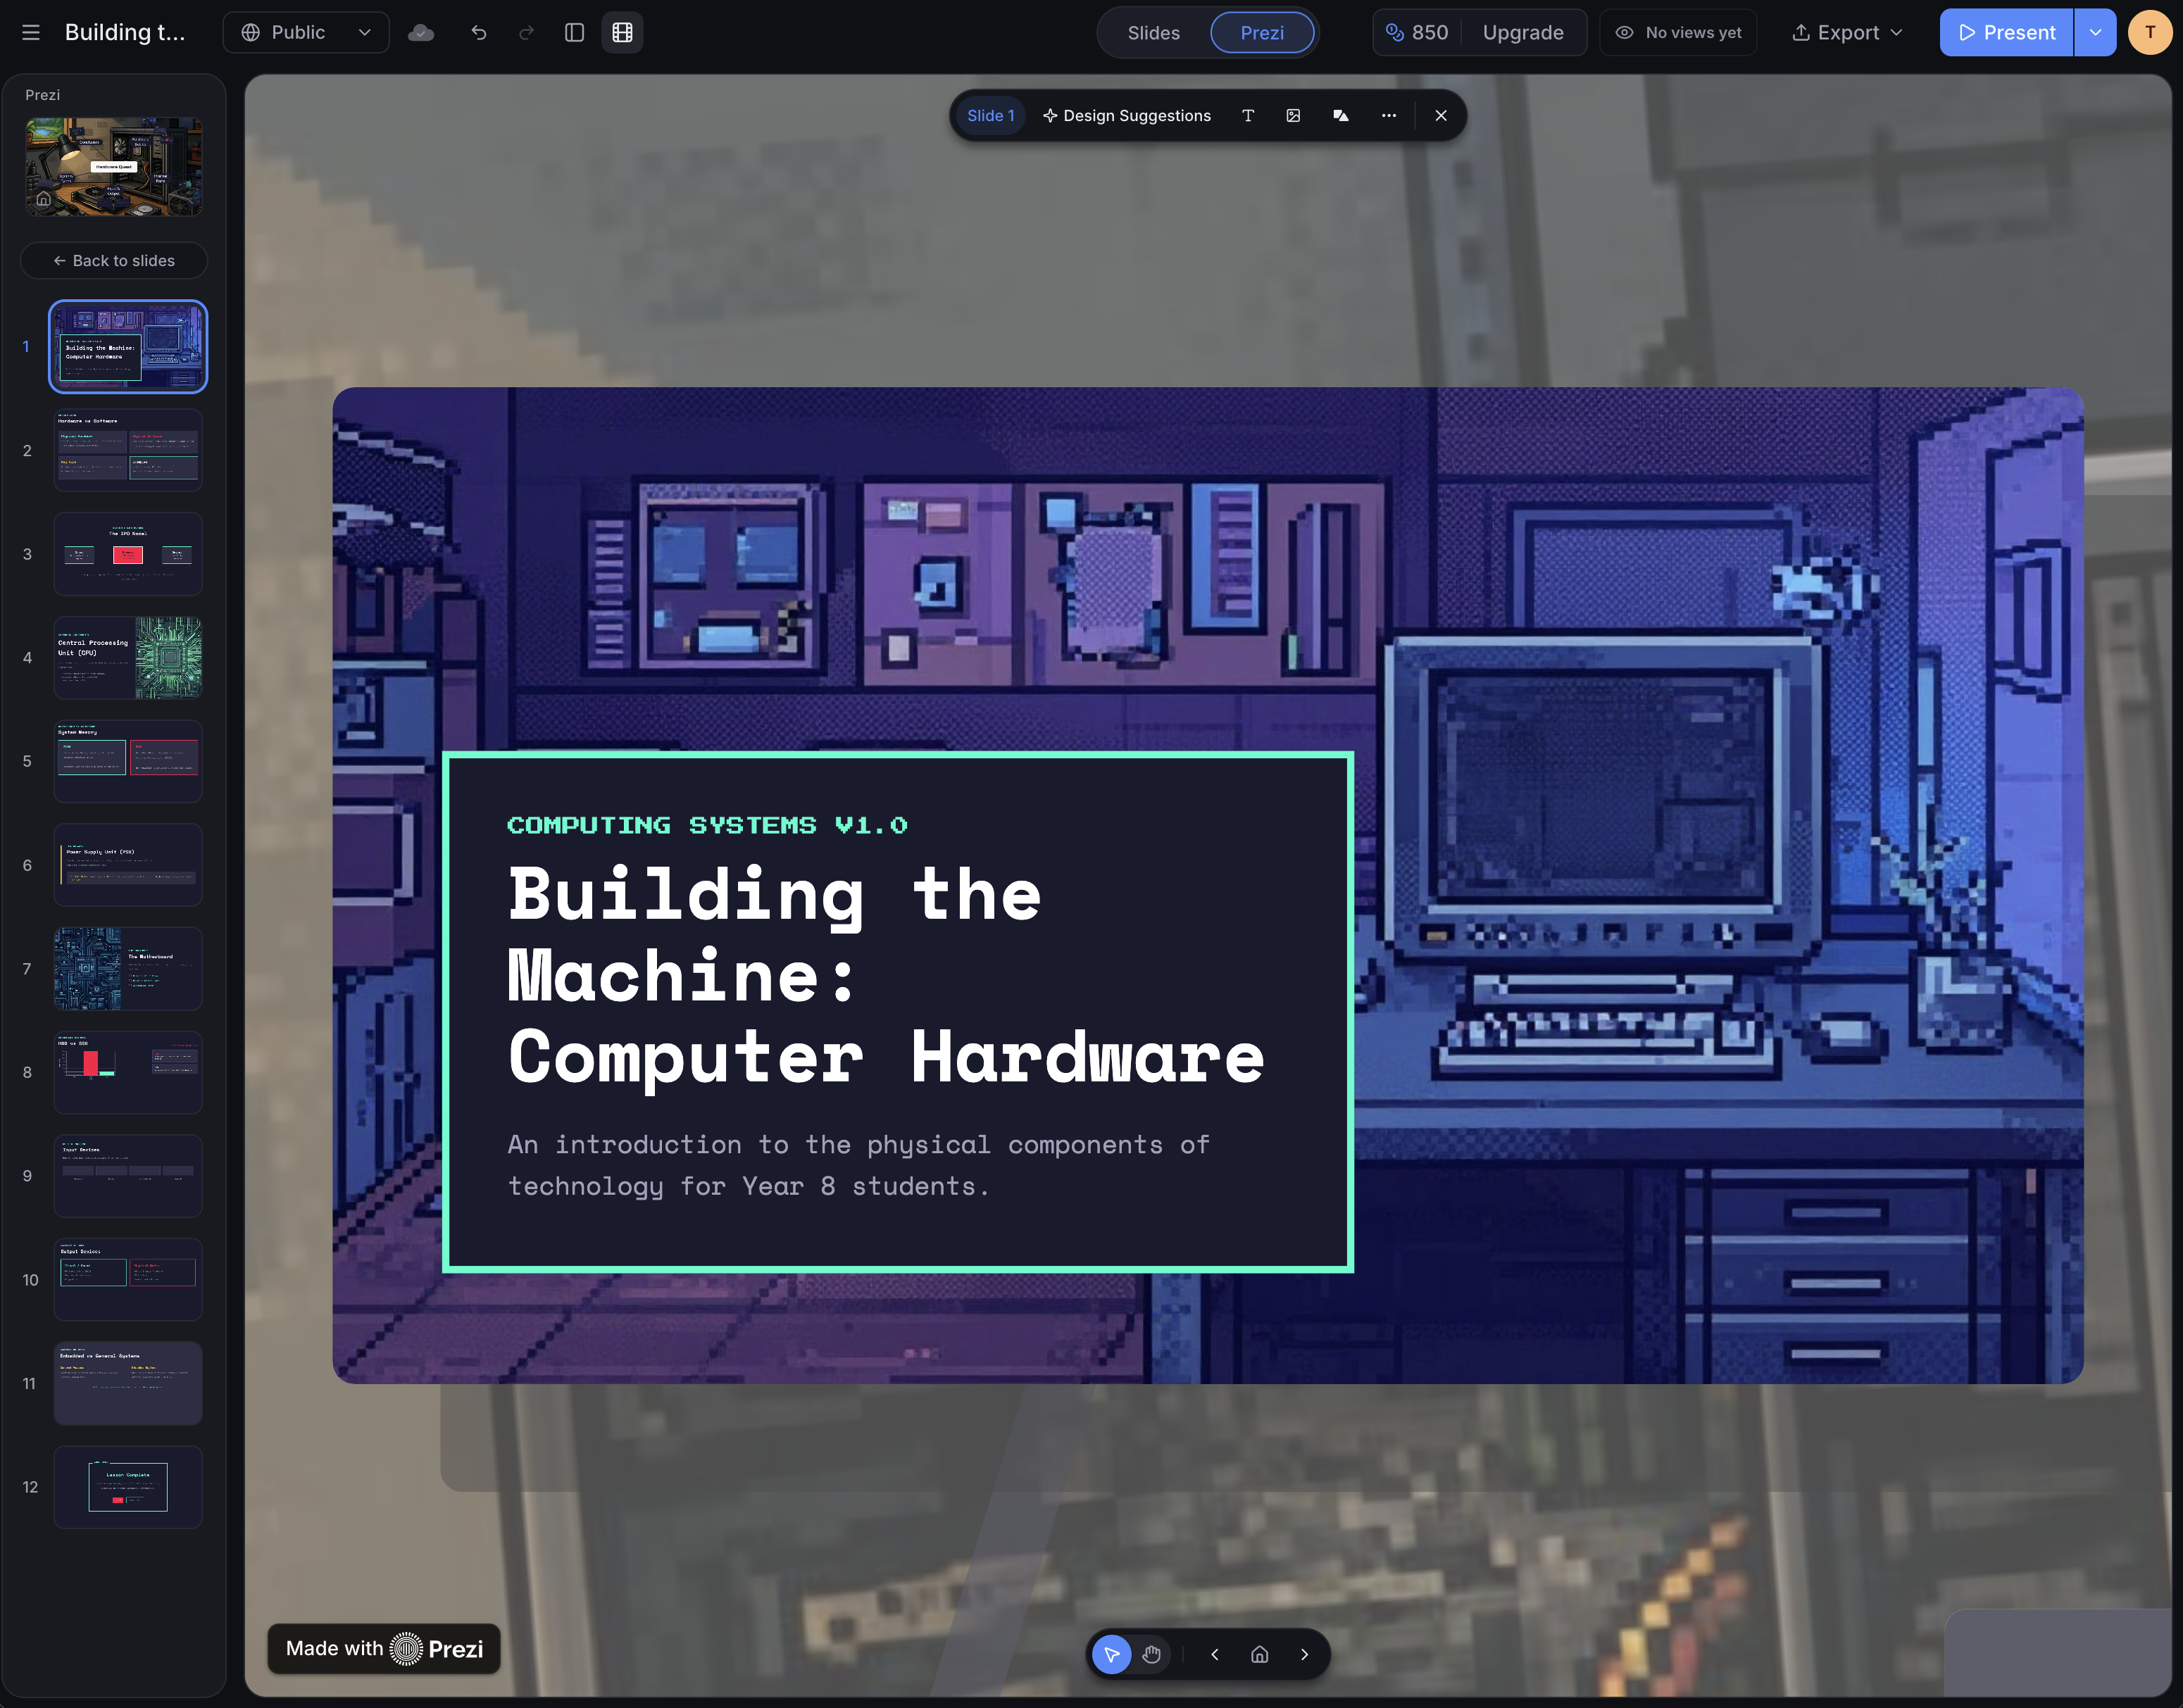
An example slide of a Prezi presentation about Computer Hardware for Year 8 pupils. (This was generated using the Prezi AI Assistant)

Design Tools

Prezi relies on an infinite canvas rather than linear slides. It is brilliant for showing the big picture and how topics interconnect. However, building a structured 40-minute lesson takes significantly longer than traditional platforms, as you have to map out the spatial relationship of every concept.
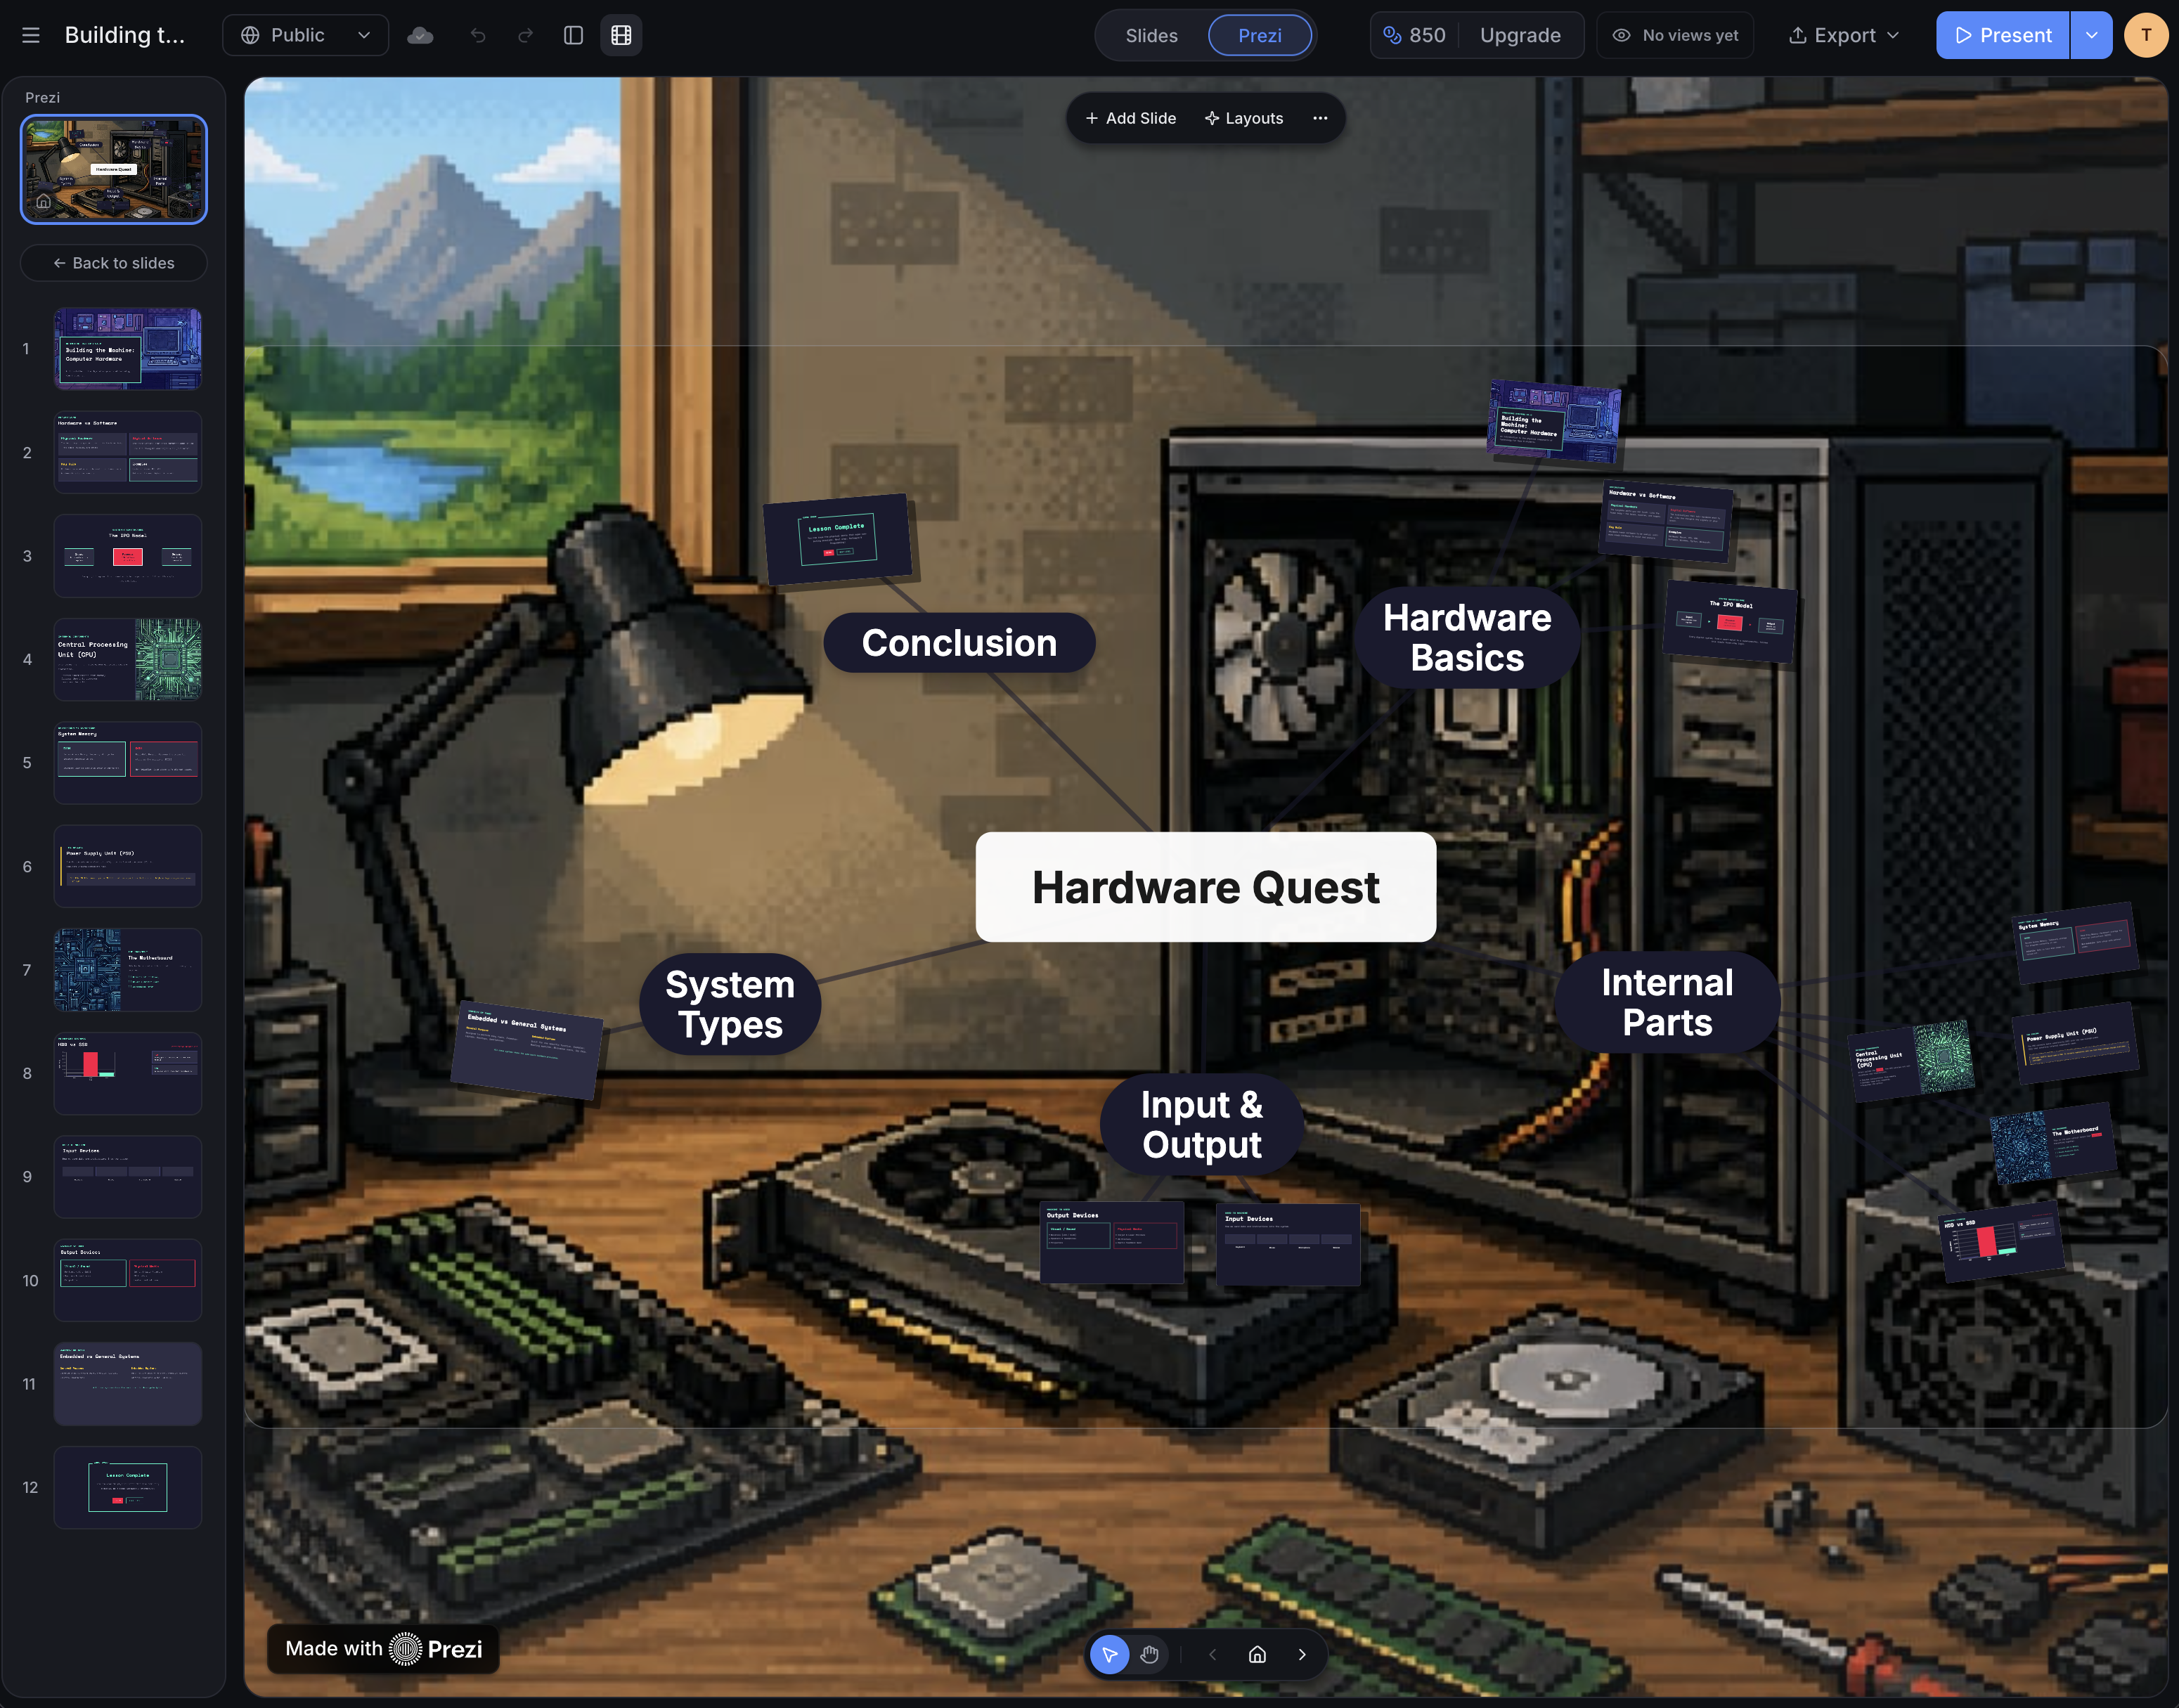
A zoomed out view of the Presentation in Prezzi showing the dyanmic web-like layout of Prezzi presentations

Animations

The zooming paths act as the core animation engine. It is visually engaging and fantastic for storytelling, but the constant movement can sometimes be disorienting for students, especially if you have to jump back and forth between topics frequently.

Library of Assets

The template and icon library is decent but heavily focused on business use cases. Finding assets tailored for secondary school subjects is quite challenging.

Importing PPTX files & Sharing resources

Importing a PPTX file breaks the slides down into individual topic bubbles. This almost always requires extensive manual reorganisation to make the zoom path logical.

Speaker View and Speaker Notes

The presenter view is helpful for seeing the next step in your zoom path alongside your notes, ensuring you do not get lost in your own canvas.

Annotation Tools and Drawing

In-slide whiteboarding is not natively supported without using Prezi Video integrations.

Timer tools

There is no integrated countdown timer, meaning you must manage classroom timings separately.

Additional features

Prezi Video allows you to present your content floating right alongside your webcam feed. This could be useful for creating dynamic revision videos or remote teaching resources.

Adobe Express
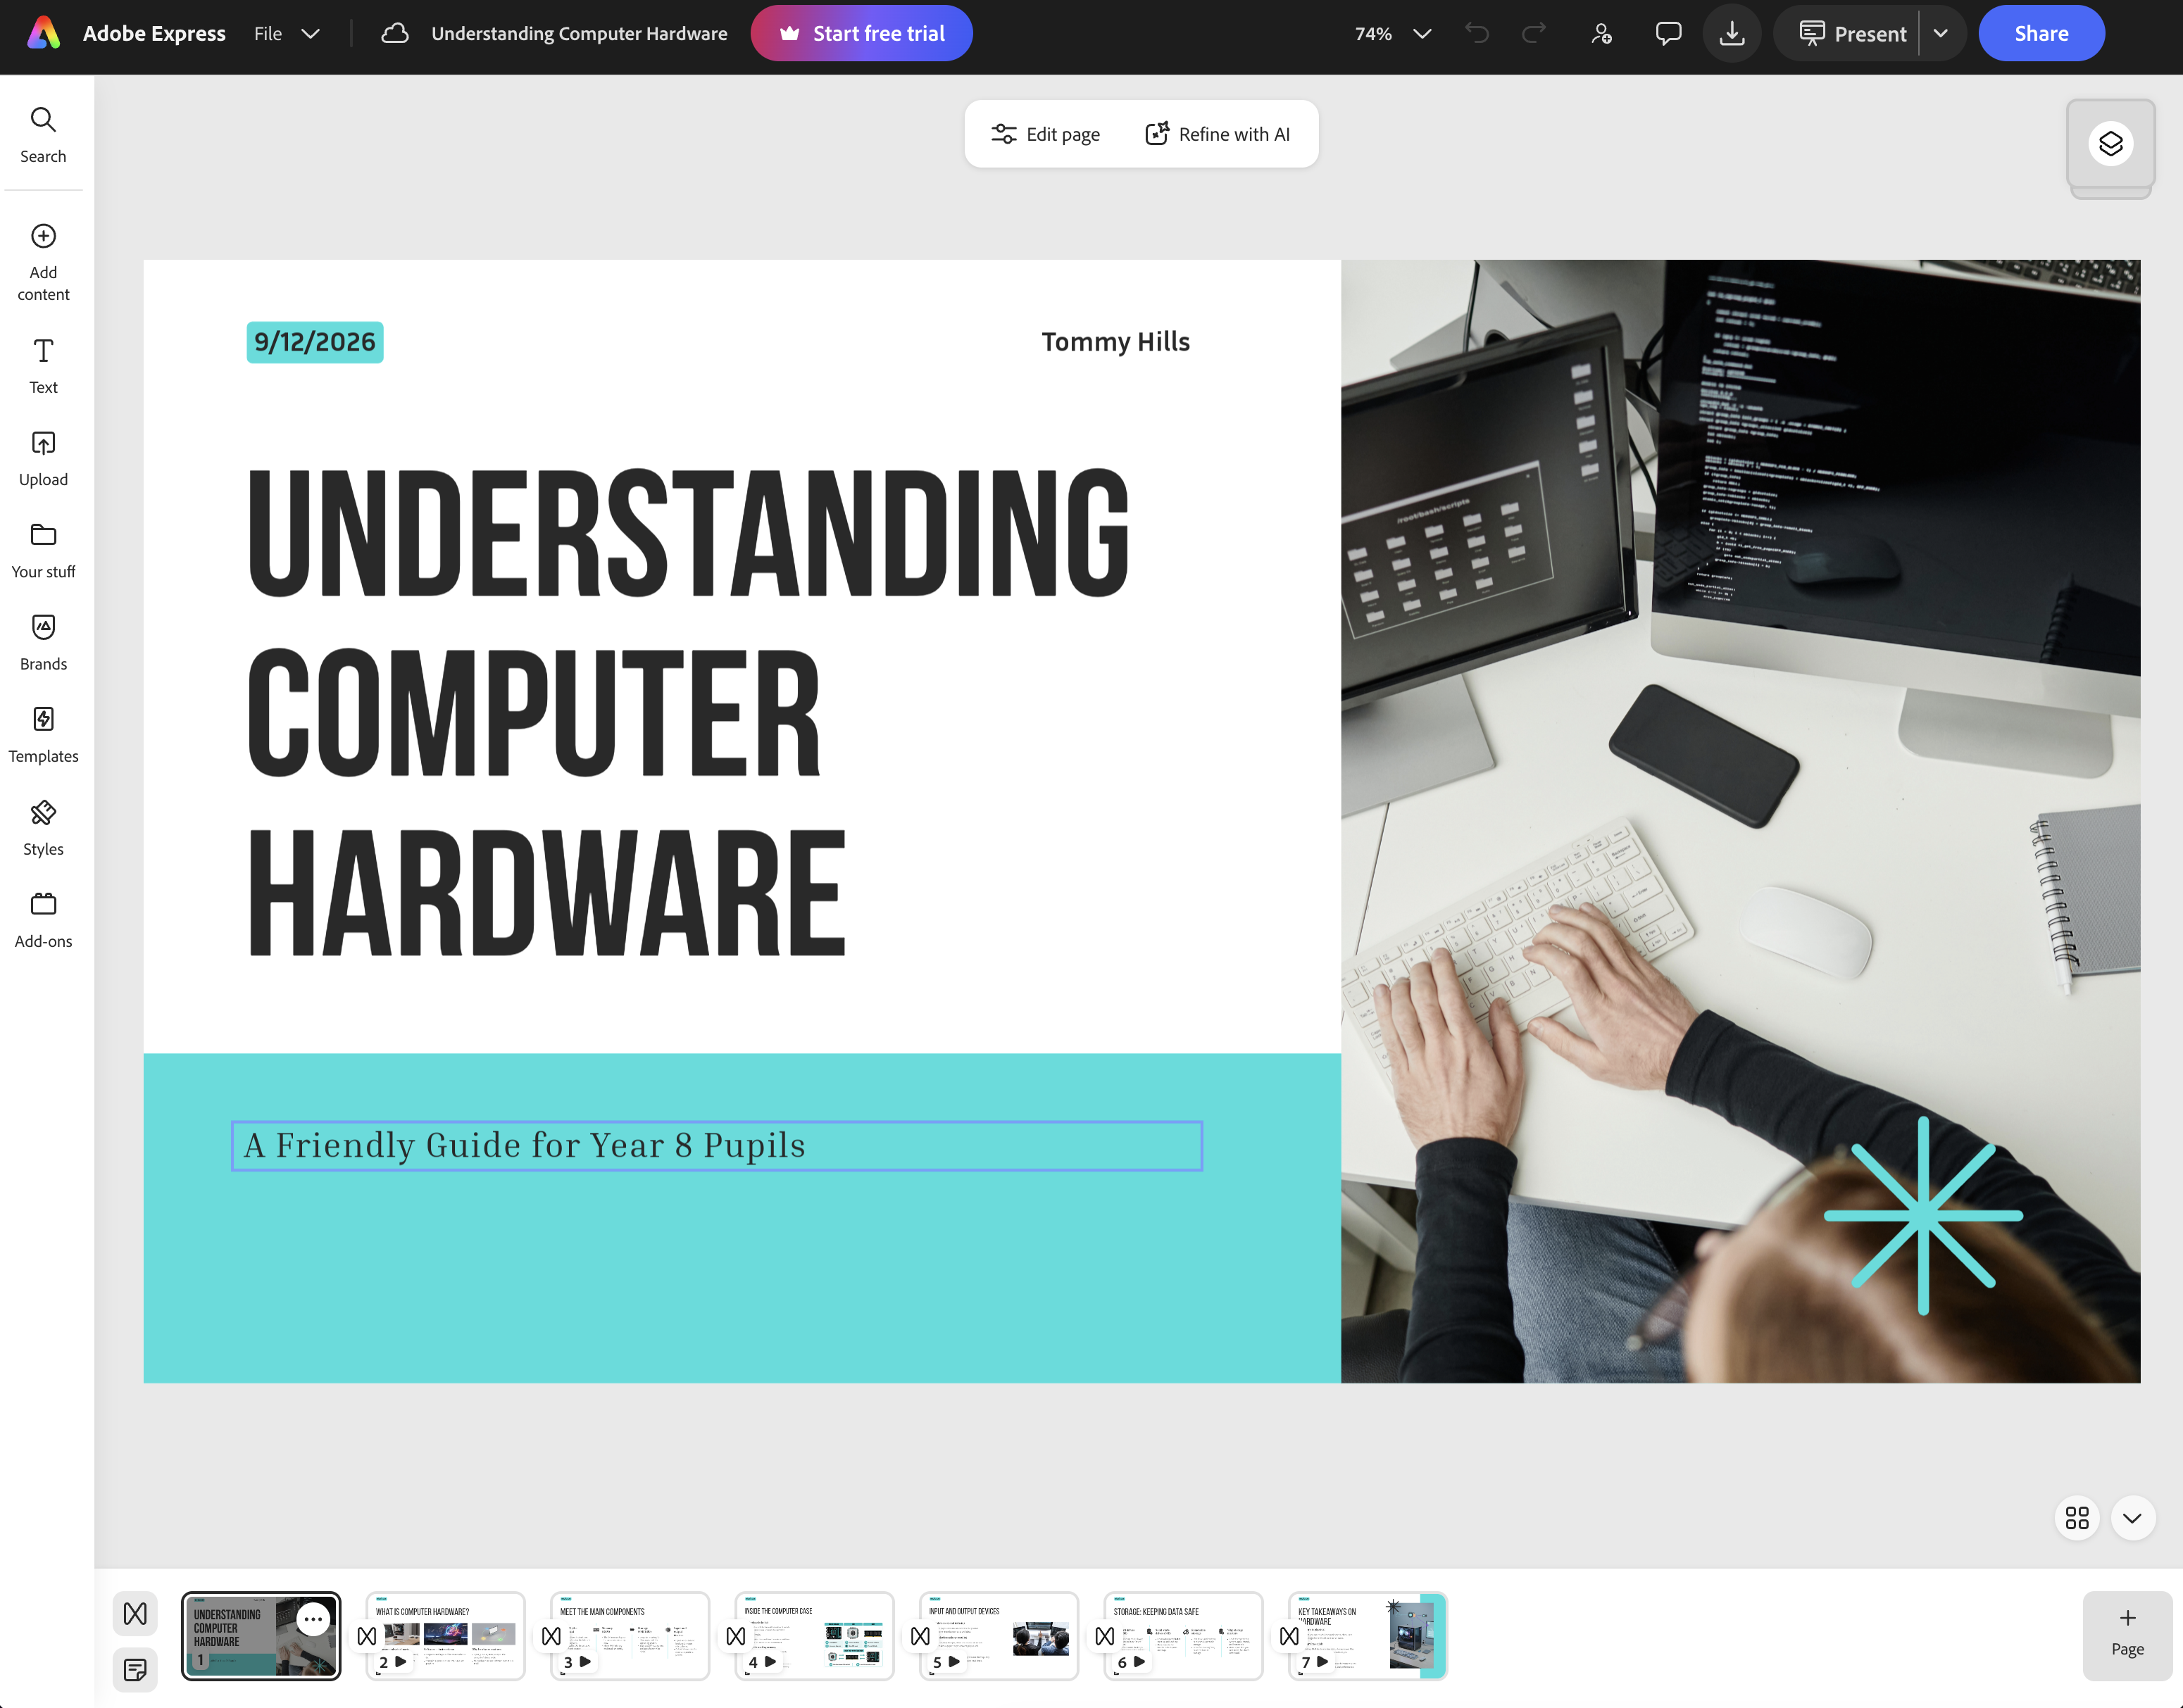
The Adobe Express editor showing presentation about Computer Hardware. (This presentation was generated using Adobe Express' generative AI features)

Design Tools

The grids and typography tools are excellent, and the layout controls feel robust. The generative AI integration is a unique bonus for quickly creating bespoke visuals when you cannot find the perfect stock image.

Animations

The entrance and exit animations are modern and smooth, applying polished motion to text and images instantly. Sadly, there is still no native multi-object morph tool, which limits its scope for complex smooth animations.

Library of Assets

The Adobe Stock integration provides access to an incredible library of high-quality imagery and vector assets. It is a vast repository that easily covers most classroom needs.

Importing PPTX files & Sharing resources

File conversion is highly reliable, and sharing links work perfectly across the Adobe ecosystem. It is very easy to publish a deck as a scrollable webpage for students.

Speaker View and Speaker Notes

The presenter view is perfectly functional but lacks the depth of a dedicated presentation tool. It feels somewhat bolted on compared to the robust design features.

Annotation Tools and Drawing

Basic drawing tools exist in the editor, but they are not optimised for live presentation annotation. They are meant for graphic design rather than quick classroom scribbles.

Timer tools

There is no native presentation timer available, adding friction to task management during a lesson.

Additional features

The standout feature is the direct access to quick actions like background removal and generative fill directly on your slide canvas. You can clean up messy images instantly without leaving your presentation document. However, this is also a feature that is found within other tools.

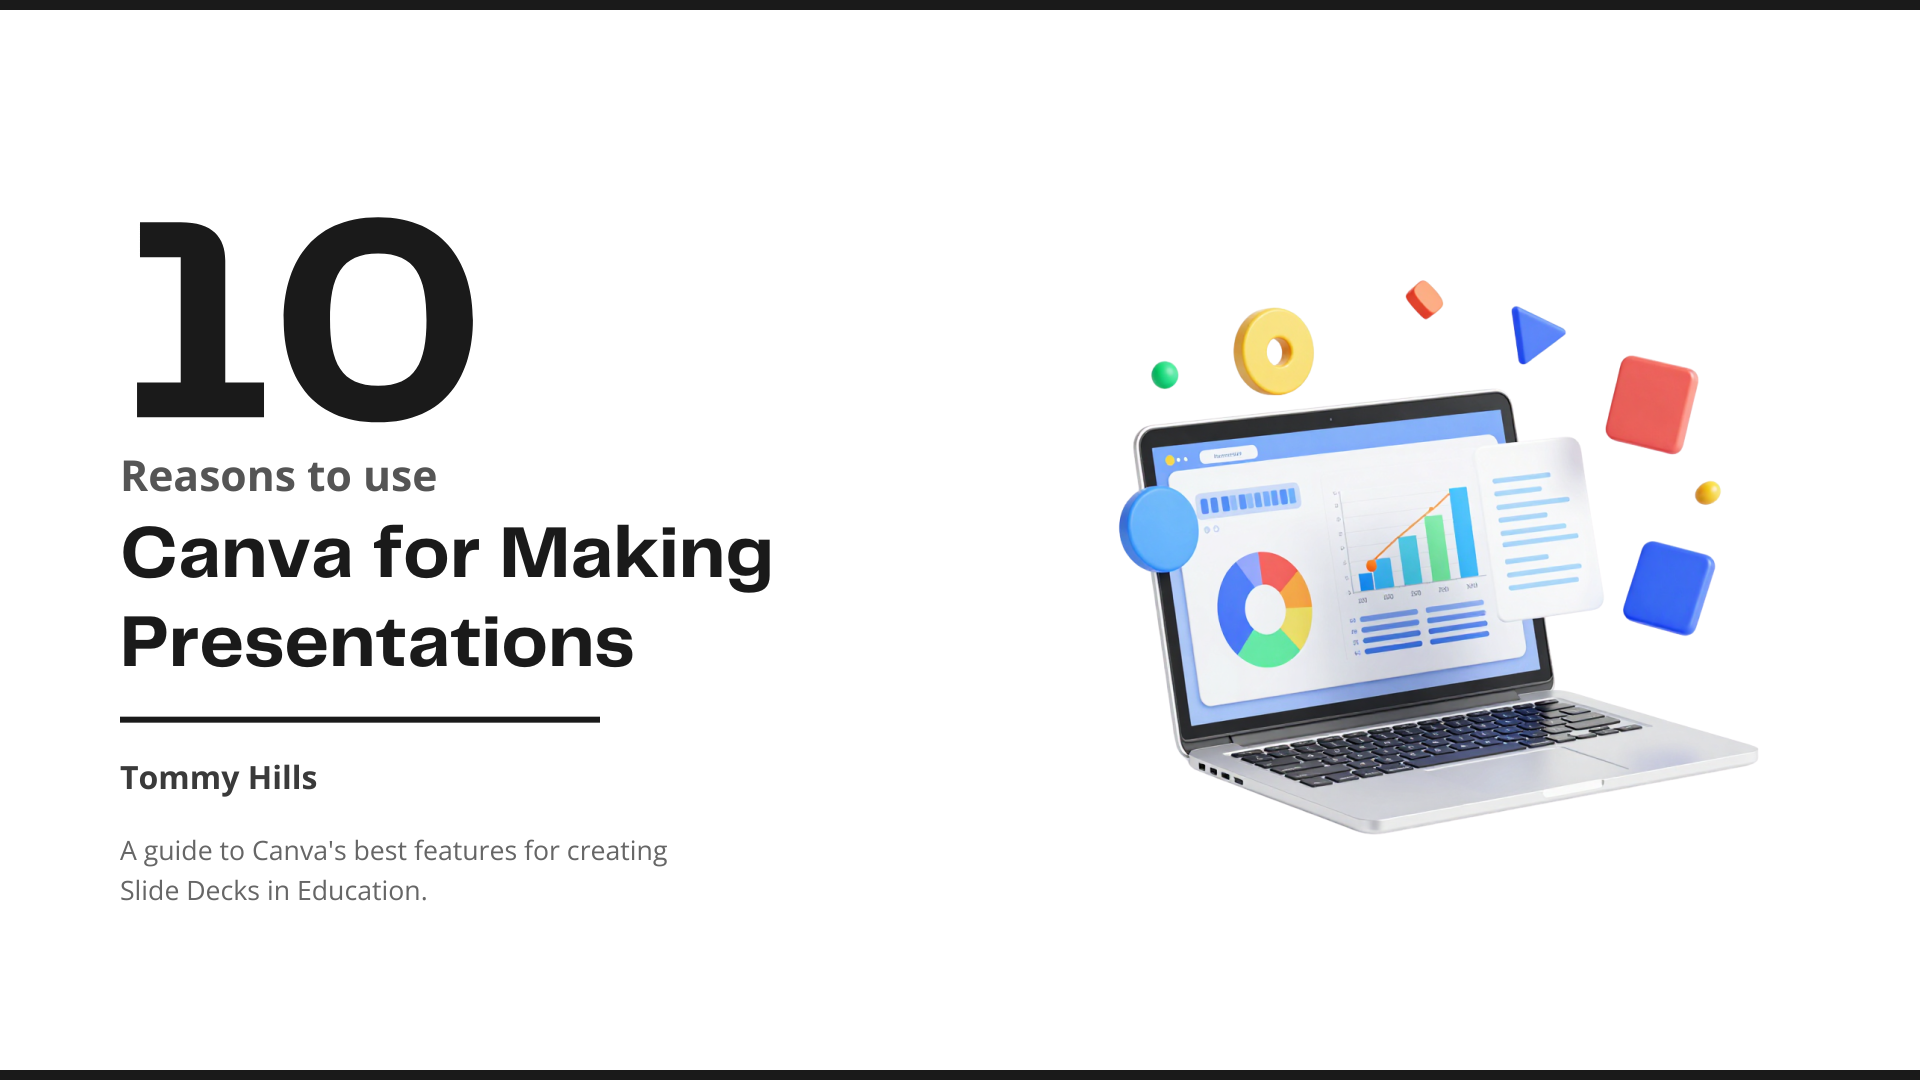
Canva’s Best 10 Features
for Creating Slide Decks

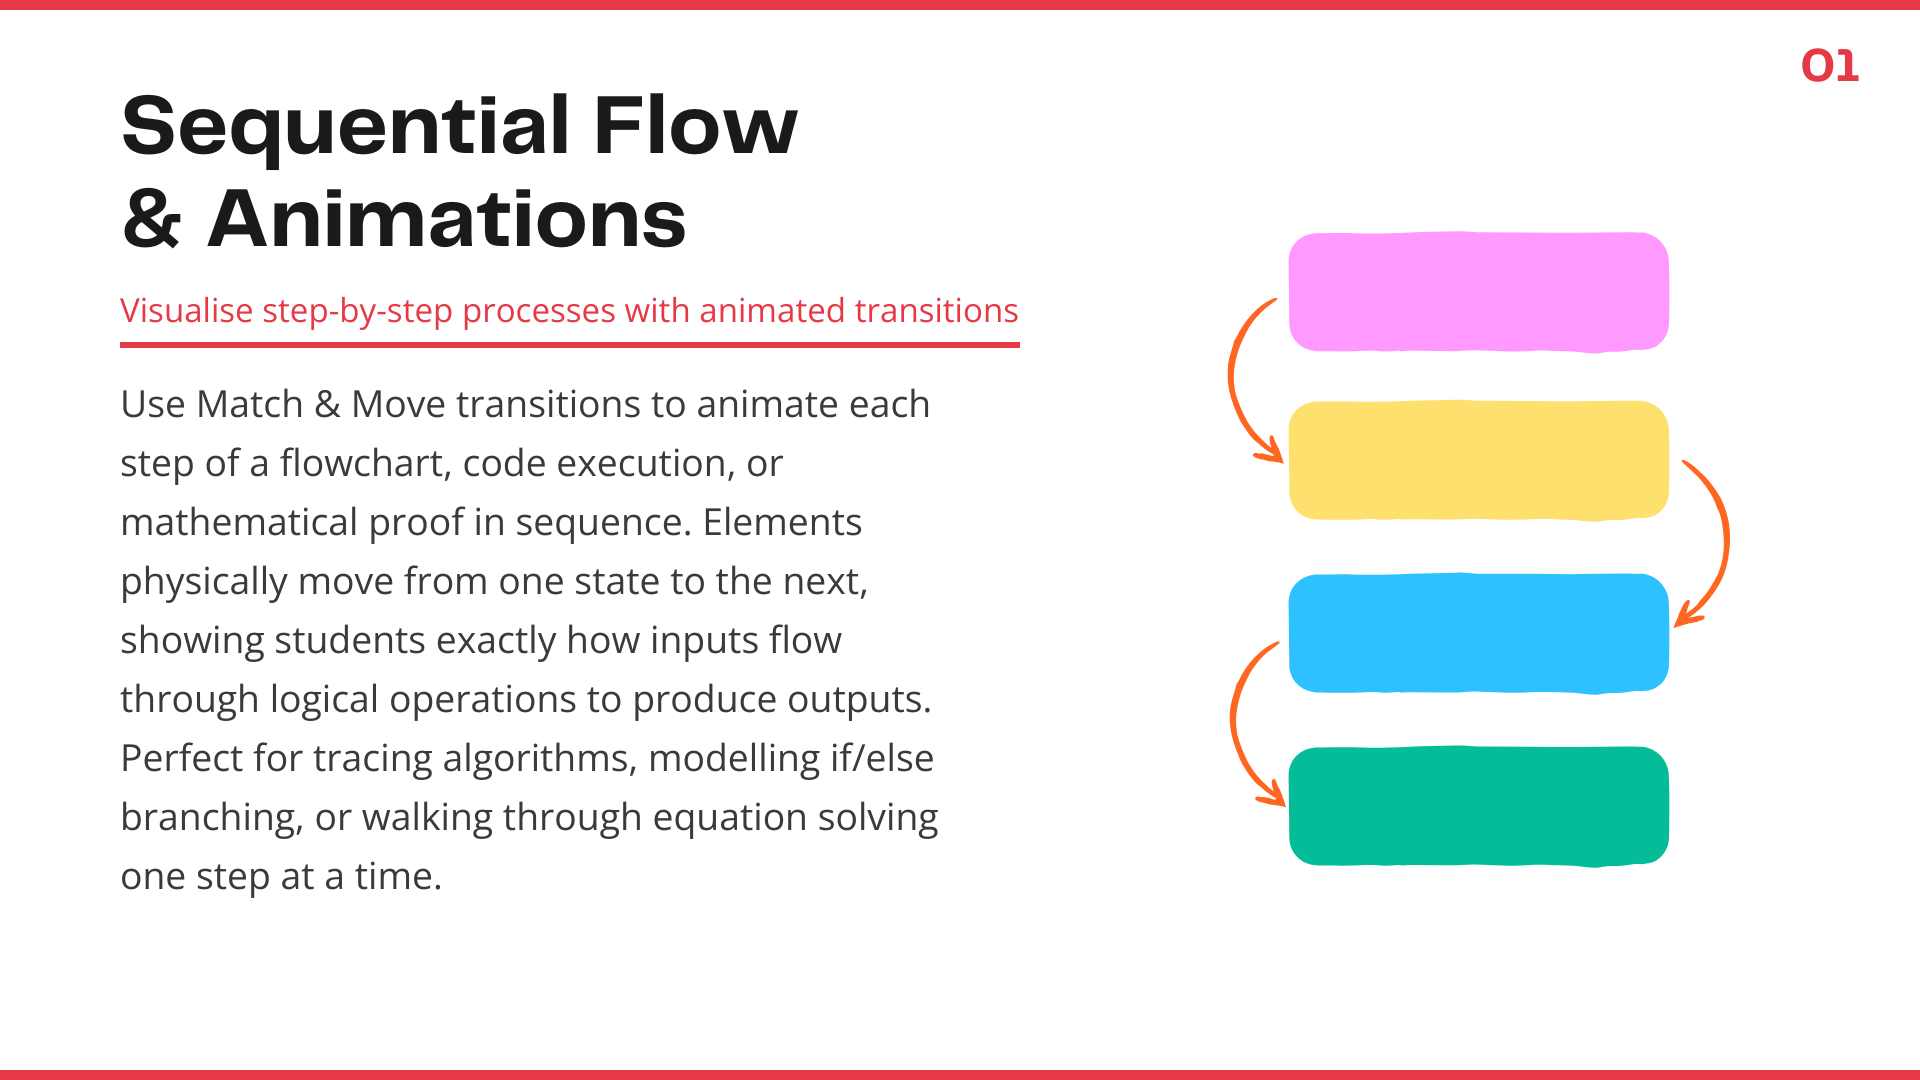
After reviewing all the data, Canva remains the superior tool for educators. To illustrate why, I have put together an interactive slideshow detailing its ten best features for classroom teaching.